


How to Hang Pictures in a Grid That Stays Level
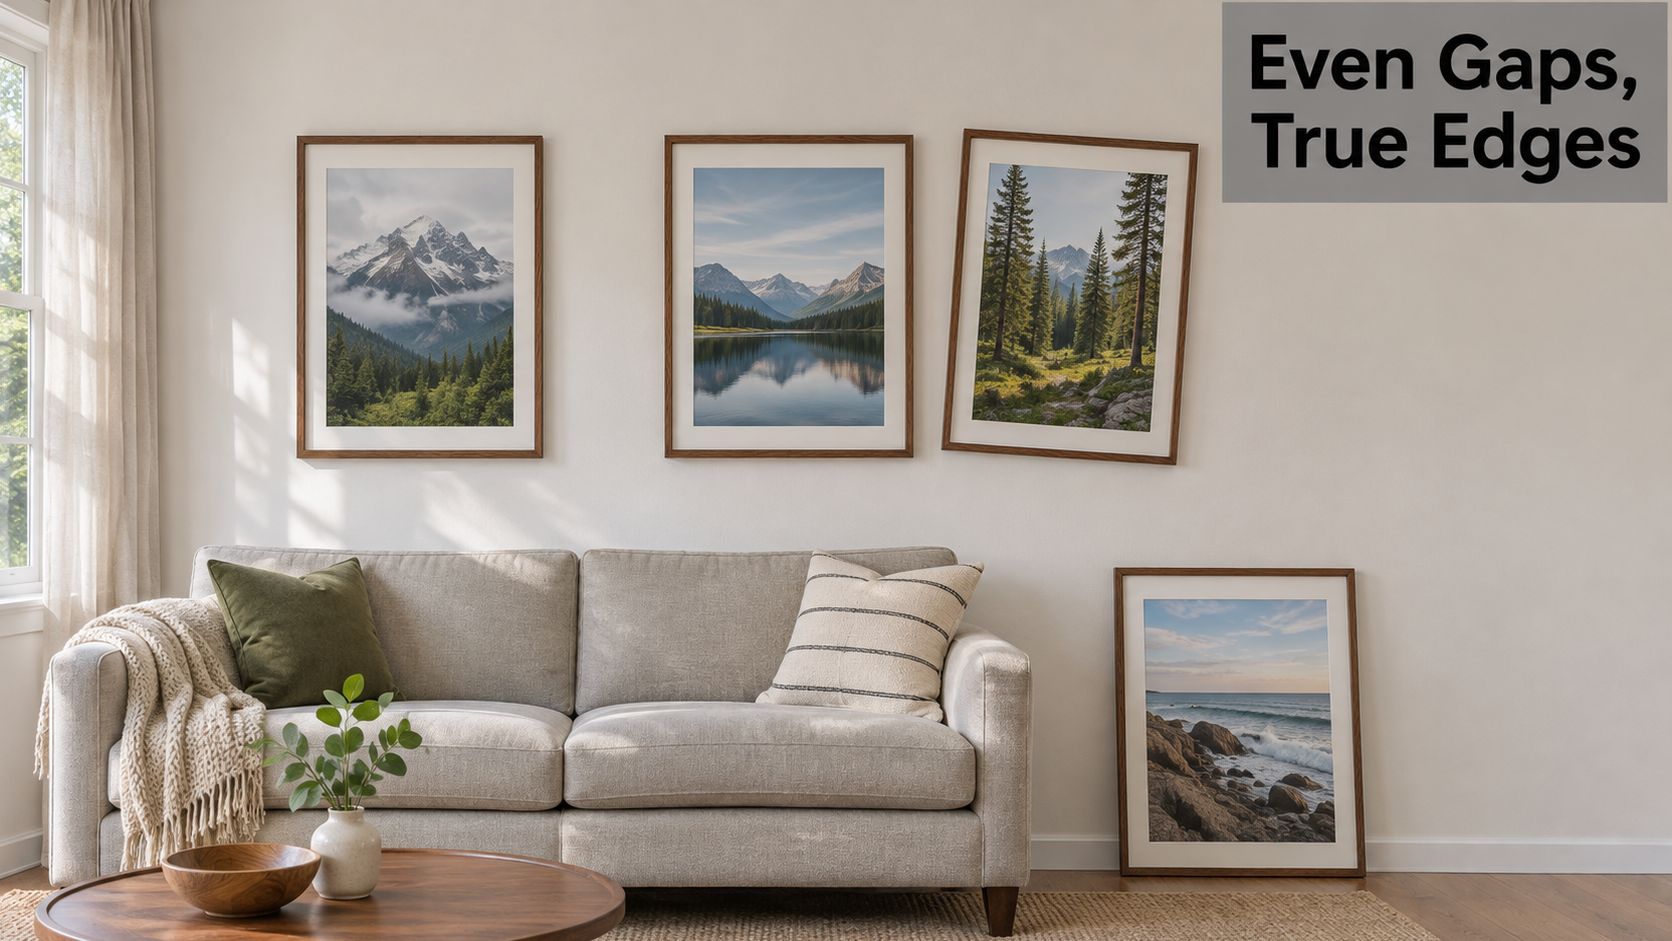
Three frames are up and level. The fourth lands half an inch off, and the wall changes character: one column drifts left, the gap that read as generous between the first pair looks mean between the last pair, and the top edges stop sharing a line.
That isn't a measuring failure. It's a decision failure. The arithmetic behind a grid fits on a phone screen, and the choices people skip are the ones that show: where the midpoint of the entire block sits relative to the people who will look at it, and what each individual frame hangs from.
Get both right and the grid settles into the wall, which is what you want. Get either wrong and a visitor's eye snags on the layout before it reaches the art.
What a Picture Grid Actually Requires
Repetition is the mechanism. A grid reads as one composed rectangle only when a single gap repeats exactly, so the top edges of the upper row form one line, the bottom edges of the lower row form another, and every column shares a vertical. Hang three frames that way and the wall looks tidy. Add a fourth and the wall starts comparing itself, because the second gap gets judged against the first and the third against the second. A quarter inch of drift that was invisible in a pair becomes obvious in a column of three.
Decide Who Looks at the Wall, and From Where
Before a mark goes on the wall, name the room's job. A living room or office wall gets viewed standing up, from a few feet back and from across the room. A dining room gets viewed seated, over a table, which drops the natural sightline by several inches. A corridor gets walked past, sometimes at speed, sometimes with a bag or a cane. Those three cases point to three different heights for the same set of frames, and the height is the next decision. What matters at this stage is refusing to import a museum number into a room where everyone is sitting down.
Then count. Four frames can run two by two, six can run three by two, nine can run three by three. Keep the block a few inches clear of corners, switch plates, door trim, sconces and the sofa back, and confirm the outline doesn't crowd the ceiling. Matching frame sizes and mats make the rhythm easiest to hold. Mixed sizes still work, but only when the outer edges align and every gap stays identical, which means the layout gets drawn rather than felt.
Note the Weight Before You Buy Anything
One more decision belongs in planning, not in the hardware aisle: which piece is heaviest. Weigh frame, glass, backing and hardware together, not the print alone. A wide piece with glazing in a solid wood moulding can weigh twice what its size suggests, and that number decides whether you're shopping for a picture hook or a stud finder.
Tape measure, long enough to cross the whole block in one pull.
Pencil and painter's tape, for marks you can lift without touching up paint.
A 4-foot level or a cross-line laser, because a 9-inch torpedo level on a 60-inch row will lie to you.
A scale, kitchen or luggage, for the framed weight of the heaviest piece.
What you can't do yet is drill. That takes two numbers, one gap and one centerline.
Gaps and Centerlines for a Picture Grid
Pick one row from each half of the table before you touch the wall.
Situation | Measurement | What it controls | Use it when |
|---|---|---|---|
Small frames | 1.5–2 in (about 4–5 cm) gap | Space between every frame | Works are small and the wall is tight |
Typical frames | 2–3 in (5–8 cm) gap | Space between every frame | Most home and office grids |
Large frames | 3–4 in gap | Space between every frame | Frames are wide or the wall needs more air |
Standing viewers | 57–60 in (145–152 cm) | Midpoint of the whole grid above the floor | People view the wall while standing |
Seated viewers | 47–53 in | Midpoint of the whole grid above the floor | Dining rooms and other seated viewing |
Wheelchair-height viewing | 43–51 in | Midpoint of the whole grid above the floor | Accessibility is the priority |
Why One Repeated Gap Beats a Good Eye
The gallery wall glossary at Mancave Insider puts the common hanging gap at 2 to 3 inches (5 to 8 cm) between frames, with smaller works sometimes running 1.5 to 2 inches and larger frames taking 3 to 4 inches. The number matters less than the repetition. A quarter inch of difference against a 2.5-inch gap is a ten percent error, and the eye resolves that without being asked to.
That same reference makes the structural point worth keeping: grid planning is geometry, so total row width is every frame width plus one gap between each pair, and total height is every frame height plus one gap between each row. It also draws the line between a grid and a salon hang, where frame sizes and distances vary inside a controlled outer boundary. The habit goes back to the dense European salon hangs of the 18th and 19th centuries, when paintings ran from near floor level toward the ceiling to fit more work onto scarce wall space. A grid keeps the discipline of the outer boundary and gives up the freedom in the middle. That is the trade, and it's a good one when the art is a series, a set of prints or a family of photographs.
Center the Block, Not the Biggest Frame
The height you chose applies to the middle of the complete arrangement, not to the middle of the largest frame and not to the middle of whatever is hanging nearby. Measure the full height from the top of the upper row to the bottom of the lower row, halve it, and put that figure on the centerline. Do the same horizontally: full width of the group, centered on the sofa, mantel, bed or wall. A four-frame grid where three pieces are small and one is large still centers on the rectangle the four of them make together.
A Worked Example With 11-by-14 Frames
Two rows of two 11-by-14 frames with a 2.5-inch gap. Width: 11 + 2.5 + 11 = 24.5 inches. Height: 14 + 2.5 + 14 = 30.5 inches. Half the height is 15.25 inches, so the top edge of the top row sits 15.25 inches above the centerline and the bottom edge of the bottom row sits 15.25 inches below it.
Above a sofa I keep the bottom edge 6 to 10 inches clear of the back cushions, which often pushes the whole rectangle up a little on a bare wall. The centerline doesn't move to suit the sofa. The block gets sized so that one number and the furniture coexist.
Copy that arithmetic with your own measurements and you have the two figures the marking stage needs. If you're still deciding how far apart the pieces should sit before you commit, this walkthrough of how to space pictures on a wall works through the same numbers.
How to Measure and Mark the Grid
Nothing goes into the wall at this stage. The output is painter's tape on the wall and a hook-drop figure written on the back of every frame.
Seven Measurements, in Order
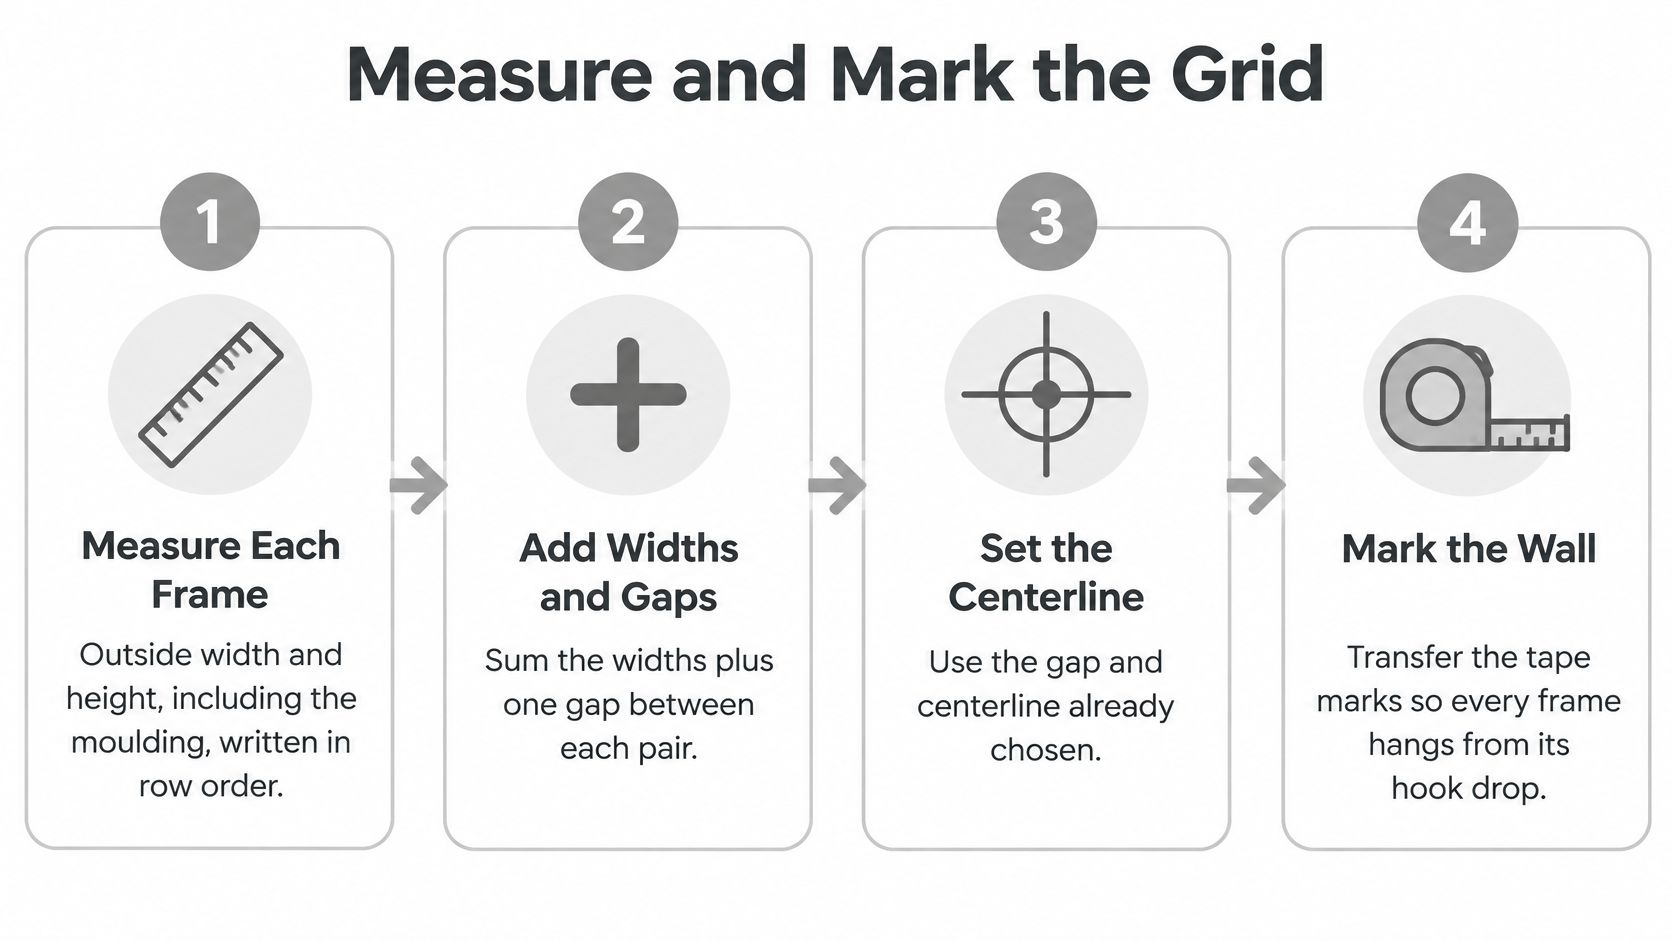
Measure the outside of each frame. Include the moulding, not the opening. Write the width and height for each piece in row order, top row first.
Add the widths, then the heights. Sum every frame width in a row and add one gap between each pair. Sum every frame height and add one gap between each row.
Find the horizontal center. Mark the center of the wall, or the center of the sofa, mantel or bed the group has to answer to, then set the group's left and right edges so the combined width is centered on it.
Halve the total height and place that midpoint on the centerline you picked from the table. Every other mark hangs off this one.
Measure up and down from the midpoint to the outer top and outer bottom of the group, then step in by each frame and each gap to find the top corner of every frame.
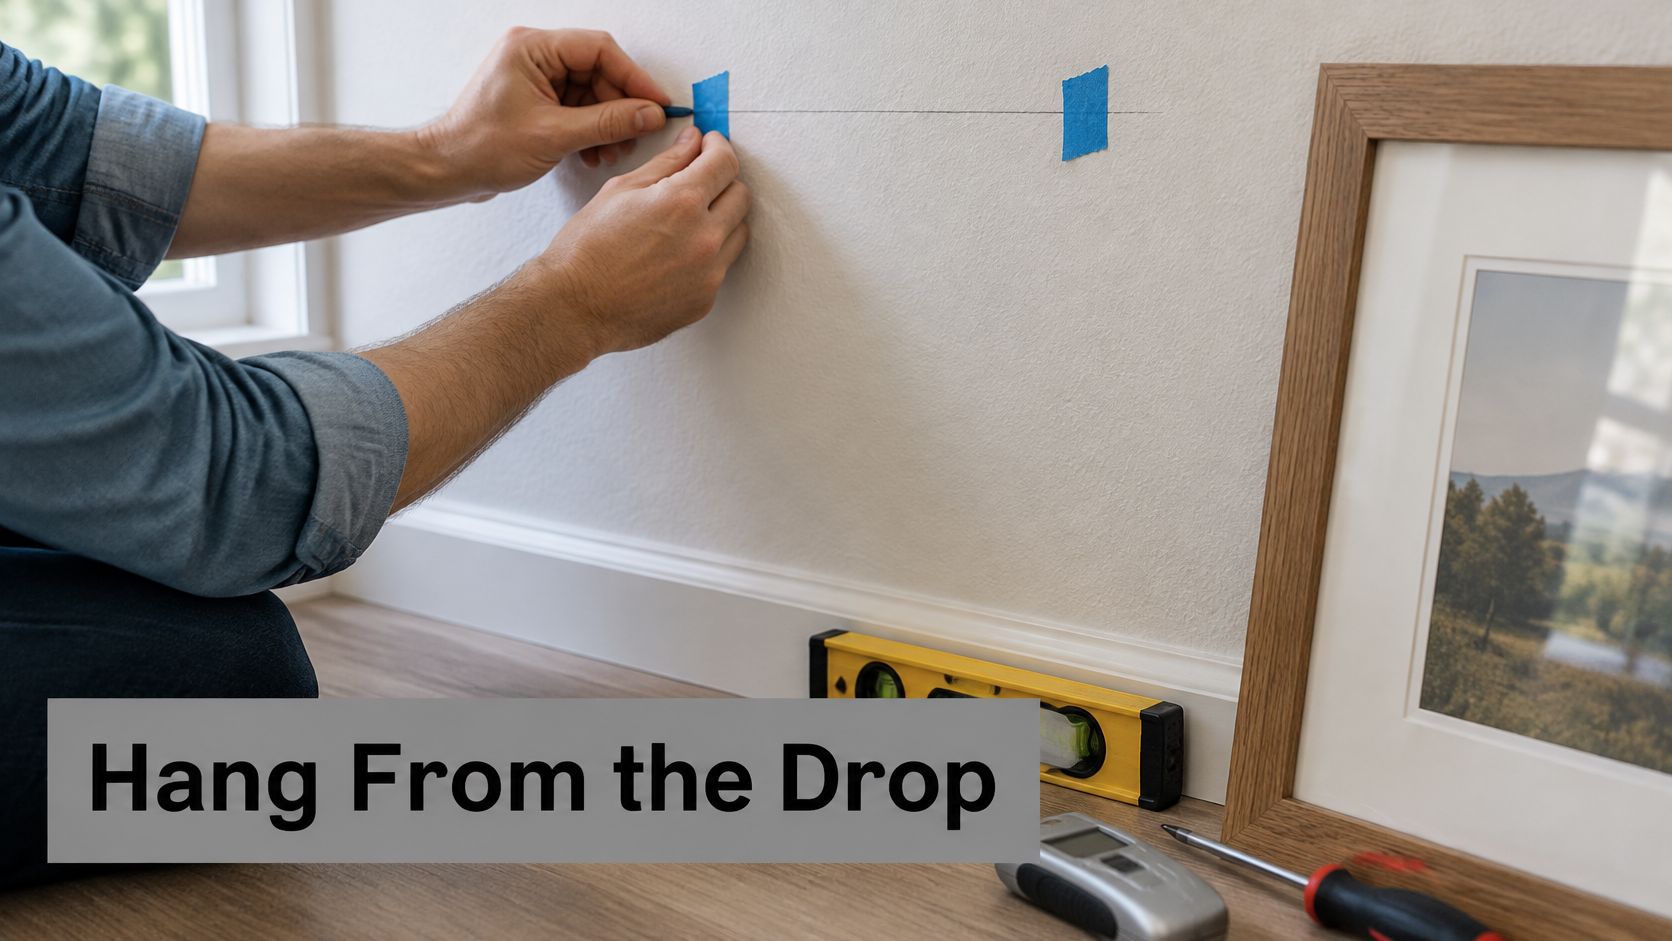
Tape the top corners. A short strip of painter's tape at each position, then sight down the columns and across the rows. Every column shares one vertical line and every row shares one horizontal line, or the layout isn't ready.
Record hook drop on each frame. With the wire pulled taut the way it will hang, or checking the D-rings, measure the distance between the hanging point and the top of the moulding. The fastener goes that same distance above the tape mark, because the frame top meets the tape and the wire rises from the D-rings up to the hook.
Grids most often fail at step seven. Two identical frames with different wires, or a wire twisted shorter on one side, will hang at two different heights from perfectly level hardware. Write the drop on the back with a pencil, in inches, before the frame goes near the wall. Identical tape marks and level fasteners still produce a crooked row when each frame is supported differently.
Where the Marks Land on the Wall
On the 24.5-by-30.5 sample, a 57-inch centerline puts the top of the group at 72.25 inches and the bottom at 41.75 inches. A 50-inch centerline in a seated room puts the top at 65.25 inches and the bottom at 34.75 inches. Same frames, same gaps, different room.
The Colorado Art Services guide to art hanging and display heights puts the center of the complete arrangement, not the center of each frame, at 57 to 60 inches (145 to 152 cm) above the finished floor for a standing viewer, and treats that range as a practical benchmark rather than a law. The same guidance flags substantially lower wheelchair eye levels at roughly 43 to 51 inches for accessibility-led displays, which is why the height gets settled by the audience before the tape comes out. Sofas, mantels, stair runs, unusually high ceilings and long viewing distances are all legitimate reasons to move the block as one rectangle.
The level you choose matters more than many expect. A short bubble level rocks on textured drywall and reads the moulding rather than the wall. A cabinetmaker's guide to choosing a level for cabinetry covers length, vial accuracy and how to check that a level is true in the first place, and those tests apply directly to marking a long horizontal line on a vertical surface.
Mark twice, drill once: the tape stays up until the whole row is hung and checked, never comes down between frames.
How to Hang Each Frame Securely
The tape is right. Now the questions change from where to what.
Weight First, Then Hardware
Weigh the complete object: frame, glazing, backing and hardware. Then choose a fastener with a real margin above that figure, because a published anchor capacity is an ultimate failure rating under specified test conditions, not a working load you can hang a picture from. The Kirk Painting guide to wall anchors makes the same point plainly: those ratings assume an intact panel, a clean hole and a straight pull, and they don't account for years of settling, a door slam or someone backing into the frame.
Three habits follow from that. Use studs whenever a piece is heavy, wide, valuable or within accidental-contact range. For frames with two attachment points, keep both fasteners level and share the load instead of hanging from one central hook. And pull every fastener in shear rather than tension, meaning the weight should hang down against the screw, not out away from the wall. A wire rated for the frame's weight and a hook-and-screw pairing that spreads support does more for long-term alignment than any amount of careful measuring, as Whitewall's picture hanging tips point out on both counts.
Frames that need two points, or walls that are hard to read from the surface, get a fuller treatment in this guide to how to mount artwork.
Wall or piece | Preferred support | Avoid | Why it matters |
|---|---|---|---|
Heavy, wide, or valuable frame | Stud with two level fasteners when possible | One center nail | Stops rotation and pull-out |
Sound drywall | Anchor rated for drywall, installed as specified | A nail or an anchor in a stripped hole | Ratings assume an intact panel |
Plaster | Fastener suited to plaster, into a stud when the piece is heavy | Forcing a drywall anchor through crumbly keys | Plaster breaks around a bad hole |
Brick, block, or concrete | Masonry bit and a rated sleeve or screw | Any drywall anchor | The anchor never grips masonry |
High-traffic or commercial wall | Studs or hardware with margin above the weighed frame | Trusting the package's maximum rating as the working load | Bumps and time exceed a lab rating |
The Sequence That Stops a Bad Mark Repeating
Hang each frame from its recorded hook drop, in this order:
Set one fastener and hang that frame. Level it before you drill its neighbor, so a mistaken mark gets caught after one hole instead of six.
Work along the row, not down the column. Rows are what the eye reads first from across the room, and a level error compounds fastest across a long horizontal.
Press each frame once the grid is complete and watch for swing or rock against the wall.
Look again the next day. Drywall settles, wires stretch and hooks rotate under load, particularly in a warm room.
Re-check any frame in a hallway or office where it gets brushed, cleaned around or knocked by a chair.
Four failures account for most of what comes loose: a hole drilled oversized for the anchor, an anchor set into drywall that was already crumbling, a screw too short to reach the anchor's grip, and a wire lighter than the frame it carries. None of those are visible from the sofa until the frame is on the floor.
If you want to watch the hanging step done end to end before you commit to the first hole, this is a clean demonstration of the sequence:
Fixes for a Grid That Looks Wrong
Most grids that look wrong are wrong in one specific way, and the correction is usually smaller than the frustration suggests.
What you see | Usual cause | Correction |
|---|---|---|
Gaps differ by a fraction of an inch | Each space measured separately | Remark from shared column and row lines with one gap |
Matching frames sit at different heights | Hook drop ignored or wires differ | Remeasure drop and move the fastener, not the tape top |
A frame rotates or sags | Single hook or anchor below the real load | Two level points or a stud, with margin over weighed load |
Rows look uneven though the tape matched | Uneven frame depth and shadow | Align the wall edges; do not chase the shadow |
Grid feels high from a chair | Standing 57–60 in centerline in a seated room | Shift the whole rectangle to 47–53 in, or 43–51 in for wheelchair viewing |
Deep frames crowd a hallway | Projection in the 27–80 in cane zone | Use shallower frames or move the grid off the circulation path |
Match the Symptom to the Cause
A wandering gap almost always comes from measuring frame to frame, where each new piece inherits the error of the one before it. Rebuild the layout from one set of column and row lines and the drift disappears.
A row that tilts while looking evenly spaced is a hook-drop problem. Frames that match in size but not in wire length don't hang at the same top edge, so the fastener has to move, not the tape.
Frames that rotate overnight have one hook, a loose wire, or an anchor that doesn't match the wall. A slightly corrected but solidly mounted grid beats a flawless layout that pulls out of drywall in a month.
Then there's depth. Two frames hanging with the same gap but different moulding depths throw shadows at different widths, and the shadow reads as bad spacing from three feet away. Sight along the wall plane, not along the shadow.
When the Height Itself Is Wrong
Some grids are spaced perfectly and still feel wrong, because they were hung for a standing viewer in a room where nobody stands. Guidance collected for picture hanging height puts seated-view rooms at roughly 47 to 53 inches and wheelchair-accessible displays at 43 to 51 inches, which is a long way below the standing benchmark. If the grid is in a dining room, a lounge with low chairs or a clinic waiting area, test the sightline sitting down before you commit.
The correction is to lower the whole rectangle, never the largest frame by itself. Recheck both outer edges after the move. In a corridor, keep deep or projecting pieces out of the 27-to-80-inch zone used for cane detection, or swap to shallower frames so the display doesn't become an obstacle. High ceilings, stair runs and a mantel over a firebox are reasons to shift the block as one unit and retest from both standing and seated positions.
Decide Whether to Hang the Grid Yourself
Finish it yourself when every frame is light enough for the fastener margin you've already chosen, the wall is intact drywall or a stud lands at each mark, and the top row is reachable from the floor or a stable step. The tape should already show one repeated gap and one centerline before the first hole goes in. If those conditions hold, the job is an afternoon with a level and a pencil.
Stop for weight or value. A heavy, wide or valuable piece belongs on studs, and a failed anchor that drops the art can cost more than the whole installation.
Stop for the substrate. Plaster, brick, block, concrete or an unknown commercial surface needs a different drill and a different fastener than any drywall anchor.
Stop for access. A top row that needs scaffolding, or a stairwell wall, puts you in a different risk category than a sofa wall.
Stop for traffic. An office lobby, gallery or clinic corridor needs alignment and load planned together, with deep frames kept out of the cane-detection zone.
When a job crosses those lines, Colorado Art Services hangs picture grids for homes and businesses across the Denver metro and Front Range, with more than 15 years of picture hanging and art handling behind the work, and a free estimate for art hanging, display and installation. The contact form asks how many pieces need installing, whether ladders or scaffolding are required, whether the install means drilling into hard surfaces, and the dimensions of the largest piece, which is exactly the information that decides the hardware and the schedule. If you'd rather weigh the trade-offs first, this comparison of DIY versus professional installation lays out where the line usually sits.
For a light home grid, none of that applies. Go back to the tape, set the rated fasteners, and sight the rectangle once standing and once from the chair you'll sit in.
Colorado Art Services plans and installs picture grids, gallery walls and single-piece placements with the layout math, substrate matching and level hardware that keep a display straight for years, not weeks. If your grid involves heavy frames, plaster, masonry, high ceilings or a commercial space, request a free estimate and the team will size the hardware to the wall before anything is drilled. Visit Colorado Art Services to book a walkthrough or send the details of your collection.
Comments