


Art Hanging Display: The Complete Guide
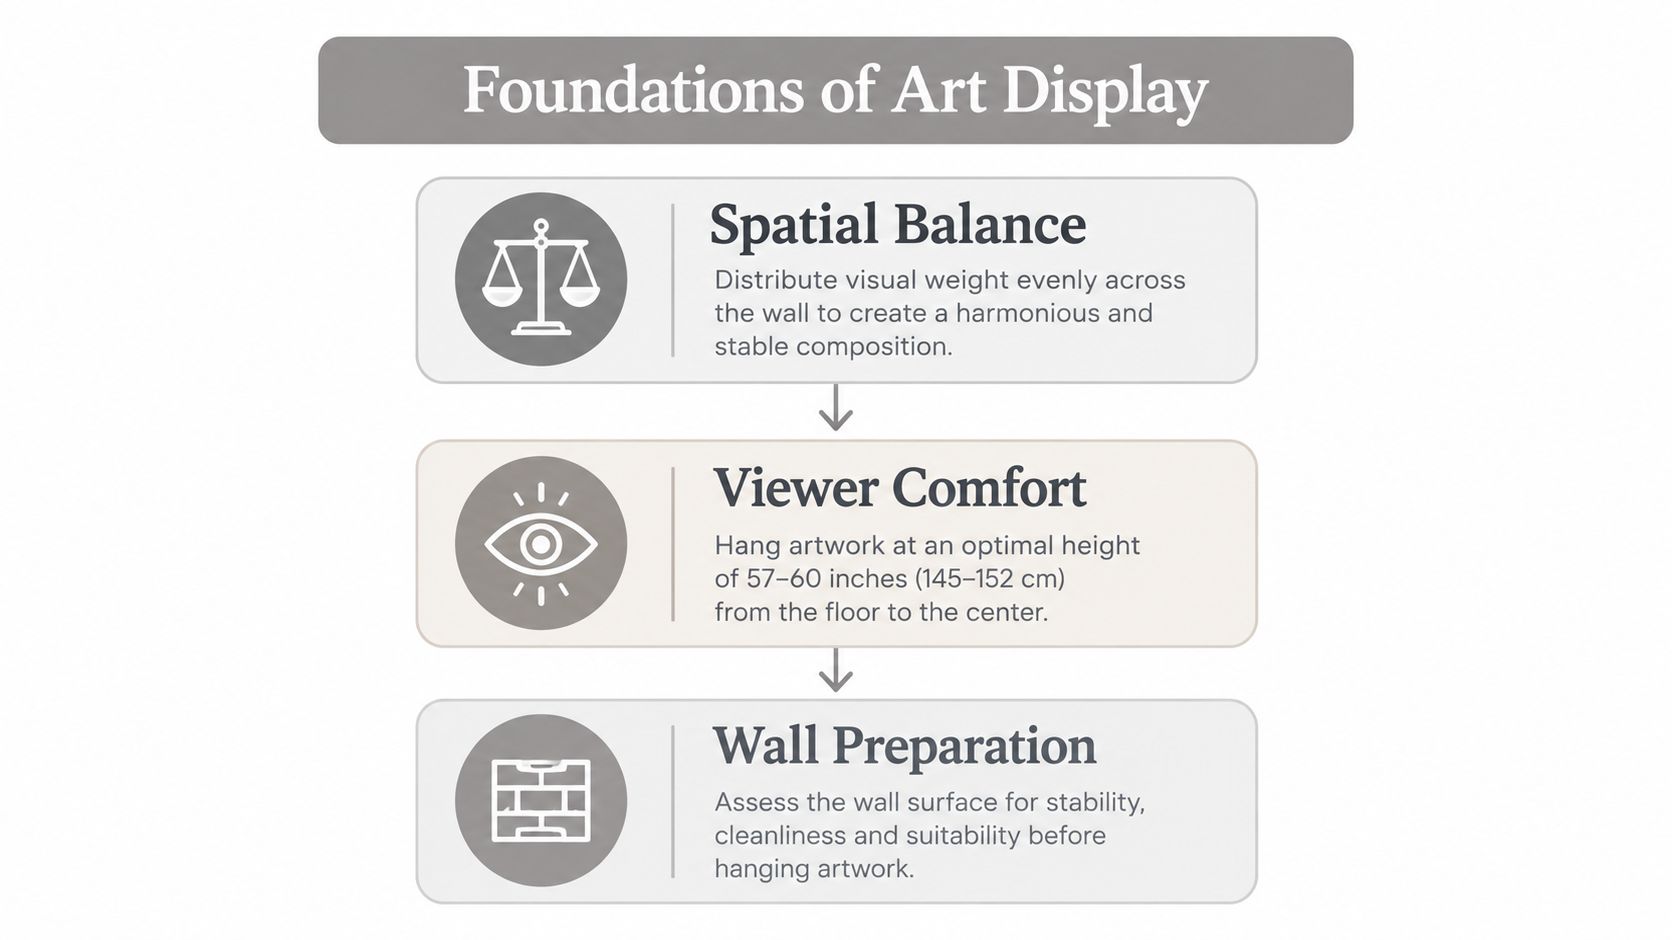
Center the artwork at 57 to 60 inches from the floor, measured to the center of the piece. Then choose hardware according to the artwork's weight and the wall behind it, because a visually perfect display can still fail if the anchor doesn't suit the surface.
You've probably stood in front of a blank wall with a frame in one hand, a pencil in the other, and no confidence that the first mark is right. The temptation is to judge height by the top of the frame or by the furniture below it. Professional installers work differently. They establish the viewer's sightline, balance the composition, inspect the wall, and only then drill.
A successful art hanging display has two standards to meet. It should look intentional from across the room, and it should remain secure when people walk past, doors close, or the wall experiences ordinary vibration. The hidden work, especially behind drywall or plaster, determines whether the installation stays level and whether the wall and artwork avoid preventable damage.
Foundations of the Art Hanging Display Layout
The most reliable starting point is the centerline, not the top edge of the frame. Measure from the floor to the center of the artwork, aiming for 57 to 60 inches, a range reflected in museum and gallery guidance because it approximates a comfortable adult eye line. The convention developed as exhibition practice moved away from dense salon hanging toward clearer spacing and consistent sightlines. The history of the white-wall presentation explains how that transition shaped the display logic used today.
For a single piece, find the wall's visual center first. That may be the midpoint between two architectural edges, the center of a sofa, or the strongest axis in an entryway. Don't automatically center artwork on an entire wall if a doorway, fireplace, or large window creates a more important visual boundary.
Establish the focal point
Start with the piece that carries the most visual weight. A large painting, a richly framed photograph, or a sculptural object can serve as the anchor. Place its centerline first, then assess how the surrounding architecture supports it. If the piece sits above furniture, leave enough breathing room for the object to relate to the furniture without appearing to rest on it. The correct gap depends on the room and proportions, so judge the relationship as a whole rather than applying a rigid formula.
For a gallery wall, treat the entire grouping as one composition. Find the center of the proposed arrangement, not the center of the largest frame, and position that overall center near the comfortable viewing line. Tape the outer boundary on the wall before making holes. This exposes a common error early, the layout may be centered mathematically but feel pulled toward one side because the frames carry unequal visual weight.
Installer's rule: If the display feels too high when you stand at normal viewing distance, it probably is. Don't let ceiling height dictate the artwork's eye line.
Wall preparation belongs in the layout stage. Check for studs, wiring, plumbing, loose plaster, hollow areas, and previous repairs before selecting a fastener. For a practical reference on installation planning and professional standards, review industry best practices for art installation. If a new frame, mount, or display component requires custom fabrication, American Additive Manufacturing for artists can also help identify production considerations before installation begins.
Choosing Your Arrangement Strategy
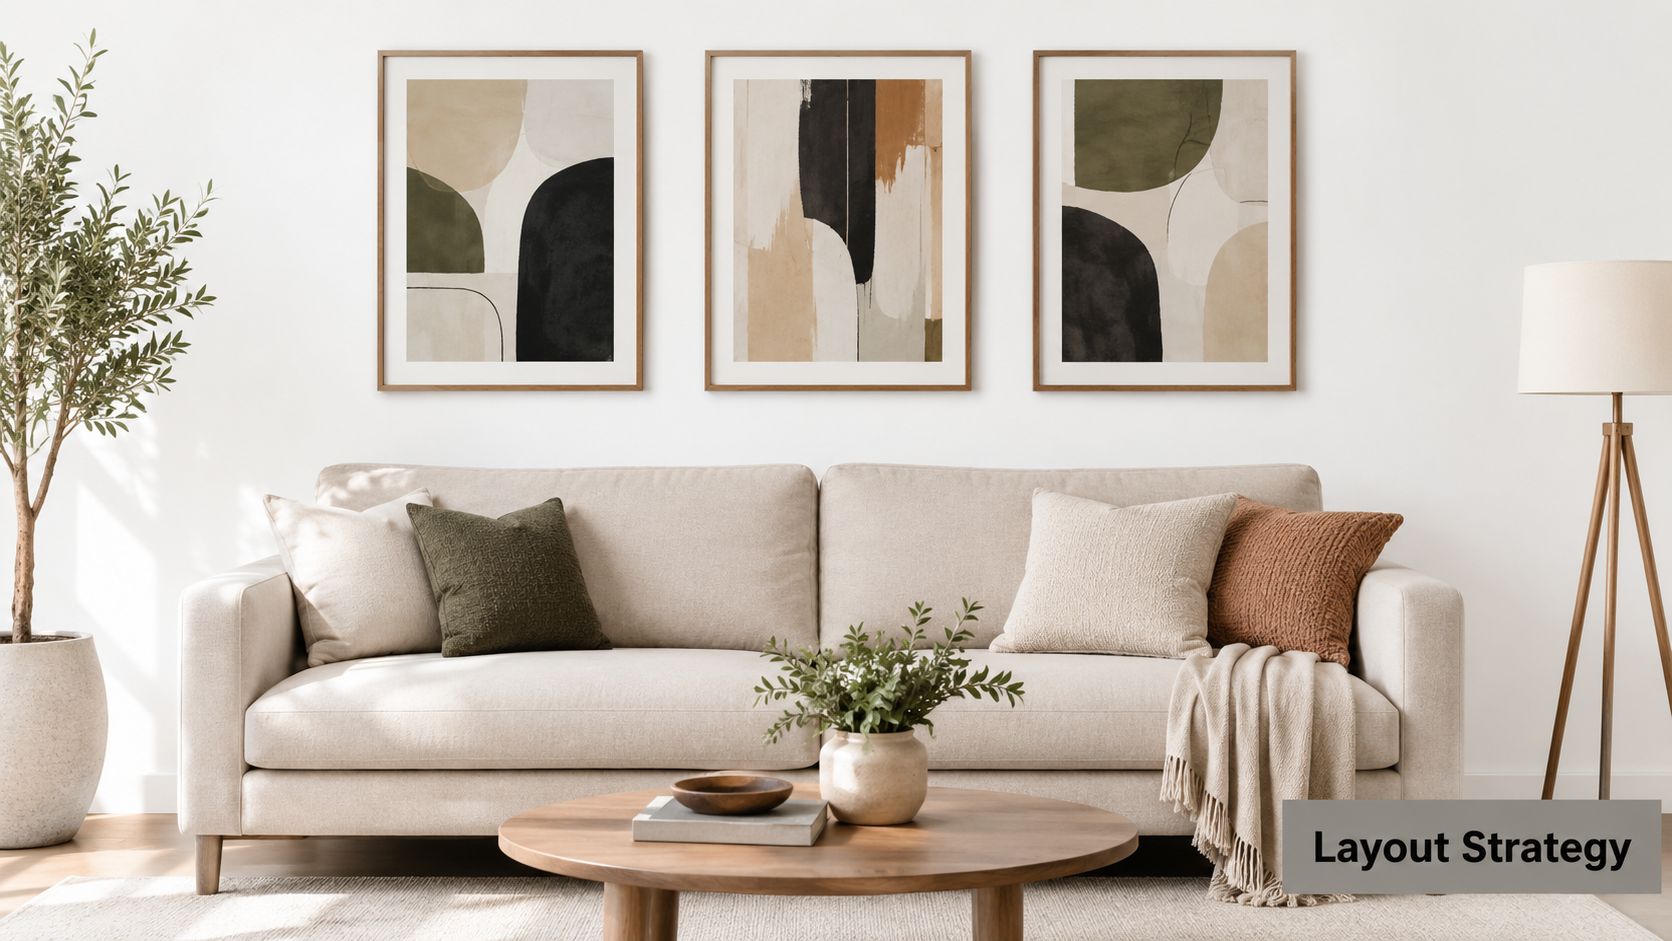
The right layout depends on the artwork, the wall, and how much visual discipline the room needs. A single statement piece gives you the clearest focal point. A grid creates order. An organic or salon-style grouping allows variety but demands more judgment because different sizes, frames, and subjects compete for attention.
Match the layout to the collection
A single-piece arrangement works when one work deserves uninterrupted attention. Use it over a console, sofa, bed, or reception desk when the furniture creates a strong horizontal anchor. The trade-off is that every mistake becomes visible. A frame that's slightly off level or too high has no neighboring pieces to disguise the error.
A grid works best with uniform frames, repeated subjects, or a collection that benefits from rhythm. Align the outer edges and keep the gaps consistent in both directions. The grid should be measured as a system, preferably with a full-size paper template or tape outline. Small inconsistencies compound across the row, so don't rely on sight alone.
A salon-style arrangement offers more personality for mixed media, but it isn't random. Its roots reach back to the dense salon displays used in Paris, including exhibitions at the Louvre's Salon Carré, where works were arranged wall-to-wall and floor-to-ceiling. Modern installations usually borrow the sense of variety while replacing the density with clearer spacing and a deliberate hierarchy. Christie's guide to hanging artworks notes a practical museum centerline of 58 inches and frame spacing around 2 to 3 inches for a cohesive grouping.
Build the composition before the wall
Lay every frame on the floor with the same relative orientation you intend to use. Begin with the anchor piece, then add the largest supporting works before filling gaps with smaller pieces. Step back repeatedly. A layout that looks balanced from above can feel top-heavy from the standing viewpoint.
Use paper templates when the collection is valuable, the wall is finished, or the arrangement has many anchors. Mark each frame's outer edges and hardware position on the template, then tape the templates in place. This separates composition decisions from drilling decisions and makes revisions inexpensive.
Keep an eye on visual weight, not just frame dimensions. A dark, ornate frame may pull attention more strongly than a larger pale frame. A deep shadow box may project farther and need more clearance from traffic. For detailed planning of a multi-piece installation, gallery wall installation guidance provides a useful reference for organizing the layout before mounting.
Selecting the Right Hanging Hardware
Hardware should be selected from the back of the frame outward. First identify the artwork's maximum installed weight, then inspect the frame construction, hanging points, and wall type. The fastener must support the load through the frame hardware and into the wall structure. A strong hook attached to a weak wire is still a weak installation.
Use a load rating with a margin, not a rating that barely matches the artwork. Technical art-installation guidance recommends hardware rated to support 25 to 50% more than the artwork's maximum weight, allowing for dynamic loading and installation error. AIG's art installation guide also identifies loose wire, under-rated anchors, and unsupported drywall mounting as common failure points.
Choose the frame-side system
A sawtooth hanger is simple and compact for lightweight frames, particularly when the frame has a rigid backing and won't experience much movement. It's quick to install, but it offers less adjustment and can be a poor choice for a heavy frame, a wide frame, or a display where precise leveling matters.
D-rings with tightly tensioned wire are more versatile for medium-weight frames. Install the D-rings evenly on both sides, keep the wire tension controlled, and avoid leaving excessive slack. The system makes minor height adjustments easier, but the wire concentrates load and can allow the frame to tilt if the two wall contact points aren't aligned.
French cleats are the more appropriate choice for heavy, deep, oversized, or high-value pieces. The interlocking profiles distribute load along a wider area, keep the work close to the wall, and resist tilting and movement. They require more careful leveling and a secure structural attachment, but that extra preparation is a worthwhile trade-off when failure would damage the frame, artwork, wall, or people nearby.
Match the anchor to the wall
Drywall anchors can work for suitable loads when no stud is available, but they must be chosen for the actual wall thickness and installed exactly as specified. For heavier work, find a stud or use a properly rated toggle-style system. Don't assume that a plastic anchor becomes adequate just because it feels tight when installed.
Plaster may look solid while crumbling around a drilled hole. Drill carefully, avoid hammer action unless the wall system permits it, and use a pilot hole that matches the fastener. Brick and concrete require masonry bits and anchors designed for those materials. A cleat attached to weak surface material won't perform as intended, regardless of its rating.
For a hardware comparison that considers frame types and installation conditions, use this guide to best picture hanging hardware. The best option is the one that forms a complete load path from the artwork to reliable wall structure.
Measuring and Mounting Techniques
Measure the frame before touching the wall. Record its outside height and width, then measure from the top edge to the actual hanging point, whether that's a D-ring, wire at tension, cleat, or sawtooth slot. The distance between the top of the frame and the hanging point determines where the fastener belongs. Guessing this offset is one of the fastest ways to end up with a piece that sits higher than planned.
Follow a controlled installation sequence
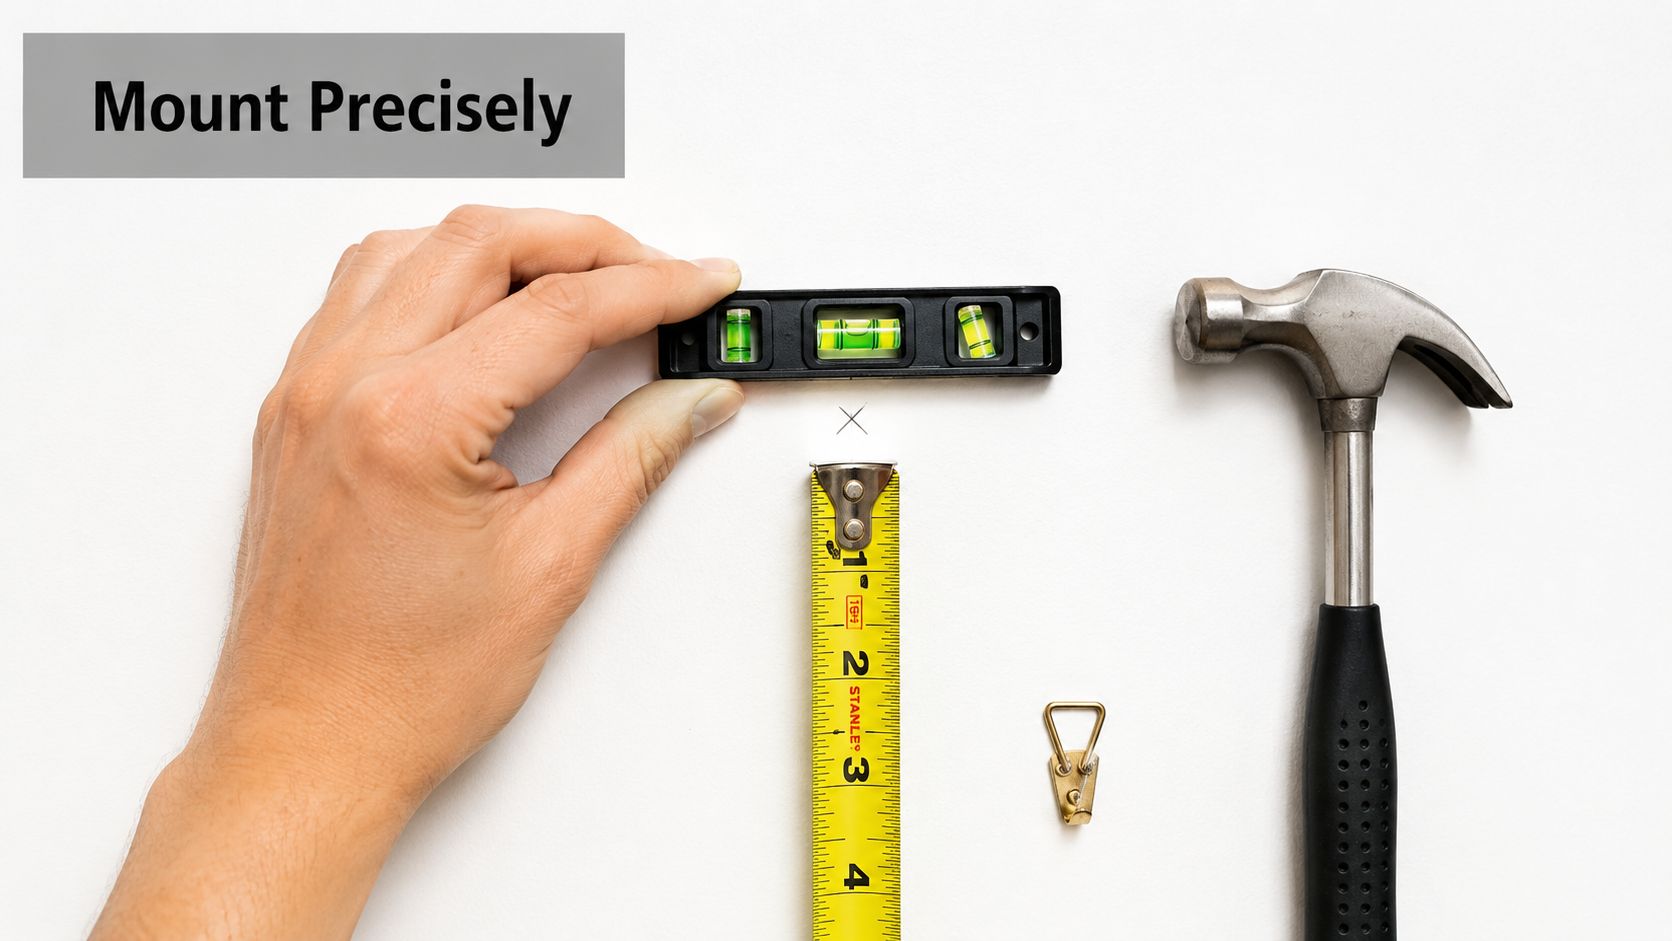
Mark the centerline. Measure from the floor to the desired center of the artwork and place a light pencil mark. For a grouping, mark the center of the complete composition rather than the center of one frame.
Transfer the hardware position. Calculate the distance from the artwork's center to the hanging point. For wire systems, pull the wire to the tension it will have when installed. For D-rings or cleats, measure their exact position from the top and sides of the frame.
Locate structure. Use a stud finder, inspect existing fastener patterns, and check the area for services before drilling. A stud is usually the preferred support for heavy work. If you can't use a stud, select an anchor designed for the wall and load, not a generic substitute.
Mark and pilot-drill. Confirm the marks with a tape measure and a level. Drill a pilot hole where the material and fastener require it. On plaster, slow drilling reduces the chance of breaking away the surrounding surface.
Install the hardware. Drive the screw fully into the stud or set the wall anchor according to its instructions. Don't leave a loose screw projecting from the wall and don't force an anchor that has spun, enlarged the hole, or failed to seat.
Hang and test. Lower the artwork onto the installed support rather than pushing it sideways into place. Check level, inspect the contact points, and apply gentle downward and outward pressure to confirm that the frame doesn't shift.
Practical safety margin: The wall surface is only one part of the support system. Evaluate the fastener, anchor, stud or masonry, frame hardware, wire, and frame joints as one connected assembly.
Treat drywall failures as structural warnings
Drywall can support appropriate loads, but it can also conceal weak backing, damaged anchors, or moisture-related deterioration. One independent 2026 source reports that 41% of hanging incidents involved anchored-in-drywall collapse, and the same source reports that more than 68% of documented framing-related damage incidents from 2019 to 2023 showed no visible warning signs before failure. These figures come from guidance on hidden wall damage and hanging failures, so they should be treated as a warning to inspect the assembly rather than as a substitute for an on-site assessment.
The wall type also changes how you should work. Brick and concrete need the right masonry bit and anchor, while plaster needs controlled drilling and attention to lath or brittle edges. In a commercial space, confirm what sits behind the finish before drilling, because a suspended ceiling, service chase, partition, or reinforced wall may require a different mounting method.
Use a laser level for long rows and a spirit level for individual frames or short groupings. Mount the anchor piece first, then build outward, checking both the spacing and the sightline after each addition. A video demonstration can help junior installers compare measuring, marking, and leveling techniques before working on a finished wall.
Lighting, Styling, and Maintenance
A secure frame can still look poorly installed if the lighting creates glare, the furniture crowds it, or the surrounding wall is visually empty. Start by observing the room at different times of day. Direct sunlight can fade sensitive artwork and photographs, while a strong window behind the viewer may reflect from glazing directly into the sightline.
Adjustable track lighting and picture lights give you control over emphasis, but position the light to reveal the work without creating hot spots or reflections. Test from the normal viewing position, not directly beneath the fixture. For glazed frames, small changes in angle often matter more than adding brightness.
Furniture should support the composition rather than compete with it. A broad sofa can carry a wide arrangement, while a narrow console may need a smaller anchor or a more vertical grouping. Keep the surrounding area calm enough for the frame edges and artwork to remain legible. In a mixed collection, consistent mat color, repeated frame finishes, or a shared subject can create cohesion without forcing every piece to match.
Inspect the display over time
Maintenance is part of the installation, especially in homes with children, pets, moving furniture, or frequent changes. Check the frame's level, the tension in wire systems, the condition of D-rings, and the tightness of visible fasteners. Look for new cracks, loose plaster, soft drywall, staining, or a frame that has begun to pull away from the wall.
For modular or frequently changing displays, consider rails, tracks, cables, and adjustable hooks instead of repeatedly drilling new holes. Market commentary describes growing interest in customizable and modular art-hanging systems, along with smart features and sustainable hardware materials, as galleries, offices, and collector homes seek easier reconfiguration. Recent commentary on art hanging systems is useful for comparing these options, though the system still needs to be matched to the wall and load.
Clean the frame with a method suited to its finish, and keep liquids away from artwork, glazing edges, and wall penetrations. Don't lift a large piece by its wire or one side of the frame. When a display changes, document the original layout and inspect every reused anchor before trusting it with a new load.
Colorado Art Services installs residential and commercial art displays, including gallery walls, grids, heavy pieces, mirrors, sculptures, and adjustable hanging systems, with attention to layout, wall conditions, lighting, and level alignment. If you're planning an art hanging display in the Denver Metro area or across the Front Range, visit Colorado Art Services to discuss the artwork, space, and installation requirements.
Comments