


How to Mount Artwork Safely: A Step-by-Step Guide
Set the artwork's center about 58 inches from the floor, and choose hardware rated for at least 25–50% more than the piece weighs. The correct fastener then depends on whether you're mounting into a stud, drywall, plaster, masonry, or another wall substrate.
You've finally found the piece that makes the room feel finished. It's leaning against the sofa, still wrapped in paper, while you stare at the wall and wonder whether one misplaced hole or a cheap anchor could ruin the artwork, the drywall, or both. That hesitation is sensible. Learning how to mount artwork safely isn't just about getting a frame level. It's about controlling height, load, wall condition, vibration, and the small installation details that protect the piece for years.
Why Professional Art Installation Matters
The first major installation often exposes the difference between hanging something and installing it. A lightweight print may tolerate a casual hook, but a framed painting, mirror, canvas, or sculptural object creates a system of forces that the wall and hardware must handle together. If the fastener pulls out, the frame can strike furniture, damage the finish, or suffer impact that costs more to repair than the installation would have cost.
Professional hanging treats the artwork as both a visual object and a load. Installers assess the frame, the hanging points, the wall construction, and the way people move through the room. A piece over a console experiences different risks from one beside a doorway or in a busy corridor, where accidental contact and vibration can turn a seemingly adequate mounting method into a failure.
What goes wrong with casual hanging
A common mistake is to look only at the artwork's weight. The installer may choose a hook rated for that weight, drive it into an uncertain part of the wall, and assume the job is complete. That approach ignores mechanical stress, loose plaster, hollow cavities, weak framing, and the movement created when a frame is bumped or repeatedly exposed to vibration.
The same principle applies to presentation. A secure frame that sits too high, tilts forward, or catches glare still fails the room. Professional installation coordinates structural security with visual placement, which is why careful preparation matters before a drill ever touches the wall.
Practical rule: A hanging system should keep the artwork close to the wall, distribute the load properly, and remain appropriate for the wall surface.
For homeowners deciding whether to work alone, this guide on DIY versus professional installation helps frame the trade-off between a straightforward piece and a complicated placement. It's also useful to see how a gallery used how a gallery used PuppetVendors when thinking about the broader demands of presenting artwork professionally. For a valuable piece, a measured installation is usually cheaper than repairing a fallen frame and the wall beneath it.
Planning Your Layout and Height
Stand in the room where the artwork will be viewed before marking the wall. Check its relationship to the sofa, mantel, console, doorway, or other pieces. The visual center of a grouping may differ from the center of the bare wall, and furniture can require a different height than an open wall.
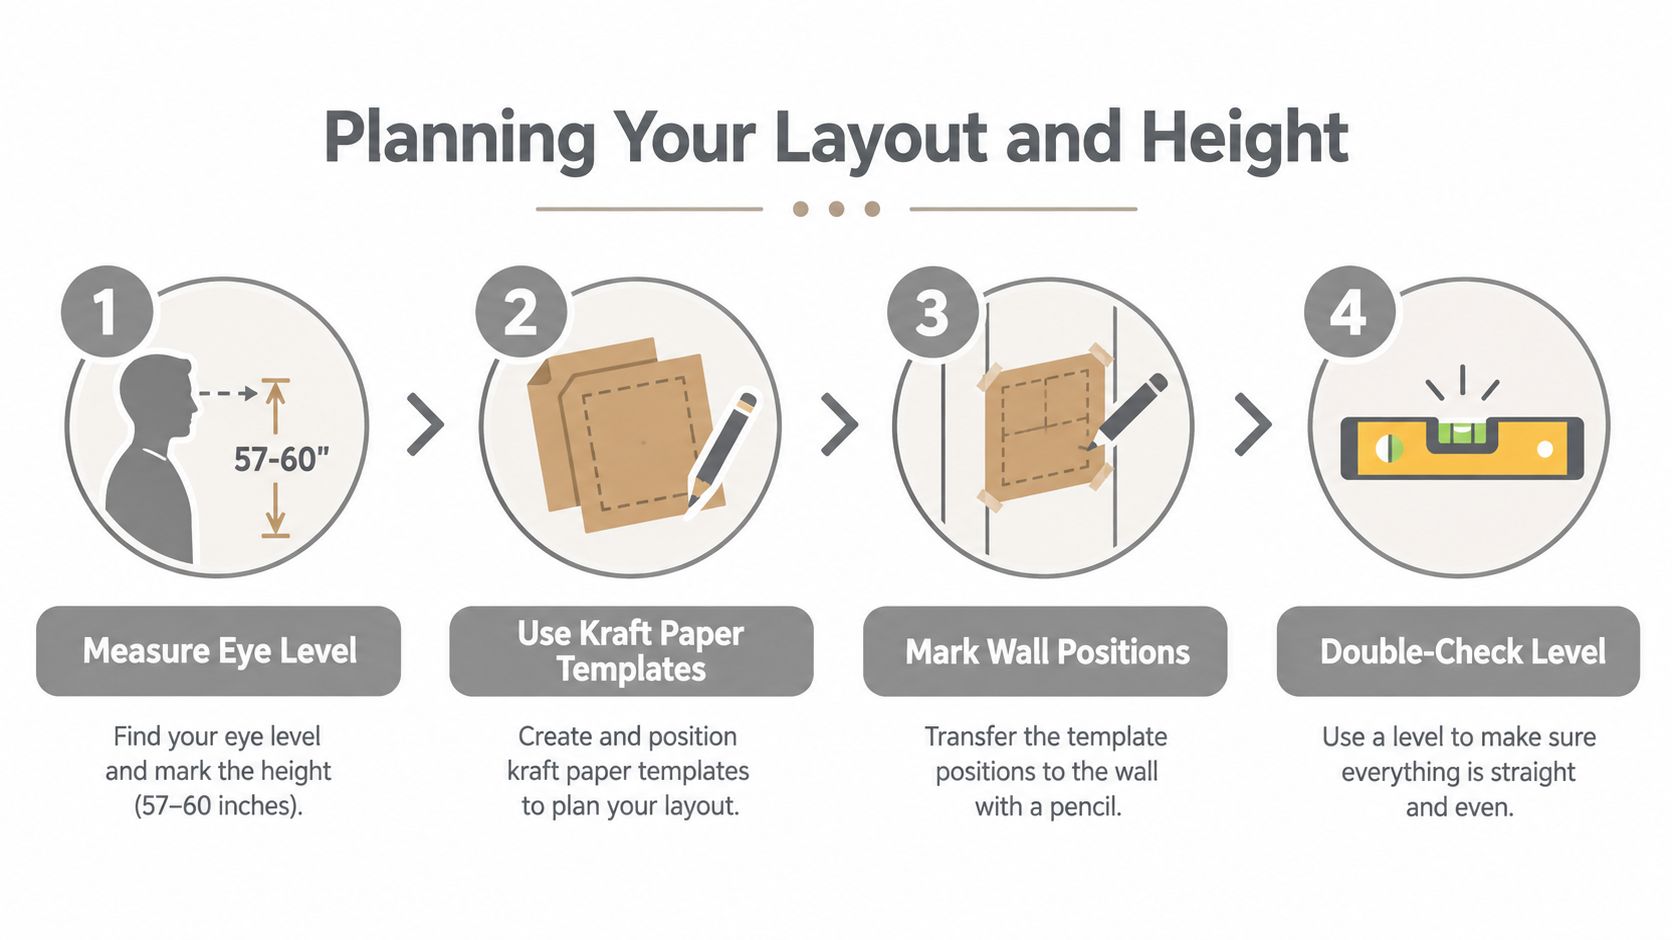
Use the gallery reference of placing the center of the artwork about 58 inches, or 147 cm, from the floor. Colorado Art Services explains the gallery hanging standard, including the related 57–60 inch viewing range. Treat these measurements as a starting point, then adjust for the room, furniture, and sightlines rather than forcing every installation to one line.
Calculate the mounting point
For one framed piece, calculate the fixing point in this order:
Measure the artwork height. Measure from the frame's bottom edge to its top edge.
Find the artwork's midpoint. Divide the frame height by two.
Add the centerline height. Add 58 inches to the midpoint.
Subtract the hanging drop. Measure from the frame's top edge to the point where the wire or hanger will rest, then subtract that distance.
Use this formula:
Artwork height ÷ 2 + 58 inches − hanging drop = wall fixing height
This result identifies the screw or hook location, not the frame's top edge. D-rings require measurement to the exact point that will sit on the fastener. Do not estimate the drop. Deep frames and slack wires can shift the fixing point enough to leave the finished artwork visibly too high or low.
Build the layout before drilling
For a gallery wall, cut kraft paper or cardboard templates to each frame's exact outside dimensions. Mark the top, center, and hardware positions on every template. Secure the templates with removable tape, then inspect the grouping from the room entrance and from the usual seating position.
Check spacing, alignment, and level before marking the wall. Keep the composition connected to the furniture below it instead of allowing the group to drift upward. A second person can hold the artwork at the proposed position while you judge the arrangement from normal viewing distance. Only remove the templates once the layout and fixing points both look right.
Choosing the Right Hardware for Your Wall
The wall substrate determines the mounting method. Conservation guidance from the Smithsonian's advice on caring for paintings emphasizes that studs are preferable when available and that fasteners for drywall, masonry, and wood aren't interchangeable. A generic instruction to “use an anchor” leaves out the decision that matters most: what the anchor is gripping.
Compare the wall surfaces
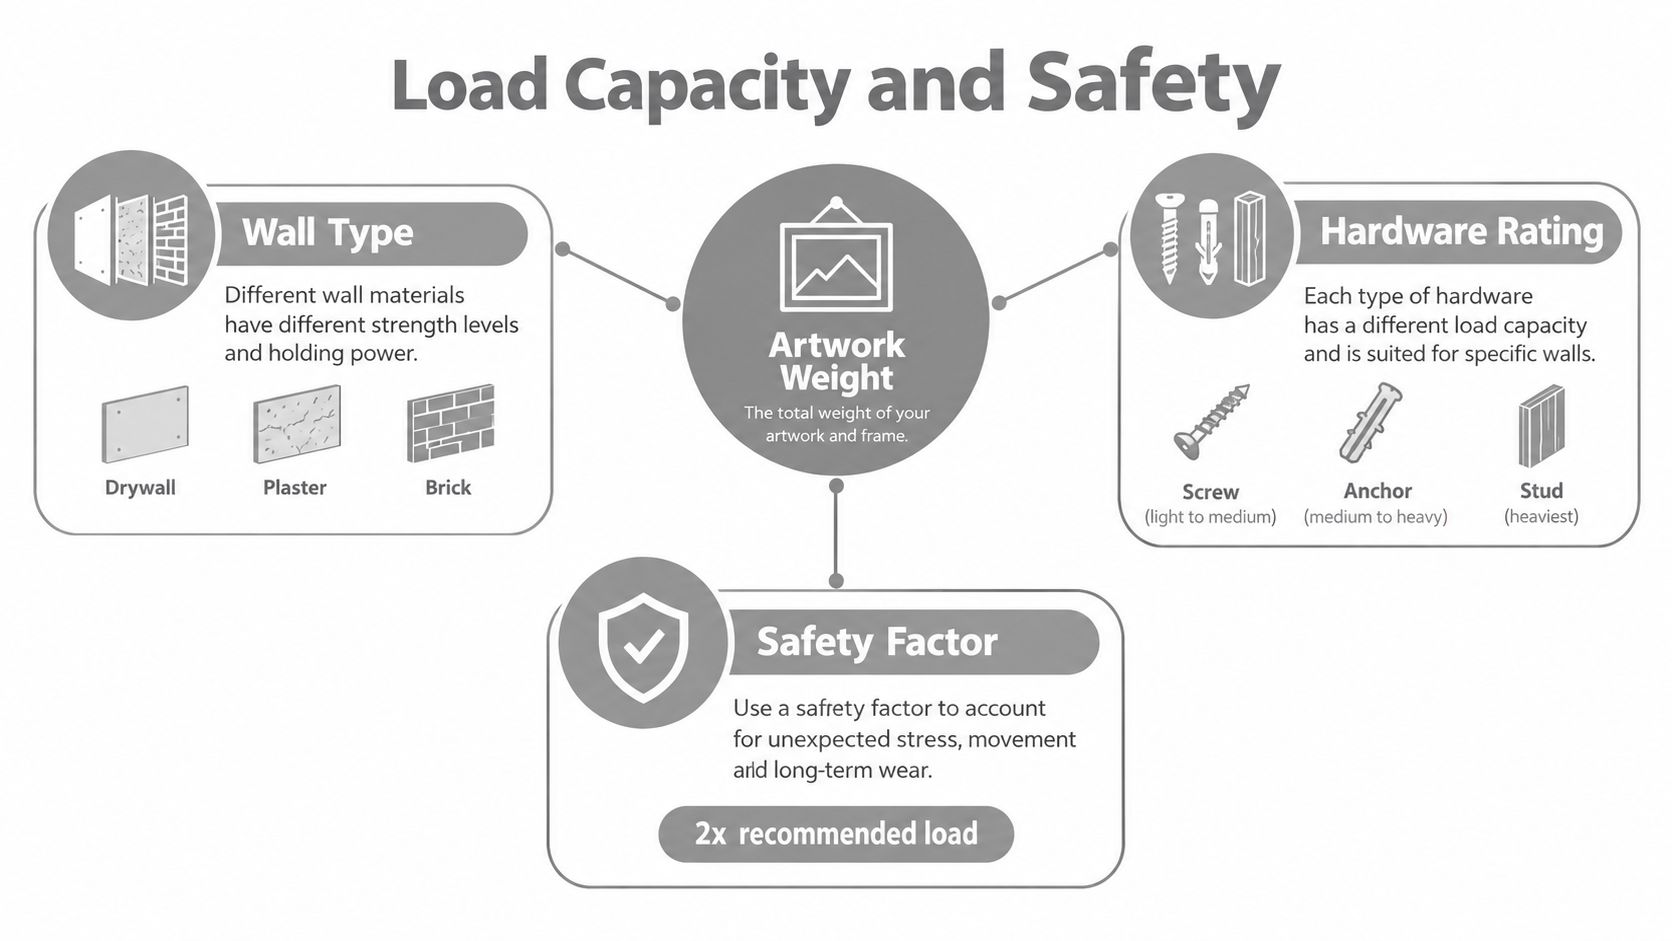
Drywall: Locate a stud first for heavier work. If the fixing point falls between studs, use a suitable hollow-wall anchor or toggle-style fastener that matches the drywall thickness and the hardware's working load. A basic plastic plug designed for masonry doesn't automatically become reliable in gypsum board.
Plaster: Plaster can be hard at the surface and fragile behind it. Drill carefully, avoid relying on a crumbling edge, and investigate whether wood lath or framing sits behind the intended point. A fastener that works in modern drywall can enlarge the hole or loosen the surrounding plaster.
Brick and concrete: Use masonry-rated screws, plugs, or anchors with the correct drill bit. The fixing must engage sound masonry, not a weak mortar joint unless the installation system specifically allows for that location.
Wood framing: A screw into a sound stud provides direct structural engagement. Pre-drill when appropriate, keep the screw aligned, and make sure the frame hardware can accept the resulting load without bending or pulling away.
The substrate is part of the hanging system. Treating every wall as drywall is how otherwise good hardware fails.
For larger or unusual installations, compare a professionally specified solution with wall brackets from XTREME EDEALS INC., especially where a bracket, rail, or projection from the wall changes the load path. The guide to picture hanging hardware can also help you compare D-rings, wires, sawtooth hangers, and other options.
Match the frame hardware to the piece
Small, light frames may use a sawtooth hanger or a single suitable fixing when the wall and load permit it. Larger frames generally benefit from two D-rings connected with tight picture wire, or from a cleat or rail system that distributes weight across a wider area. Keep the hardware firmly attached to the frame, and inspect the frame material before tightening screws. A screw driven into a weak stretcher bar or damaged moulding won't become secure because the wall anchor is strong.
Understanding Load Capacity and Safety Factors
A hardware label describes a rated capacity under stated conditions. It doesn't guarantee performance in an old wall, a vibrating hallway, a frame with loose hardware, or an installation that receives an accidental bump. Professional installers therefore build in a safety factor, rather than selecting a fixing that merely matches the artwork's static weight.
The AIG fine-art installation guidance recommends hardware supporting 25–50% more than the artwork's maximum weight. As a practical example, a 20-pound artwork should use hardware rated for roughly 25 to 30 pounds or more, as described in the AIG art installation guide. The margin accounts for uncertainty in the wall, hardware wear, installation quality, and movement that a static test doesn't capture.
Static weight is only the starting point
A frame doesn't hang in a laboratory. Someone may brush past it, a door may close nearby, or a building may transmit vibration through the wall. Wire can settle, anchors can loosen, and an aging wall can lose holding strength. These forces create a moving load, and the mounting system must tolerate them without transferring excessive pull to one weak point.
A field survey cited by GrailHuntr reported that 68% of residential wall damage involved improper hanging techniques, while 41% of incidents involved collapse from anchors installed in drywall. The same source describes an 8.3-pound frame failing with two standard drywall anchors rated at 22 pounds each when bumping or vibration affected the piece. Those figures and examples appear in this discussion of picture-hanging failures and safety factors.
The lesson isn't that every rated anchor is poor. It's that the printed rating can't be separated from the substrate, installation method, load direction, and dynamic conditions.
Design the whole load path
Think from the artwork outward:
Frame hardware: D-rings, cleats, or another attachment must be firmly fixed to the frame.
Wire or connector: Keep picture wire tight enough to limit tilt and prevent excessive pull.
Wall fastener: Select a fixing rated for the actual substrate and expected load.
Capacity margin: Use the additional 25–50% support margin recommended in the AIG guidance, rather than matching the artwork weight exactly.
The drywall load capacity guidance is useful when the intended fixing falls between studs. For projects where the wall structure itself needs investigation, information about beam type and span cost factors provides useful context about why hidden structure affects load decisions, even though a picture installation usually requires a much smaller intervention.
The Step-by-Step Hanging Process
Gather a tape measure, pencil, spirit level, stud finder, drill, appropriate bit, screwdriver, anchors, and the selected frame hardware. Protect the artwork by keeping it wrapped or face-up on a padded surface until the wall work is finished. Check the back of the frame for loose corners, weak moulding, bent D-rings, or a wire that has stretched.
Mark and prepare the wall
Transfer the calculated point. Use the height calculation from the layout stage to mark the fastener location. For two fixing points, transfer both positions from the frame or template.
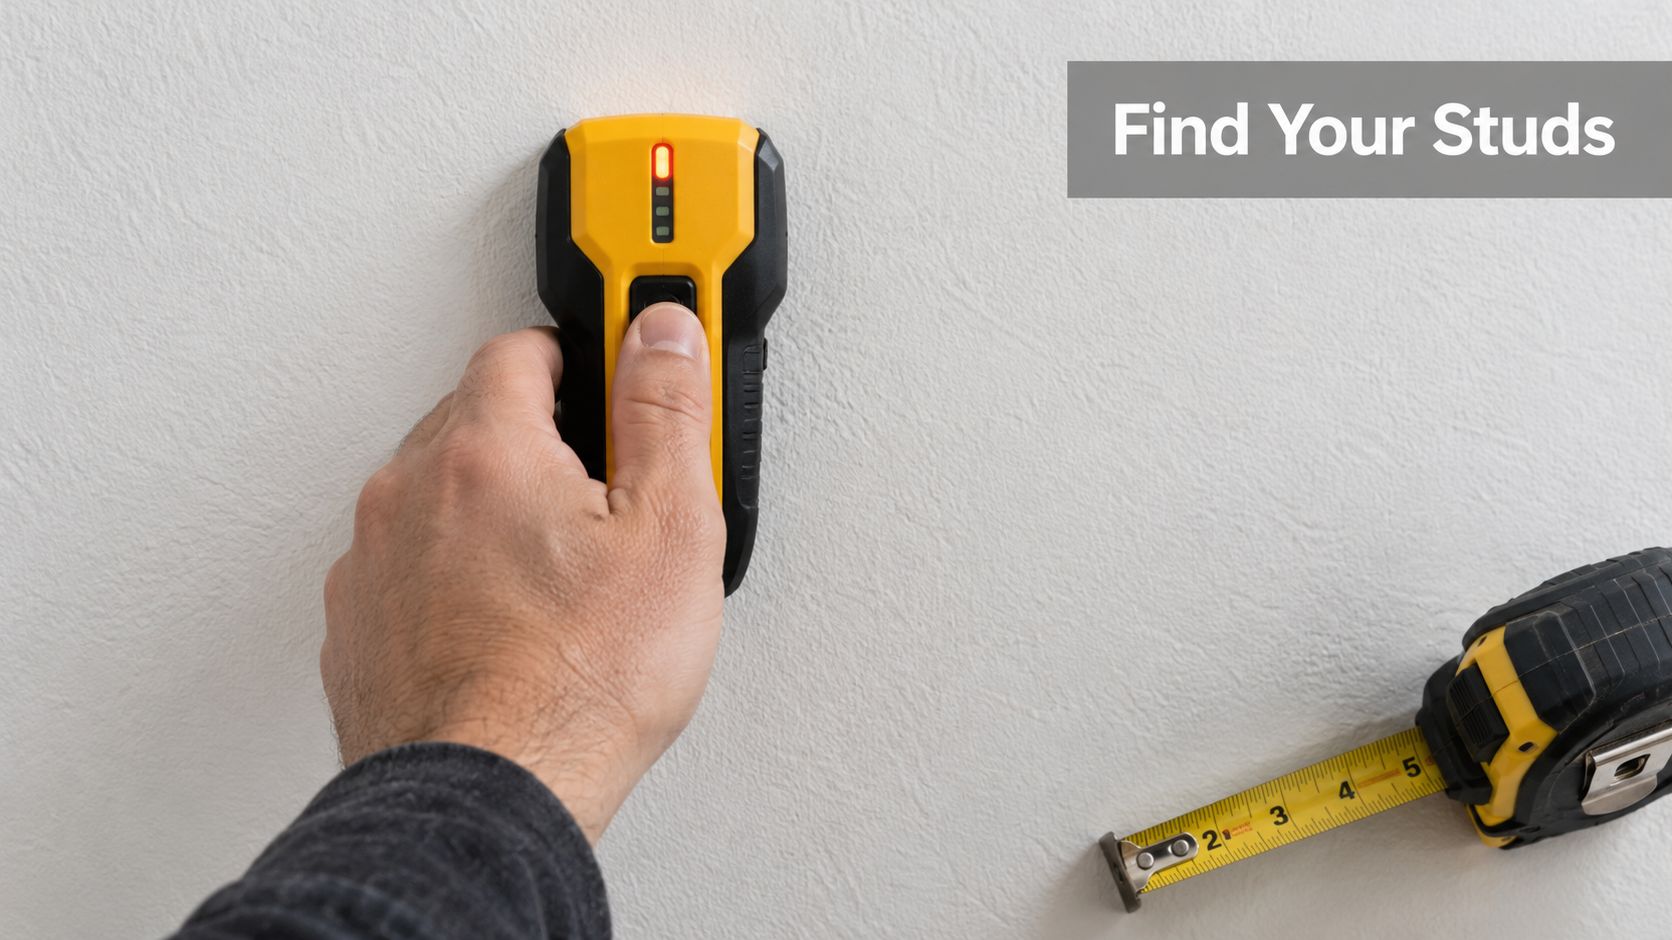
Check for framing. Sweep the stud finder across the area, then verify the result with repeated passes. A stud is the preferred fixing point for a heavy piece, but don't assume every signal identifies structural timber.
Inspect the substrate. Confirm whether the surface is drywall, plaster, masonry, or another material. Select the drill bit and anchor for that surface.
Drill a controlled pilot hole. Use the correct bit size, keep the drill perpendicular to the wall, and apply steady pressure. Stop when the hole reaches the required depth. Don't enlarge the opening by rocking the drill.
Install the anchor. Push or screw the anchor until it sits appropriately in the surface. If it spins, collapses, or enters a damaged area, stop and reassess rather than forcing the screw.
Drive the screw. Leave the head projecting enough for the D-ring, wire, or hanger to seat securely. Don't bury the head into soft drywall or overtighten until the anchor loses its grip.
This video provides a visual reference for the physical sequence of locating and preparing a mounting point:
Attach, lift, and level
Fit D-rings symmetrically on the frame when the design calls for two-point support. For picture wire, connect it tightly and check that the knots or twists don't slip. Lift the artwork with two hands, place the wire or hangers onto the fixings, and lower the frame slowly so you can feel whether both points have engaged.
Use a spirit level across the top edge, not just your eye. Correct a slight tilt by adjusting the wire, moving one fixing only when the layout allows it, or using a discreet bumper at the lower corners. Never correct a structural problem by wedging the frame with an unstable object.
Lighting, Placement, and Final Adjustments
A technically secure installation can still look wrong if the artwork catches direct glare or competes with the room. Stand at the main viewing position and check reflections from windows, lamps, and recessed lighting. Glossy glazing often needs a small change in angle or position, while a matte surface may benefit from more deliberate directional light.
Furniture provides a visual reference, but it shouldn't force the art into an uncomfortable height. Check the relationship between the frame and the sofa, console, mantel, or adjacent works. The 58-inch center benchmark remains a strong starting point for open wall space, while furniture-led arrangements may need a considered adjustment so the composition feels connected rather than suspended.
Perform a final physical inspection
Press gently at the upper corners to see whether the frame sits close to the wall without rocking. Check that the wire is seated, the D-rings haven't twisted, the screw heads haven't pulled forward, and the frame doesn't touch a nearby surface that could transmit vibration. Inspect the work again after the first settling period, especially in an older building or a busy passage.
Make small visual corrections only after confirming that the structure is sound. A level frame, controlled glare, clear sightline, and balanced relationship to nearby objects turn a safe installation into a convincing presentation.
Essential Mounting Checklist
Use this checklist before lifting the artwork into position. A secure installation starts with measurements, a suitable fixing, and enough capacity for real-world movement.
Measure the artwork: Record the frame height, width, weight, and the distance from its top edge to the hanging point.
Set the centerline: Use the 58-inch museum benchmark, with the 57–60 inch range as a practical viewing reference, as noted earlier in this guide.
Study the wall: Identify studs, drywall, plaster, masonry, or hollow construction before selecting an anchor.
Match the hardware: Choose frame hardware and wall fixings designed for the substrate, the artwork's weight, and the direction of the load.
Build in capacity: Select support rated 25–50% above the artwork's weight, following the AIG guidance linked earlier. This margin accounts for installation variables and ordinary movement.
Prepare the fixing: Mark accurately, drill a controlled pilot hole, install the correct anchor, and replace any damaged or spinning fastener.
Secure the frame: Check D-rings, wire, cleats, screws, and every connection between the frame and its support.
Level the artwork: Use a spirit level, then check for rocking, tilt, or contact with nearby furniture and walls.
Review the room: Confirm clear sightlines, controlled glare, suitable lighting, and a balanced relationship with surrounding objects.
Recheck the installation: Look for movement or loosening after the piece has hung for a while and after the room has experienced normal activity.
Heavy, high, fragile, or multi-piece installations require a more deliberate safety review. Colorado Art Services can evaluate the wall, calculate mounting points, select suitable hardware, and install artwork, mirrors, and framed works with careful attention to level and placement. Visit Colorado Art Services to discuss a residential or commercial installation requiring secure mounting and a museum-quality finish.
Comments