


Picture Hanging Putty: A Practical Guide to Use and Limits
Most advice about picture hanging putty treats it like a magic substitute for nails. That's the wrong mental model. Putty earns its place when you need a reversible, low-damage hold on a lightweight object, but it can still leave residue, stress paint, or fail when people use it outside its narrow lane. Surface condition and removal technique change the outcome, and that's why a real-world decision framework matters more than hype.
Why Picture Hanging Putty Is Not a Universal Nail Replacement
Picture hanging putty works in a narrow lane. It can steady a small frame, keep a lightweight item from sliding, and reduce wall damage when the surface is smooth and the load is modest. It does not replace a nail, hook, or anchor for everything else. Treating it like a universal hanger is how you end up with frames that creep, corners that tilt, and paint that comes off with the putty.
Reversible doesn't mean consequence-free
“Removable” and “harmless” are different claims. Putty can leave residue, and the result changes with surface type, paint condition, texture, and removal technique. That caution is the core issue, not a footnote.
Practical rule: use putty for a flat-backed, lightweight frame on cured, smooth paint. Skip it for fresh matte paint, textured walls, glazed pieces, or anything with real weight.
The trap is confidence. Putty feels simple, so people assume it can handle more than it should. It can hold a small object in place, but only if the object is low-risk, sits close to the wall, and does not need structural support.
The useful mental split
Putty is a temporary stabilizer. That is the right way to judge it. A small poster, a light frame, or a note display on a smooth wall fits that use. A mirror, a heavy frame, or anything that sticks out from the wall does not.
On installs and small DIY jobs at home, that is the test I use first. If the goal is to stop something from sliding, tilting, or rattling, putty can do the job. If the goal is to carry weight, hold value, or survive movement, use a proper hanger and hand the work off when the wall or object raises the risk.
What Picture Hanging Putty Actually Is
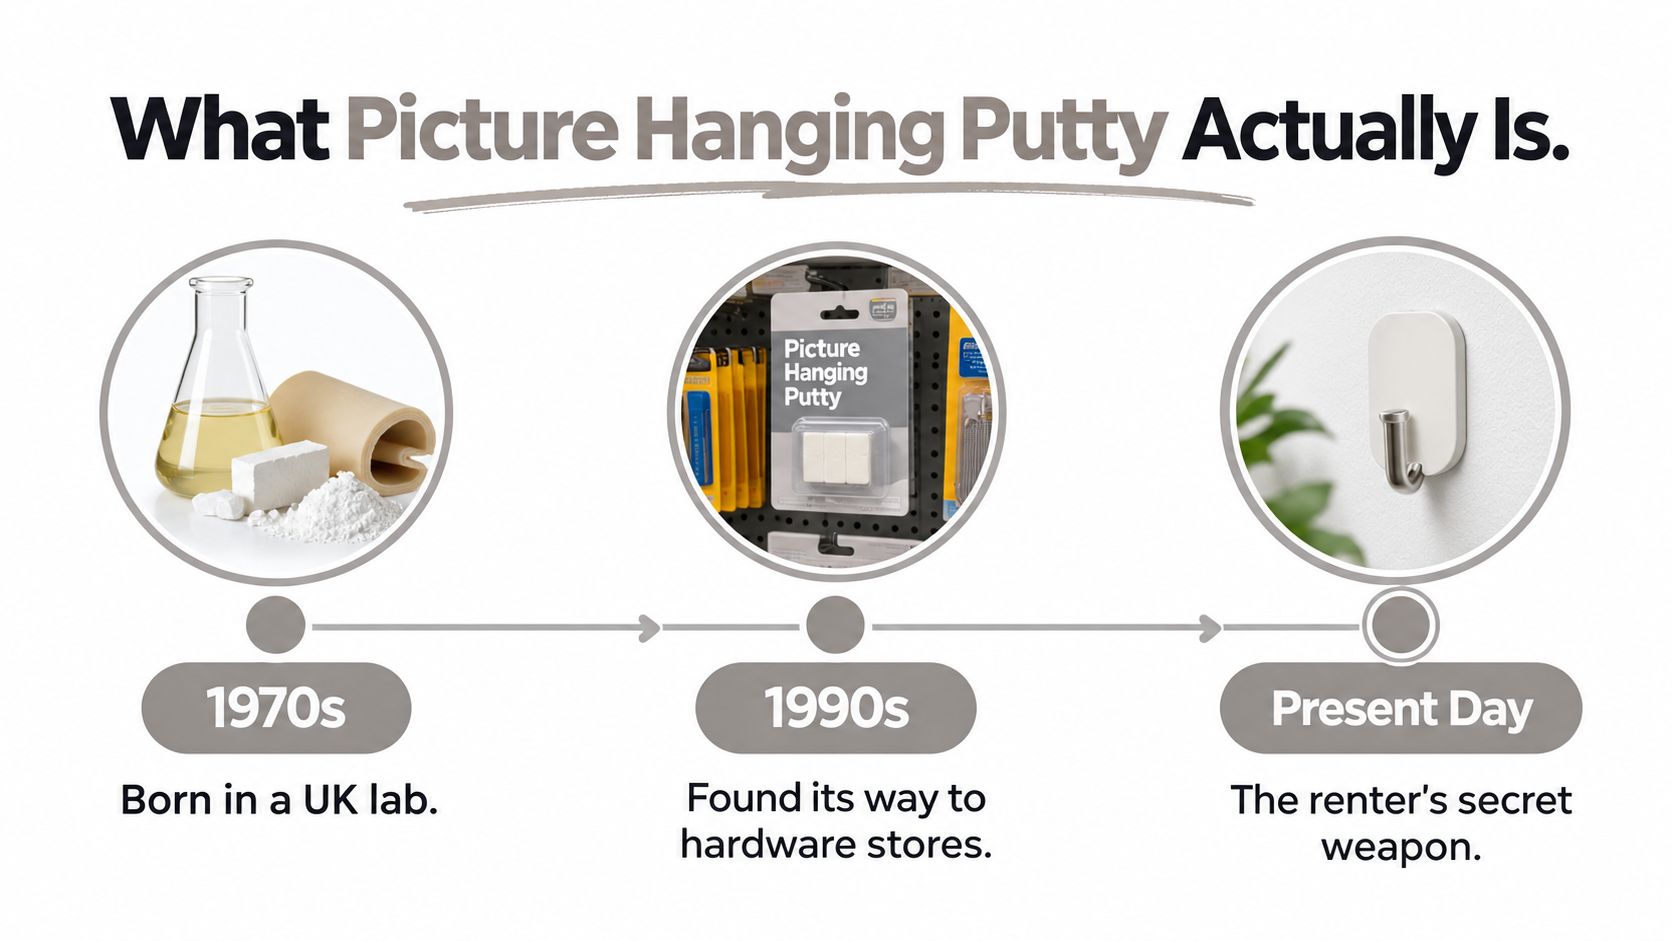
Picture hanging putty started as a practical fix, not a decorative product. Around 1970 in the United Kingdom, Bostik launched Blu Tack, and the material was reportedly found during lab work on a sealant made from chalk powder, rubber, and oil. The first version was white, then concern that children might mistake it for confectionery pushed the familiar blue color into place. That history still explains the product's behavior today.
Why the market matters, and why it doesn't
The category is mainstream, not niche. Analysts put the global removable adhesive putty market at about $1.65 billion by 2034. Those numbers show scale, but scale does not make a product structural.
That scale makes sense once you look at how the product works. It relies on pressure-sensitive adhesion, so it sticks when pressed against a surface instead of curing into a permanent bond. That is why it can be reused. It is also why its working range is narrow, because hold depends on contact quality, clean surfaces, and modest loads.
What it's good for in real rooms
Putty works best with lightweight posters, photographs, notes, and decorations. It is useful in rental units, dorms, temporary displays, and anywhere you want to stop small pieces from drifting out of line. The advantage is convenience, not strength.
On installs and small DIY jobs at home, I treat it as a temporary stabilizer. It can keep a flat-backed item from sliding, tilting, or rattling on a smooth wall. It cannot carry much weight, it does not fix a bad backing, and it is the wrong choice when the piece sticks out from the wall or the finish is touchy.
It's a reusable adhesive category, not a hidden anchor system.
That is the right mental split. Once you use it that way, the product makes sense, and the mistakes become easier to avoid.
How to Apply Picture Hanging Putty the Right Way
The best results come from treating putty like a contact tool, not a blob of filler. Use small, even contact points on a clean, completely dry wall and frame back. Surface area does the work, not volume.
The four-stage method
Start by cleaning both surfaces and letting them dry fully. Dust, skin oils, and moisture reduce contact and make the putty behave unpredictably. Next, knead the putty into a soft ball so it becomes workable rather than brittle.
Divide it into small tabs of equal size. Uneven tabs create uneven loading, and uneven loading is a common reason pieces drift or fail. Press each tab firmly between the frame and wall, so the putty spreads enough to grab without being overloaded.
A major manufacturer specifies four tabs per 1 lb (0.45 kg) of supported weight, but that figure is a product-specific upper guidance, not a universal engineering rating. Use it as a manufacturer's ceiling, not a promise of safety.
The three mistakes that ruin the job
Watch for three failures: dirty surfaces, tab sizes that don't match, and assuming the tab count equals structural capacity.
Those are the repeat offenders. A clean wall and a carefully prepared frame back matter more than the packaging suggests. Shape matters too. Anything with a high center of gravity or a frame that sticks far off the wall adds a prying force that putty wasn't made to manage.
Use the number, but don't worship it
The tab guidance helps you stay conservative, which is the right instinct. It does not mean you can keep adding tabs until the object becomes “safe” in a structural sense. Once the piece gets large, heavy, glazed, or awkwardly balanced, it belongs in a different mounting category.
For a visual reminder while you're working, the process flow above is the simplest version that holds up in real use. Clean, knead, divide, press. The method is simple because the material is simple.
Removing Putty Without Lifting the Paint
Removal is where a lot of wall damage happens. People pull straight outward, scrape too aggressively, or try to peel residue away in one motion. That's how paint lifts and finishes get marked.
The removal sequence that protects the wall
Support the frame first, then gently separate it from the wall. Don't yank the object away. Once the piece is off, roll fresh putty over the residue instead of scraping at it. The fresh material tends to pick up leftover bits more cleanly than a blade or fingernail.
The wall finish matters just as much as the removal motion. Smooth, fully cured paint is one thing. Fresh paint, chalky paint, wallpaper, and delicate historic finishes are another. If the finish is soft, absorbent, or already fragile, putty deserves a test spot before it gets anywhere near the final location.
The safest habit is to test an inconspicuous area for 24 hours before committing to a visible spot. That's especially important in rental units, older homes, or rooms where repainting would be expensive or impossible. A small test can save you from a much larger repair.
Putty removal risk by wall surface
Wall Surface | Behavior with Putty | Recommended Approach |
|---|---|---|
Smooth modern paint | Often suitable for small test applications | Test first, then use lightly |
Flat or matte paint | May show residue or lifting on removal | Use caution, avoid aggressive pulling |
Freshly painted drywall | Higher risk of marking or lifting | Wait for full cure, then test in an inconspicuous spot |
Wallpaper | Can tear or lose bond during removal | Avoid unless the surface is well tested and low risk |
Historic or delicate finishes | Sensitive to residue and lift | Hand off or avoid use |
For a related comparison on temporary hanging methods, the guidance at picture hanging strips and wall safety makes the same point in a different way, not every “removable” product behaves the same on every wall.
Picture Hanging Putty Compared to Hooks, Cleats, and Anchors
Putty earns its place at the bottom of the hanging kit. It helps with a light frame, a temporary display, or a small correction on a wall that is already in decent shape. It is a stabilizer with a narrow weight window, not a universal substitute for fasteners.
The trade-off is simple. Putty is the least intrusive choice when the object is light and the surface is smooth. Adhesive hooks give you a dedicated hanging point when the wall can take that kind of bond. Cleats and French cleats bring real mechanical support for heavier mirrors and pieces that need to sit level. Anchors belong on drywall jobs where the load calls for a more secure attachment method.
A practical way to sort the options is this:
Picture hanging putty: lightweight frames, rentals, and temporary displays.
Adhesive hooks: smooth surfaces where a small hanging load needs a dedicated point.
Cleats: heavier mirrors or pieces that need real mechanical support.
Anchors: drywall applications where the load demands a more serious attachment method.
That order matters on the wall, not just on paper. If the piece can shift, lean, or get touched often, I move away from putty fast. For readers comparing adhesive alternatives, how to use picture hanging Command strips is a useful companion guide because it shows where a stick-on hanger starts to make more sense.
No nail holes doesn't mean no hardware.
That is the part people miss. A cleaner installation still needs the right system, and the right system depends on the object, the wall, and how much failure you can tolerate. A rental wall, a staged room, and a permanent install all call for different choices.
If you are comparing methods while renovating a house in Epsom, the wall condition behind the art often decides the answer. Fresh paint, patching, and staging all change the risk. The hanging method should match the stage of the job, not just the size of the frame.
For hardware selection basics, picture hanging materials for mixed wall conditions is useful because it places putty in context instead of treating it like a cure-all.
A Quick Framework for Choosing the Right Hanger
Start at the wall, not the product page. The right hanger depends on the object, the surface behind it, and how much failure you can live with if it slips.
The four questions that matter
How heavy is the object? Light frames and small decor can sit in putty's narrow weight window. Once the piece gets heavier or awkward to handle, move to hardware with a real load path.
What's the frame depth and center of gravity? Deep frames and top-heavy objects create a prying load. At that point, putty stops acting like a hanger and starts acting like a temporary stabilizer.
What is the wall substrate? Drywall, plaster, tile, textured finishes, and aged paint all behave differently. The wall condition often matters as much as the adhesive, which is why this hanger materials guide is useful when you are sorting out your options.
Who has to live with the result? Renters usually care more about reversibility. Owners often care more about long-term stability. If the piece sits where people brush past it, or where a slip would cause damage, putty should drop to a backup role fast.
That is the right boundary to keep in mind.
For temporary stabilization, putty can be a tidy answer. For anything that needs true support, use a mechanically anchored hanger, a rated cleat, or another method that matches the load and the wall.
A practical example is renovating a house in Epsom. Fresh paint, patching, and staging can change how much risk you should accept, so the hanging method should match the condition of the wall, not just the size of the frame.
The same logic applies to shelves, tall cabinets, and anti-tip setups. Putty can steady a small contact point, but it should not be treated as the main support when gravity, vibration, public access, or impact risk is in play.
When to Hire a Professional Picture Hanger Instead
Some jobs are still DIY-friendly, but plenty aren't. Oversized frames, high placement, gallery walls with precise spacing, commercial installs, and anything with real insurance or collection value all push you toward professional installation. Once the piece is expensive, heavy, or awkward to reach, the cost of a mistake climbs fast.
Clear handoff conditions
Heavy or oversized work: anything that needs real load support, not just surface contact.
High-mounted pieces: installs above seated head height where level, reach, and safety all get harder.
Public or workplace areas: offices, lobbies, and shared spaces where a failure can hurt people or damage property.
Valuable or irreplaceable art: when conservation, insurance, or provenance makes a miss too costly.
Complex wall conditions: old plaster, fragile finishes, or walls that don't give you a straightforward mounting answer.
A pro also helps when the layout has to be exact across multiple pieces. That's not just about hanging something straight, it's about spacing, alignment, and making sure the entire wall reads as one intentional composition. Putty can still help with minor stabilization, but it shouldn't carry the load in those situations.
If your job sits inside that gray area, the better move is to stop treating it like a fast DIY fix and get the wall assessed properly.
Colorado Art Services handles precise picture hanging, art installation, and heavy-piece mounting for homes, offices, galleries, and collectors across the Denver Metro area and Front Range. If you want the work done cleanly, level, and with the right hardware for the wall and the piece, visit Colorado Art Services and ask for help with your next installation.
Comments