


Picture Hanging Command Strips: Complete Guide
Small Command picture-hanging strips are rated for 1 pound per set, while extra-large configurations can be rated for up to 20 pounds, so there is no single universal capacity for “Command strips.” The safe choice depends on the exact product, the complete frame weight, the frame's dimensions, and the wall surface.
You may be standing in front of a framed print right now, holding the package in one hand and wondering whether adhesive is enough. That decision shouldn't be based on how many strips you have left in the drawer. A broad frame can put more strain on the wall than a compact frame of the same weight, and a warm, textured, or poorly cleaned surface can defeat a correctly rated product.
The practical rule is simple: treat the package rating as a limit, not a target. Weigh the entire installed object, check the maximum frame dimensions, prepare the wall properly, and choose mechanical hardware when the consequences of failure are serious.
Understanding Command Strip Capacity
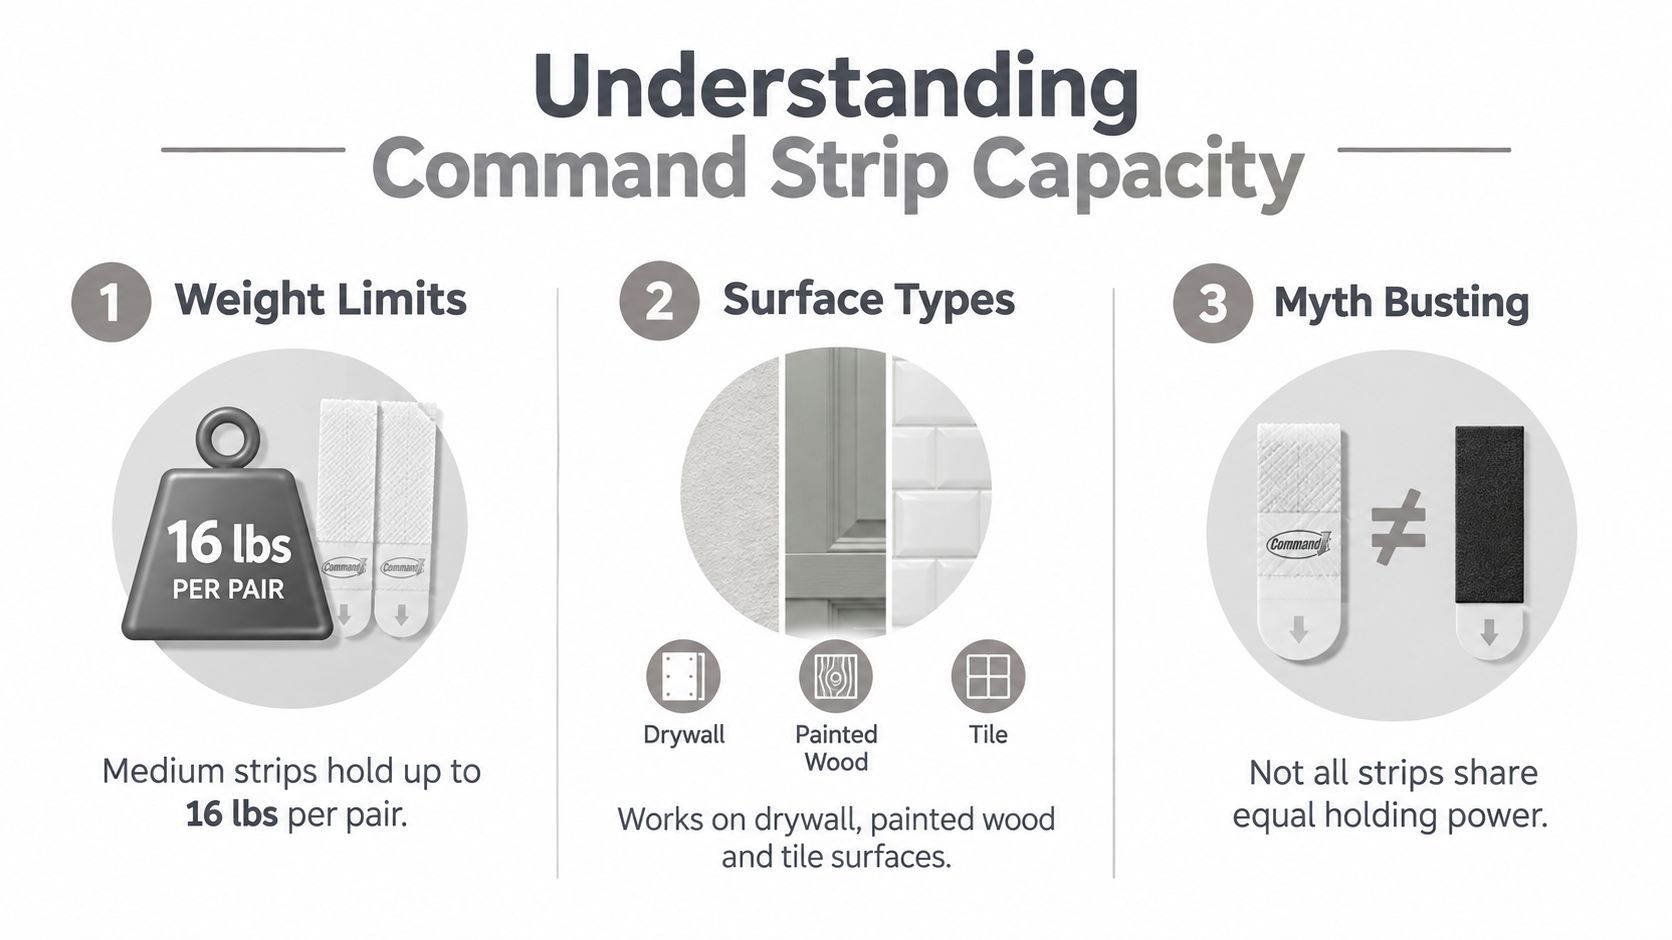
Many homeowners assume that all picture-hanging Command strips have the same holding power. They don't. The product family includes different strip sizes and configurations, and the rating printed on one package shouldn't be transferred to another.
3M's weight-limit guide rates small picture-hanging strips at 1 pound per set, medium strips at 3 pounds per set, and large strips at 4 pounds per set. It also identifies narrow strips at 3 pounds per set, with black medium and black large versions rated at 3 and 4 pounds respectively. The wider U.S. catalog includes configurations advertised at 3, 4, 5, 8, 10, 15, and 20 pounds, depending on the specific product. See the official Command weight-limit guide before selecting a package.
Read the rating as a system limit
The rated capacity applies to a particular product, arrangement, and installation condition. It isn't a promise that any frame under that number will remain secure on any wall. A lightweight object can still fail if the adhesive contacts dust, the frame flexes, or the strips are loaded before the bond develops.
Before buying, record three things:
The exact product: Note the size, color, model, and package rating.
The complete object weight: Include the frame, glass, backing, mat, hardware removed or retained, and anything mounted inside.
The frame dimensions: Confirm that the package allows the physical size of your frame, not only its weight.
Practical rule: Never extrapolate from one strip size to another. “Command strips” describes a product family, not one standardized fastener.
For additional context on why wall construction still matters, review this guide to drywall load capacity. Adhesive strips may suit a light, appropriately framed piece on a compatible surface. Heavy art, large-format work, sculptures, valuable objects, and pieces exposed to vibration or changing conditions belong in a more engineered mounting conversation.
Preparing Walls and Surfaces for Adhesion
Adhesive doesn't bond to the wall in the abstract. It bonds to the actual surface, including whatever dust, oil, moisture, paint residue, or cleaning product remains there. Surface preparation is therefore part of the load calculation, not a cosmetic extra.
Remove the frame's existing hanging hardware first, then check the contact area on the back. The strips need a firm surface, not loose paper, fabric, soft backing, or a frame section that flexes under pressure. On the wall, clean gently with isopropyl rubbing alcohol and allow it to dry completely. Household sprays and wipes can leave residue that interferes with adhesion, even when the wall looks clean.
Match the surface to the adhesive
The intended conditions are smooth, dry indoor surfaces, including painted walls, finished wood, tile, glass, metal, and painted concrete. Dusty, oily, damp, textured, wallpapered, vinyl, or weak surfaces create a poor bonding interface. Textured paint is especially troublesome because the adhesive may touch only the raised points rather than forming consistent contact.
Temperature matters too. The installation range is 50°F to 105°F, or 10°C to 40°C, and a freshly painted wall should cure for seven days before application. The Command application FAQs provide the manufacturer's surface and environmental guidance.
Avoid “improving” the bond with extra glue, tape, household cleaner, or an improvised backing pad. Those additions change the contact surface and can make removal unpredictable. If the wall is damp, recently painted, heavily textured, or visibly weak, the correct response is to change the mounting method rather than hope additional strips will compensate.
Installing Strips for Maximum Hold
A reliable installation starts with the frame, not the wall. Remove the hanging wire or other hardware, identify firm contact points, and make sure the back of the frame can sit flat without rocking.
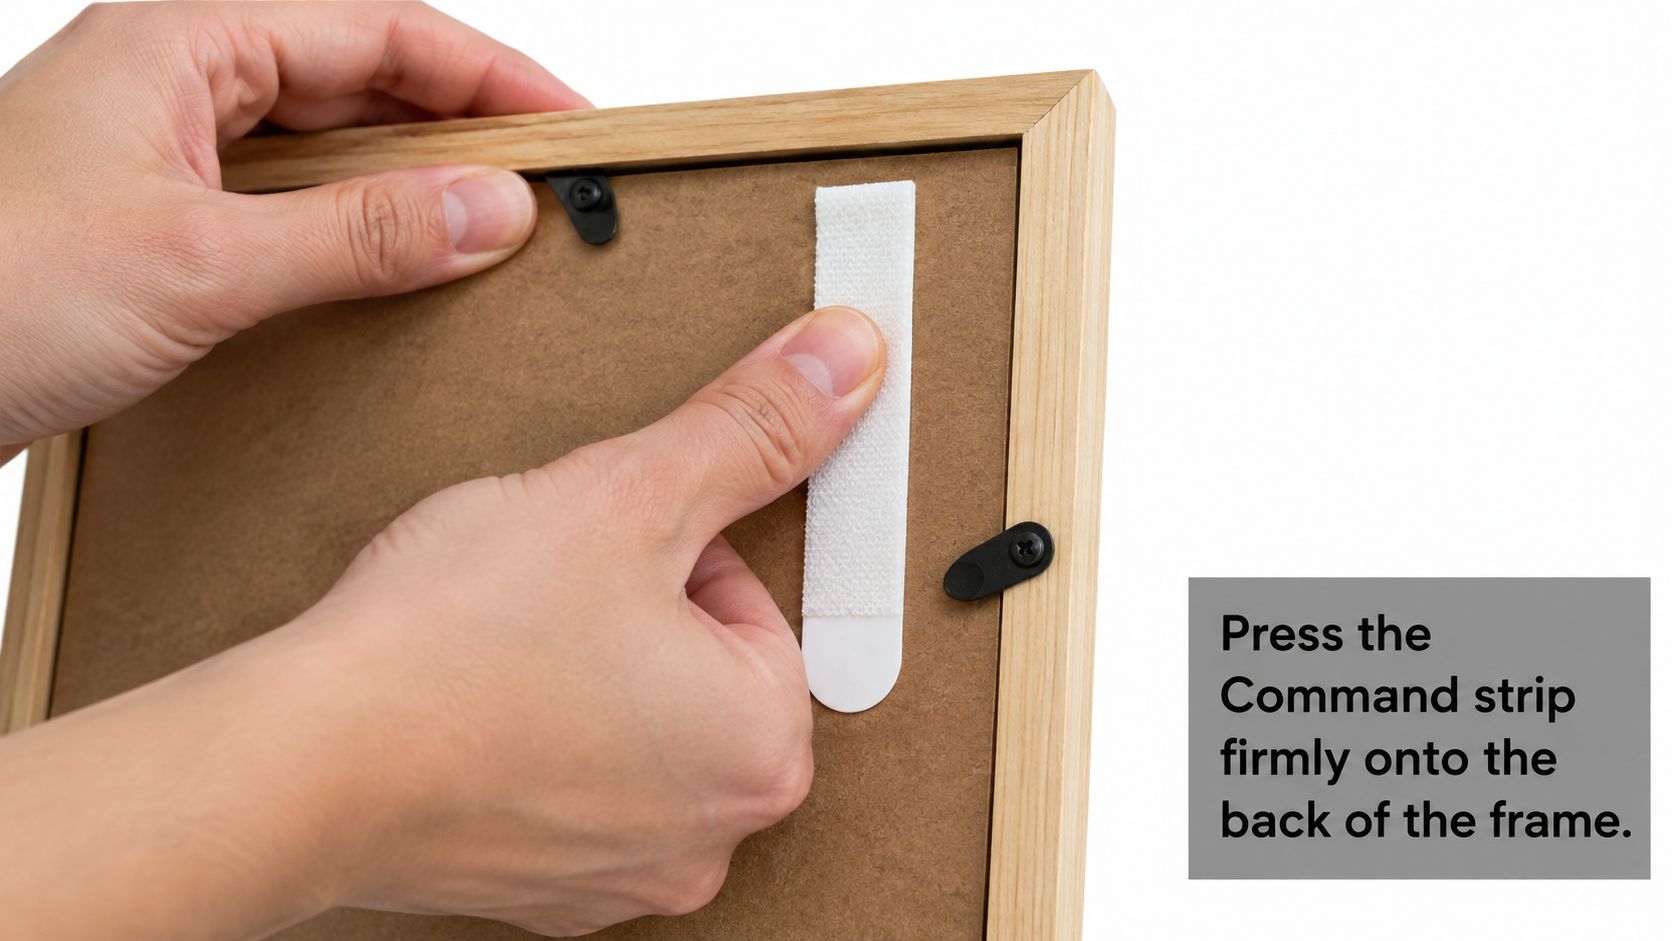
Pair the strips according to the package instructions and apply the paired sets to the frame. Place the lower pair approximately two-thirds down from the frame's top edge. This arrangement helps control movement and reduces the tendency of the frame to lever away from the wall.
Use pressure and patience
Position the frame carefully, then press the frame-mounted strips firmly against the wall. Maintain even pressure across the contact areas instead of pressing only at the corners. Misalignment at this stage can leave one strip carrying more of the load than its partner.
For a detailed walkthrough, use this picture hanging strips installation guide. The step many skip is the waiting period. Leave the frame unloaded for at least one hour so the adhesive can build holding strength before you hang or load it.
The hour isn't wasted time. Immediate loading asks the adhesive to support the frame before it has established the intended bond, and a frame that appears secure can shift later. After the waiting period, check that the frame sits flat, the interlocking strips are fully engaged, and the object isn't rocking or pulling away from the wall.
A visual reminder of the application sequence is useful before you begin:
Don't use a strip count as a substitute for the package instructions. Four poorly positioned pairs won't correct an unsuitable surface or an oversized frame.
Matching Weight Limits to Frame Sizes
A weight rating is only part of the decision. Frame dimensions determine how the load is distributed, how much the frame flexes, and how much strain develops at the top and bottom contact points.
U.S. specifications rate four pairs, or eight interlocking strips, for up to 10 pounds, or 4.5 kilograms, on medium frames up to 18 by 24 inches, or 46 by 61 centimeters. The extra-large version is rated for up to 20 pounds, or 9.1 kilograms, on frames up to 24 by 36 inches, or 61 by 91 centimeters. These figures come from 3M's Command product FAQs. They describe specific configurations, not a general rule for every package.
Compare the whole installation
A compact frame near its permitted weight may place a manageable load on each contact point. A wide frame at the same weight can produce more rotational force when its lower edge moves away from the wall. Glass, deep mouldings, shadow-box construction, and flexible backing can increase that movement.
Regional packaging can differ as well. Certain large products in other markets list four pairs at up to 15 pounds, or 6.8 kilograms, which is why the package in your hand takes priority over an online summary.
Use this check before installation:
Check | What to confirm |
|---|---|
Weight | Weigh the complete frame, not just the artwork |
Dimensions | Stay within the package's maximum frame size |
Configuration | Use the exact number and type of pairs specified |
Environment | Avoid conditions where heat or moisture can weaken the bond |
If you're comparing adhesive hanging with a more conventional support system, a resource such as the Value Tools Co bracket guide can help clarify how brackets distribute loads in other mounting applications. The principle is the same: hardware selection must reflect both the load and the geometry.
Room temperature deserves attention in sunny spaces. Adhesive can soften above 105°F, or 40°C, so a frame mounted on a hot wall near direct sunlight may face a different risk than the same frame in a stable interior location.
When to Choose Anchors or Hooks Instead
Command strips become the wrong tool when the object, location, or environment leaves little tolerance for failure. A light decorative print in a quiet hallway is a different installation from an irreplaceable painting over a bed, a deep frame in a busy corridor, or a sculpture that experiences vibration.
Reported failure conditions include poor cleaning or pressing, loading the frame too soon, humidity or temperature changes, unsuitable surfaces, and exceeding the product rating. Those risks can combine. A frame may be within its stated weight limit and still fail because the wall was damp or the contact surface was textured.
Use consequence as the deciding factor
Choose adhesive strips when the piece is light, the frame fits the exact size and weight requirements, the wall is smooth and dry, and a temporary or low-risk installation makes sense. Move to mechanical hardware when any of the following applies:
High value: Valuable or irreplaceable artwork deserves a mounting method selected for security, not convenience.
Heavy construction: Large frames, sculptures, deep objects, and glass-heavy assemblies can create forces that a simple adhesive arrangement isn't designed to manage.
Risky placement: Items over beds, seating, stairways, or fragile furniture warrant a more conservative decision.
Unstable conditions: Humidity swings, heat, vibration, textured walls, and weak finishes reduce confidence in adhesive alone.
Permanent display: A long-term installation should account for changing conditions rather than only the moment of application.
Wall anchors can provide a stronger mechanical connection when the substrate and anchor type are appropriate. Stud-mounted screws offer a direct structural attachment where the layout permits. French cleats can distribute the load across a broad horizontal support and are often a better choice for large or heavy pieces.
The picture hanging materials guide can help you compare mounting approaches. The correct upgrade isn't always the heaviest hardware. It is the method that matches the wall, object, geometry, access, and consequence of failure.
Adhesive strips remove the need for a hole. They don't remove the need for an engineering decision.
For a valuable collection, a professional installer can evaluate the complete object and wall rather than relying on a guessed weight. That assessment is particularly important when placement, leveling, vibration control, or safe handling matters as much as the fastener itself.
Finalizing Your Hanging Strategy
A good installation is usually decided before the strip touches the wall. Weigh the complete frame, measure its outside dimensions, read the exact package rating, and inspect the contact surfaces. If any part of that sequence produces uncertainty, stop and choose a mounting method with more tolerance.
The final review should be deliberate:
Confirm the surface: It should be smooth, dry, clean, and suitable for adhesive.
Confirm the environment: Keep the installation indoors and within the stated temperature range.
Confirm the frame: Remove unsuitable hardware and identify firm, non-paper, non-fabric contact points.
Confirm the configuration: Match the strip size, pair count, weight rating, and frame-size limit.
Confirm the cure time: Wait at least one hour before hanging or loading the frame.
Confirm the result: Check that the frame is level, flat, fully engaged, and stable.
Humidity fluctuations and textured walls deserve special caution because they move the installation away from the conditions assumed by the product instructions. A frame can look perfect at the moment it is installed and become less secure as the surface or adhesive changes.
Final check: If the object would be costly, dangerous, or impossible to replace after a fall, don't make adhesive convenience the deciding factor.
For ordinary low-risk artwork, correctly selected picture-hanging Command strips can keep a room free of nail holes while allowing a clean, controlled installation. For heavy, valuable, oversized, or exposed pieces, Colorado Art Services can assess the wall and install artwork, mirrors, sculpture, and other objects with attention to placement, leveling, and safe mounting. Visit Colorado Art Services to discuss a residential or commercial installation before you commit a valuable piece to an uncertain hanging method.
Comments