


Picture Hanging Tape: A Pro Guide to Using It Right
You've found the frame you want on the wall, but the drill is still in the toolbox, the layout isn't quite settled, and the thought of patching holes later is unappealing. Picture hanging tape seems like the clean answer: no nails, little hardware, and a quick way to place lightweight art.
It can work well, but only when the tape, wall, frame, and load suit one another. A frame that hangs perfectly in a controlled room may fail on textured paint, a dusty surface, or an uneven backing. Worse, “removable” describes an intended removal method, not a guarantee that every coating or artwork will remain undamaged.
The Promise and Peril of Picture Hanging Tape
The appeal is obvious. Adhesive tape avoids drilling, keeps a rental wall visually clean, and makes temporary displays easier to adjust. For a lightweight poster or a small, stable frame on smooth, fully cured paint, it can be a sensible DIY choice.
The problem starts when convenience gets mistaken for universal reliability. A frame doesn't pull straight down. A projecting moulding, a warped backing, a hanging wire, vibration from a closing door, or a small contact area can create peel at the tape's edge. Adhesive bonds generally perform better when the load stays parallel to the wall, while peeling concentrates force at a narrow edge.
Installer's rule: If the frame, wall, or contents would be costly to replace, treat adhesive tape as a convenience product, not as the primary safety system.
The technology behind these products is established, but that doesn't make every installation safe. Pressure-sensitive adhesive tape began with Dr. Horace Day's natural-rubber surgical tape in 1845, then moved into industrial use. In 1925, 3M engineer Richard Drew developed masking tape for removable paint masking during automobile production, followed by clear cellulose tape in 1930. This progression is documented in the history of pressure-sensitive adhesive tapes.
That history explains why modern tape can deliver a strong bond through pressure, surface contact, backing material, and adhesive chemistry. It doesn't remove the need for preparation or change the limitations of a painted wall. The right question isn't only whether tape will stick. Ask whether it will hold the particular frame, release from the particular surface, and protect the particular artwork for the intended display period.
Choosing the Right Tape for Your Project
Tape categories overlap, but they aren't interchangeable. Select based on the object's mass, the frame's depth and rigidity, the wall finish, and whether the display is temporary or expected to remain in place.
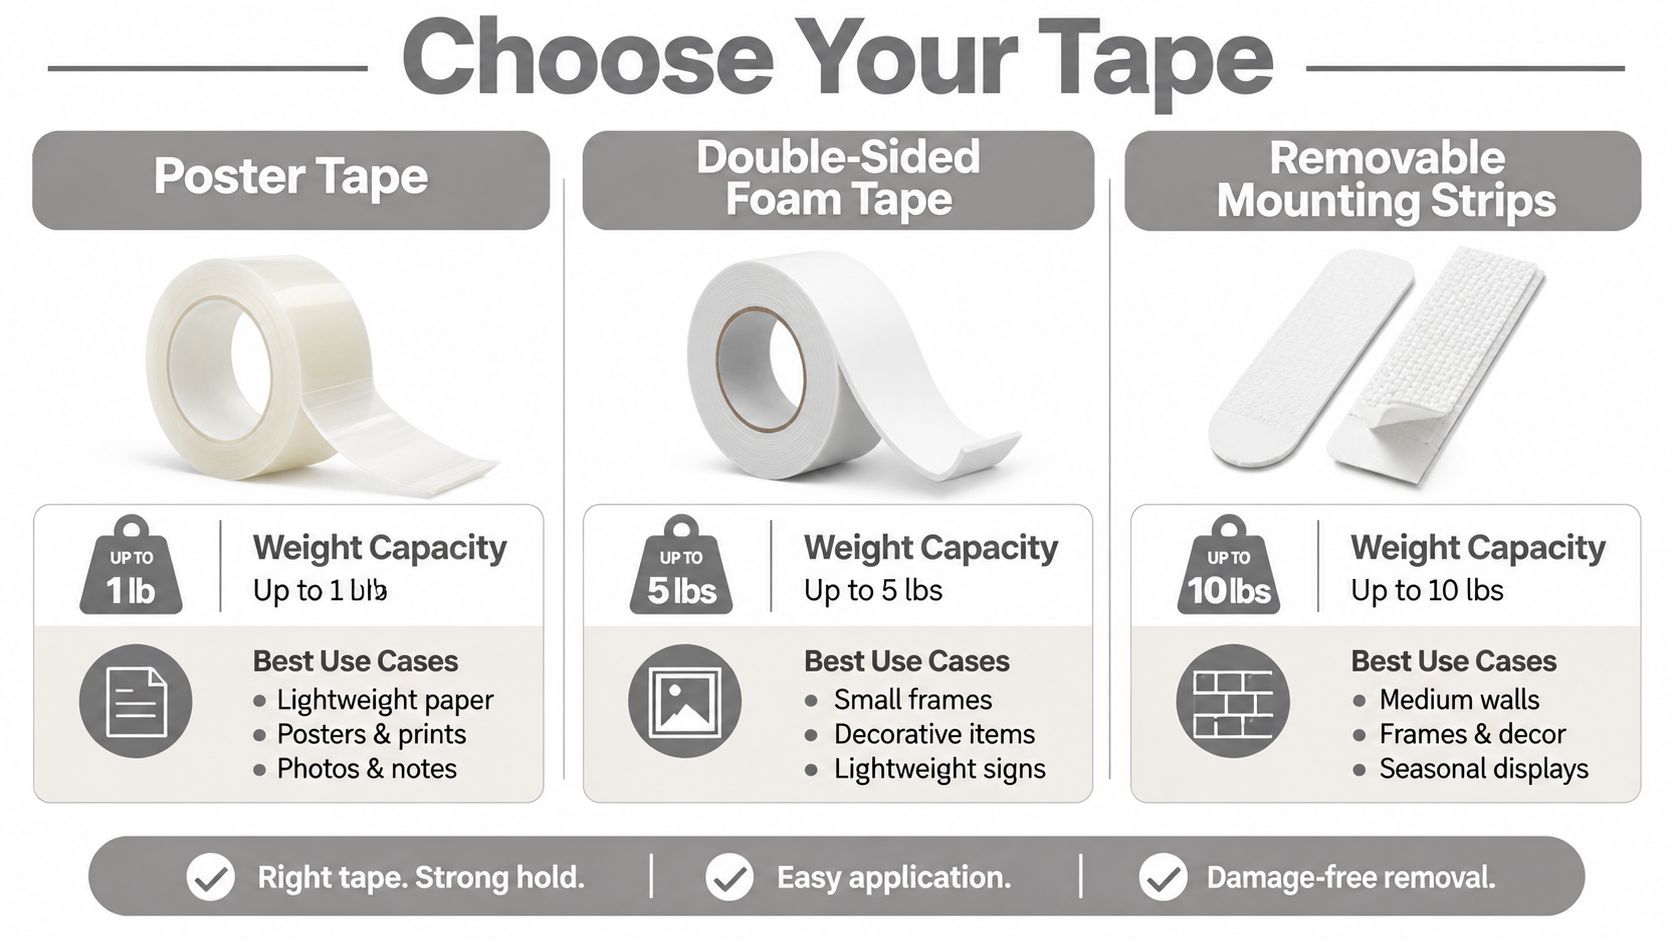
Poster tape for very light displays
Poster tape, putty, and similar low-profile products suit paper posters, temporary notices, and very light unframed décor. They're useful where the object has little hold and removal matters more than long-term security.
They're a poor choice for framed art. A frame can shift, concentrate load at small contact points, or separate from the wall as the adhesive ages. Avoid using poster products for glass-fronted frames, valuable prints, or anything placed where a fall could injure someone or damage furniture.
Double-sided foam tape for stable small frames
Foam tape adds thickness and can conform slightly better than a thin poster adhesive. It may suit a small, rigid object on a smooth, clean wall when the manufacturer specifically approves the application.
Its apparent strength can be misleading. Foam tape often creates a permanent-style bond, and removing it may pull paint or leave adhesive behind. It also doesn't compensate for a crooked or flexible frame. If the frame rocks against the wall, the tape is repeatedly exposed to peel rather than maintaining a stable shear load.
Removable mounting strips for temporary décor
Interlocking removable strips are designed to separate from the frame and wall, making them more practical for rotating displays. They're appropriate only within the product's stated application conditions. Smooth, sound painted drywall is usually more predictable than wallpaper, brick, plaster, tile, or textured coatings.
Don't treat a laboratory rating as your working load. One product sheet reports 1,000 g static shear strength at 22°C under ASTM D3654 conditions, but that result comes from a controlled specimen and shouldn't be transferred directly to painted drywall or a finished frame. The manufacturer's technical product information also makes clear why a concealed bond test matters.
Before choosing tape, assess the wall and the object together. For a more detailed look at how the substrate affects fastening decisions, use this guide to drywall load capacity.
Perfect Preparation for a Secure Bond
Most adhesive failures begin before the tape reaches the wall. Dust, cooking residue, hand oils, silicone-containing cleaners, loose paint, condensation, and an uneven coating can all prevent consistent contact.
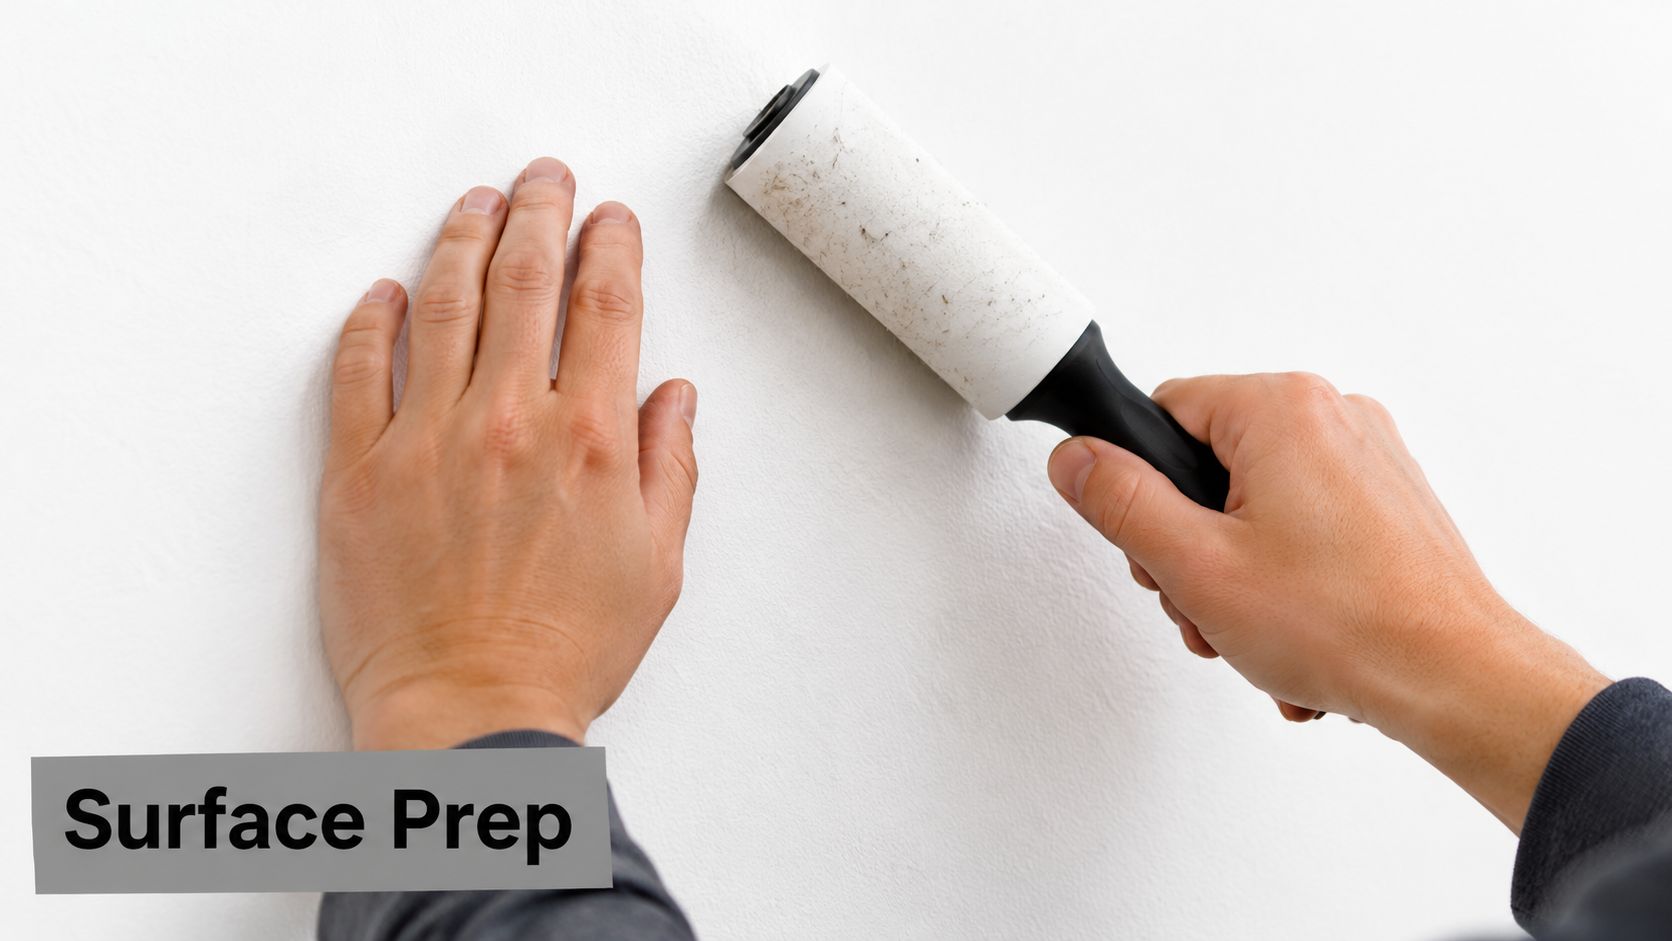
Start by checking the wall under good light. Look for bubbling paint, powdery patches, hairline separation, fresh touch-ups, and texture that leaves only the high points available for bonding. A dry cloth may remove visible dust, but it won't reliably remove oily film. For a compatible painted surface, clean the contact area with isopropyl alcohol as directed by the product manufacturer, then let it dry completely.
A practical preparation sequence
Confirm the finish. Smooth, firmly bonded, fully cured paint is more predictable than wallpaper, plaster, brick, tile, or textured paint.
Clean the contact zones. Use the recommended cleaner and avoid leaving moisture or cleaner residue behind.
Inspect the frame. Make sure the backing is flat, the bumpers don't hold the frame away from the wall, and the tape will sit on a sound surface.
Test out of sight. Apply a small piece to a concealed wall area using the same cleaning method and orientation planned for the installation.
Check after dwell time. Look for paint movement, bubbling, edge lift, residue, or a weak release before trusting the bond.
Temperature matters too. A professional bonding guide recommends application in roughly 15–25°C, and controlled test conditions near 23°C ± 1°C with 50% ± 5% relative humidity. Those conditions aren't a promise of performance in a damp bathroom or a cold Colorado garage. They show how strongly installation conditions affect adhesive behavior.
The following demonstration can help you visualize surface preparation and application handling. Use the product's own instructions as the final authority.
Application Techniques for Maximum Hold
Good placement keeps the frame in shear and spreads the load instead of allowing one small section to carry everything. Begin with the frame on a protected work surface. Remove dust from the frame back, confirm that the intended tape locations are flat, and identify any hardware or bumpers that could push the frame outward.
Build a stable contact pattern
Place pairs or strips symmetrically, with the strongest support toward the upper portion of the frame and additional support lower down where the product instructions allow it. Keep the tape vertically aligned. That arrangement helps distribute downward force and reduces twisting.
A deep frame needs more caution than a shallow frame of similar mass. The farther the frame projects from the wall, the more twisting force it can create. A warped back, a loose wire, or a proud corner can turn a nominally flat installation into a peel-loaded joint.
Attach the frame-side pieces first, following the product's orientation marks. Press each piece firmly and evenly across its full surface. Air pockets reduce contact, while a partially bonded edge can become the starting point for failure.
Pressure and patience do the work
Apply the wall-side pieces at the marked locations, then press across the entire bond area. Don't rely on a quick tap in the center. Firm, uniform pressure helps the adhesive wet out the surface and removes small gaps between the tape and the wall.
Keep the frame temporarily supported rather than loading it immediately. Technical bonding guidance states that adhesive strength may reach about 90% after 24 hours and full strength after 72 hours, depending on the product and conditions. The same guidance treats the joint as shear-loaded and warns against peel, as detailed in these professional bonding and processing instructions.
For measurement, leveling, and placement fundamentals, these step by step hanging instructions provide a useful companion. Product-specific guidance on mounting strips is also available in this picture hanging strips installation guide.
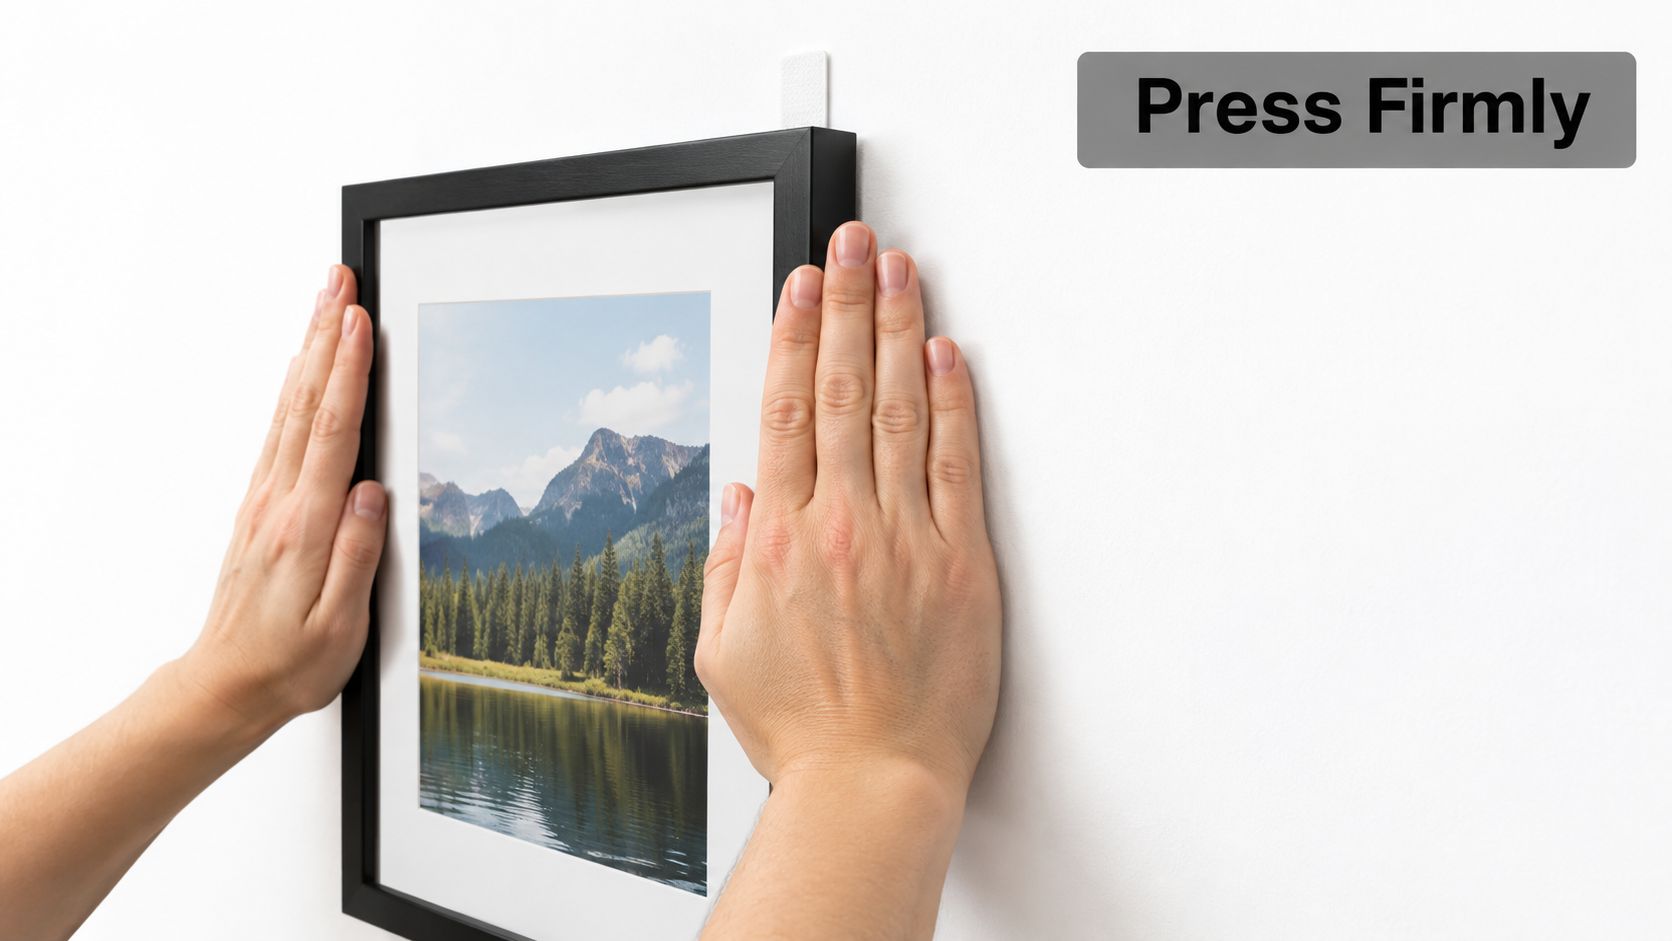
Before releasing the temporary support, inspect the perimeter. The frame should sit flush, the strip edges should remain fully bonded, and no corner should be lifting. If you see movement during the waiting period, remove the frame and reassess rather than adding more tape over a failing installation.
Damage-Free Removal and Troubleshooting
“Removable” doesn't mean removal is automatic. The release method is part of the product design, and the wall can still fail if the strip is pulled in the wrong direction or the paint is poorly bonded.
For interlocking strips with pull tabs, remove the frame according to the instructions, expose the tab, and pull it slowly parallel to the wall, not outward. Pulling away from the surface turns a controlled release into peel force and can lift paint or the wall's paper surface.
Thin poster tape and foam tape require more judgment. If the adhesive resists, gentle warmth from a hairdryer may soften it, but keep the heat modest and moving. Test a hidden area first, especially on older paint, wallpaper, varnished trim, or delicate finishes.
If removal goes wrong
The tab breaks. Don't pry aggressively with a screwdriver or knife. Work a thin, blunt tool carefully behind the frame only if the product instructions permit it, and protect the wall from concentrated pressure.
Residue remains. Start with gentle rolling or lifting using a clean finger, then use only a remover confirmed safe for the wall finish. Solvents can dissolve paint, dull sheen, or spread the adhesive.
Paint begins to lift. Stop pulling. Support the loose area and remove the remaining adhesive with minimal force. Further tugging can enlarge the damaged patch.
The frame shifts. Take it down and inspect the contact surfaces. Extra tape won't correct a contaminated wall, a projecting frame edge, or a bond that never cured properly.
A concealed test should include removal, not only adhesion. If the test leaves residue, pulls paint, or exposes weak coating, the wall has already answered the question. Choose mechanical hardware or a different display location.
When to Skip the Tape and Call a Professional
Tape is a reasonable DIY solution for light, temporary décor on a smooth, sound, fully cured surface. It becomes the wrong tool when the consequences of failure are serious or the installation conditions are uncertain.
Skip adhesive mounting for valuable, irreplaceable, oversized, deep-relief, or heavy works. Be cautious with mirrors, glass-fronted frames, sculptures, and objects displayed above beds, desks, stairways, or busy walkways. Uneven brick, textured paint, delicate plaster, wallpaper, aging coatings, and areas exposed to vibration or humidity also call for a more dependable fastening plan.
The three-question test: Will it hold? Will it release cleanly from this wall? Will it remain reversible and conservation-safe for the entire display period?
That final question matters for collectors and galleries. Conservation guidance warns that pressure-sensitive adhesives can become difficult to remove with prolonged aging, and adhesive migration may stain or damage artwork. Wall-safe tape isn't automatically safe for the artwork itself. Museum framing guidance favors archival hinges or photo corners that avoid direct adhesive contact with the art, as discussed in this resource on museum framing and conservation.
For valuable pieces, a professional can evaluate the substrate, frame construction, center of gravity, hardware, clearance, and installation environment before selecting mechanical anchors, cleats, rails, or another system. Homeowners planning a clean, attractive display may also find broader layout principles in this guide to staging your Vancouver home to sell, particularly when placement and presentation need to work together. A fuller comparison of risk, hardware, and skill requirements appears in this guide to DIY vs professional installation.
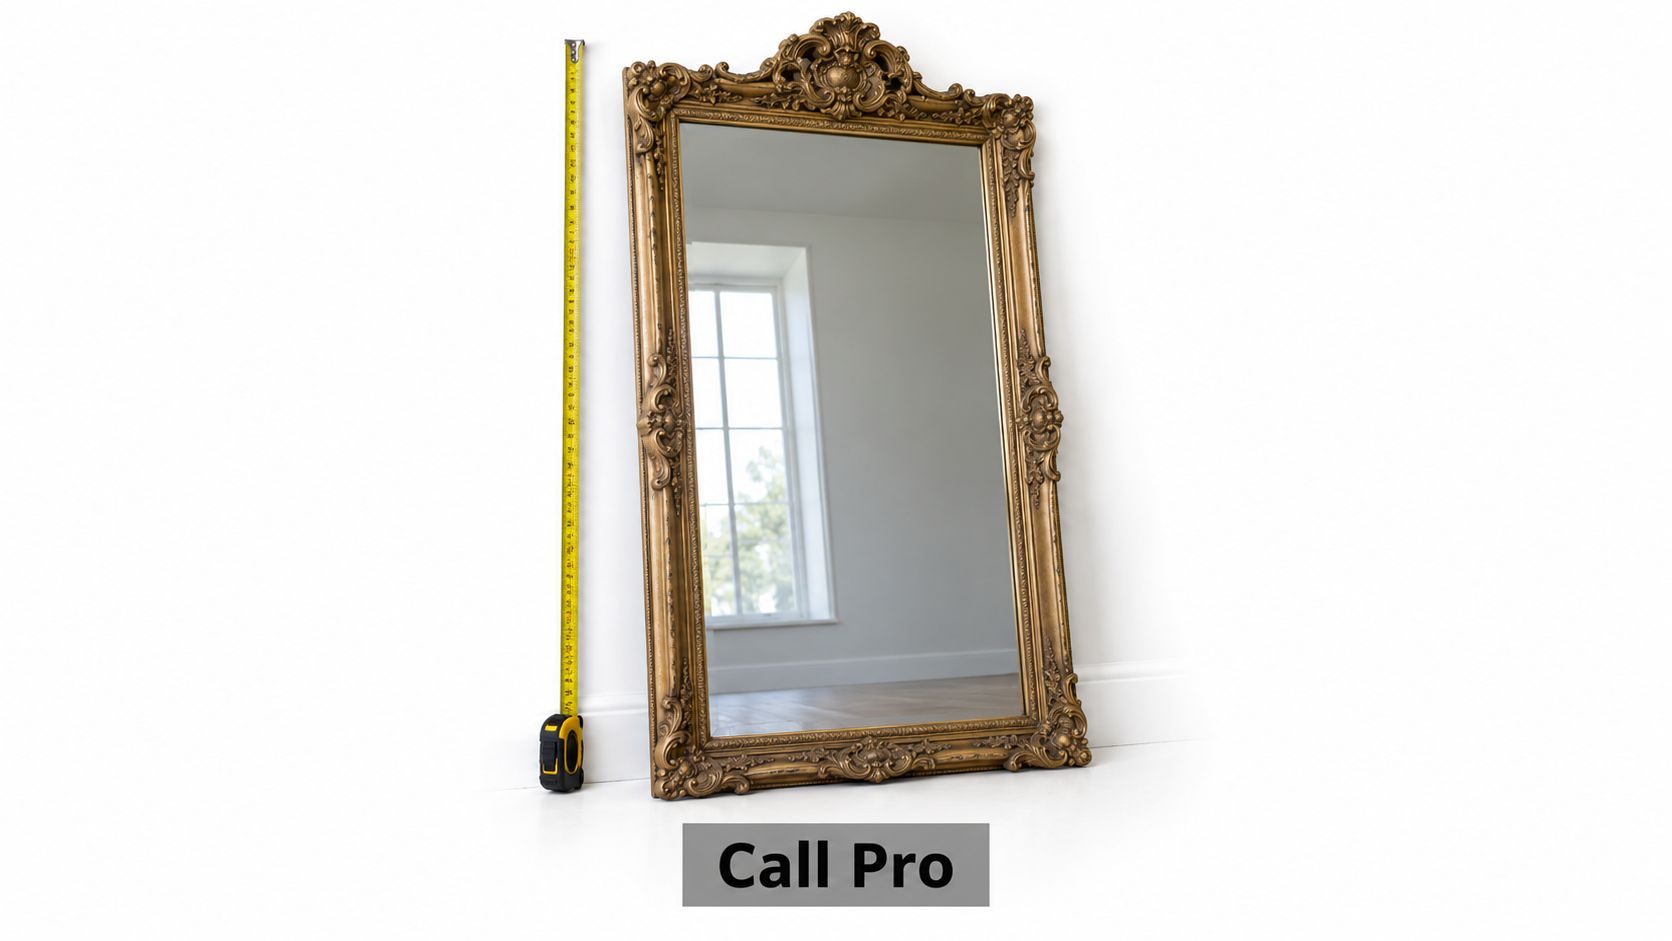
Colorado Art Services provides residential and commercial art installation, including heavy-piece mounting, mirrors, high-placement work, gallery layouts, and careful assessment of wall conditions. Visit Colorado Art Services to schedule a professional installation that protects both your artwork and your walls.
Comments