


Fine Art Print Sizes: A Complete Size and Framing Guide
A sheet defined as 841 × 1,189 millimeters, almost exactly 1 square meter, sits behind much of modern print sizing, according to the history of standardized paper sizes. That sheet is A0. Halve it, halve it again, and you get the predictable formats printers use worldwide. Yet the number printed on a product page still won't tell you how much wall you'll use. For fine art print sizes, the reliable plan starts with the total footprint, which means the image, sheet, mat, frame, viewing distance, and clearance around the finished piece.
Standard Fine Art Print Sizes at a Glance
Start with the sizes printers, framers, and frame shops stock most often. These dimensions usually describe the image area, not the outside of a finished frame, so treat the chart as your first filter. You'll confirm the sheet and frame math before you order.
Print size (in) | Metric (cm) | Typical setting | Visual weight |
|---|---|---|---|
5 x 7 | 13 x 18 | Desk and shelf vignettes | Light |
8 x 10 | 20 x 25 | Hallways and bookshelves | Light to medium |
11 x 14 | 28 x 36 | Bedrooms and home offices | Medium |
12 x 16 | 30 x 41 | Dining rooms and entryways | Medium |
16 x 20 | 41 x 51 | Living room sofa walls | Medium to strong |
18 x 24 | 46 x 61 | Single statement works in offices | Strong |
24 x 30 | 61 x 76 | Feature walls and lobbies | Strong |
24 x 36 | 61 x 91 | Large statement pieces and commercial spaces | Very strong |
30 x 40 | 76 x 102 | Gallery walls and large salons | Very strong |
Matching Size to Setting
Small works earn their keep up close. A 5 x 7 suits a desk study or a shelf vignette where a viewer stands within arm's reach, and an 8 x 10 works in hallways, on bookshelves, or as one unit in a grid. It's also the safest commercial bet. In 2024, 8×10-inch fine-art prints accounted for 26.9% of orders, according to FinerWorks' analysis of its user orders.
Midrange sizes carry a wall without taking it over. I'd use 11 x 14 and 12 x 16 in bedrooms, dining rooms, entryways, and home offices, especially in pairs. A 16 x 20 has enough presence over a sofa when it's grouped with another piece or given a generous mat, while an 18 x 24 can stand alone in an office if the wall around it stays quiet.
Large formats change how a room reads. 24 x 30 and 24 x 36 anchor feature walls, lobbies, and commercial spaces, and 30 x 40 belongs on gallery walls and in large salons where viewers can step back. Don't buy the largest option automatically. Choose the largest finished footprint your wall, furniture spacing, and viewing distance can hold comfortably.
Sizing rule: If the finished frame will crowd a door swing, sconce, or furniture edge, the print is too big for that spot, whatever the image size says.
Why the A-Series Paper Grid Matters
Outside the United States, most fine art paper follows the A-series. ISO 216 provides a globally recognized framework for standardized trimmed paper and printed-matter sizes, and its A-series uses a consistent aspect ratio of approximately 1:√2. Prints can therefore move between sizes without changing proportions or introducing distortion.
The reference sizes are A4 at 210 × 297 mm (8.3 × 11.7 in), A3 at 297 × 420 mm (11.7 × 16.5 in), A2 at 420 × 594 mm (16.5 × 23.4 in), A1 at 594 × 841 mm (23.4 × 33.1 in), and A0 at 841 × 1189 mm (33.1 × 46.8 in). Each step is approximately twice or half the area of the adjacent size. Halving a sheet along its long side creates the next size down, which makes edition planning unusually clean.
Where American Sizes Sit
Common American dimensions such as 8 x 10 and 11 x 14 don't sit on the A-series grid. Move a work from one system to the other and you'll normally crop the image, add an unequal border, or cut a custom mat. None of those choices is wrong, but you should make it deliberately, not discover it at the framing counter.
An A-series number also describes the trimmed sheet, not necessarily what you'll see. Margins, borders, deckled edges, signing space, and the mat opening sit inside or around that sheet. A nominal A2 piece can occupy substantially more wall once conservation matting and a frame are added.
What to Specify on an Order
For international exhibitions, portfolios, and framed editions, record two numbers every time:
Paper size: Give the full sheet in millimeters, using the A-series name only as shorthand.
Sight size: State the visible image that'll show through the mat or frame opening.
Orientation: Mark portrait or horizontal, since A-size names alone don't tell a framer which way the work hangs.
Those three details prevent the common mismatch where a buyer orders an A3 frame for an A3 image printed with a border on a larger sheet.
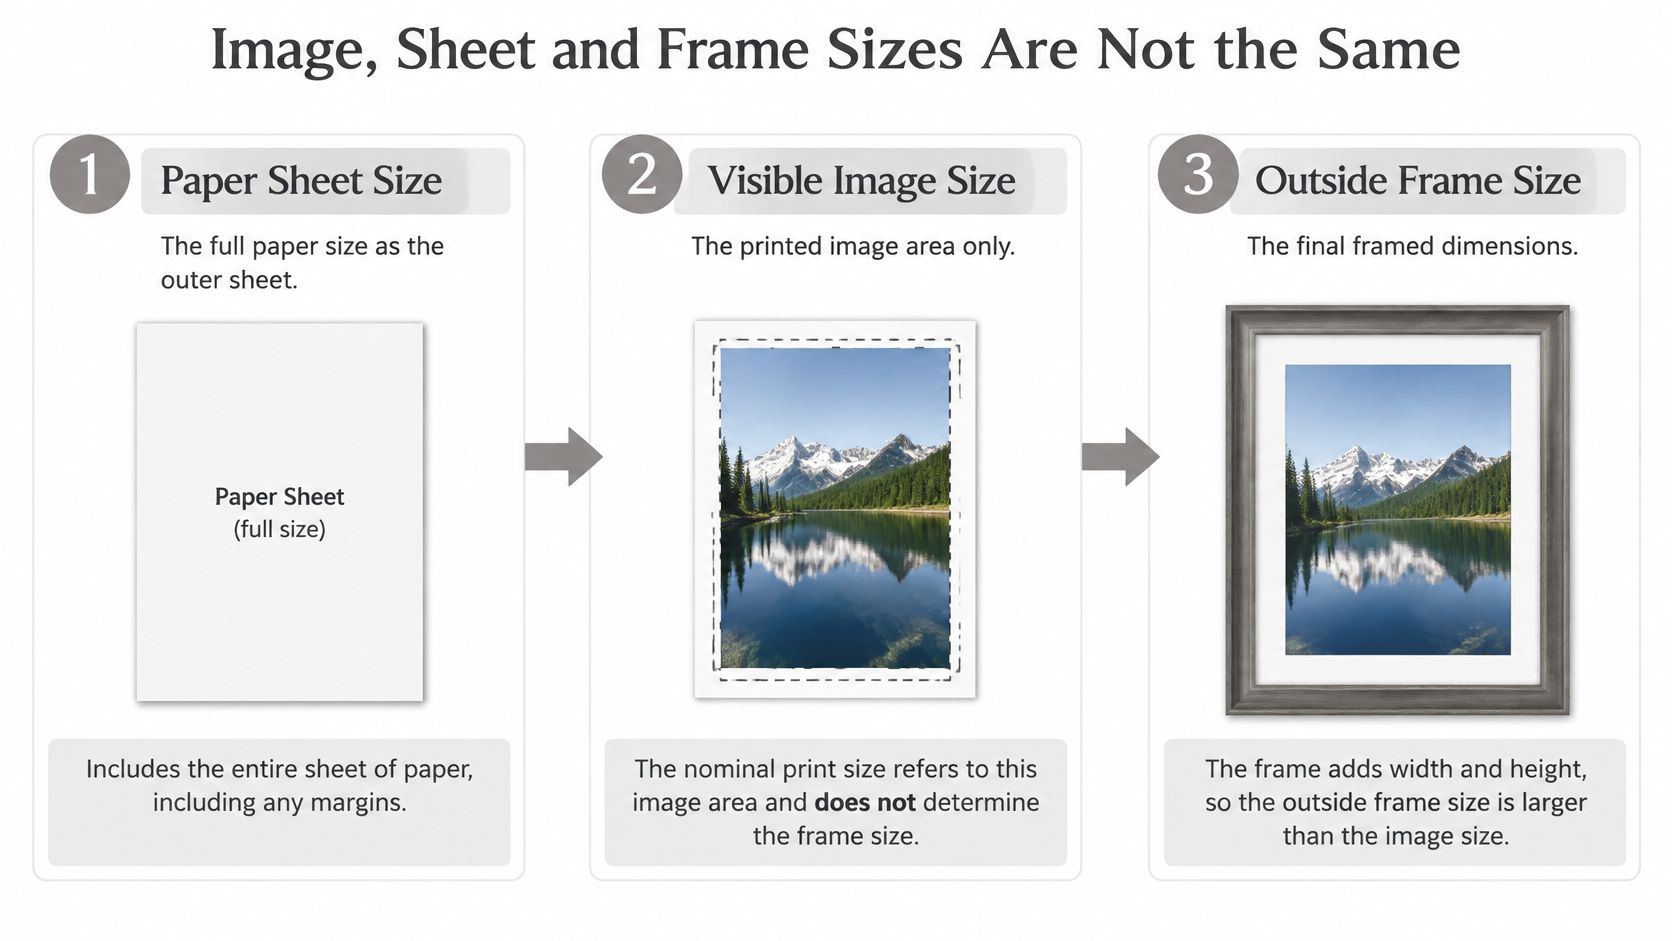
Image, Sheet and Frame Sizes Are Not the Same
The nominal print size is often the least useful number for installation. A framer works from three different measurements: the visible image, the full paper sheet, and the outside frame. Confuse any two and you'll get a mat window that covers a signature, a sheet that won't fit the frame rebate, or a finished piece that overruns the wall.
The Six-Part Measurement Worksheet
Write these down before you buy a frame:
Image area: Measure the printed image only, edge to edge.
Full sheet size: Measure the entire paper, including white borders and deckled edges.
Signature and edition area: Note where the signature, title, and edition number sit, and whether they must remain visible.
Mat border: Decide the width on each side, including a slightly heavier bottom border if you want a traditional optical lift.
Frame rebate and glazing clearance: Confirm the depth available for paper, mat, glazing, and backing without forcing the package.
Hardware clearance: Allow room for D-rings, wire, security hardware, or a cleat, especially on large pieces.
Size the mat window to the image, not the sheet. If the signature sits in the white border below the image, the window needs to reveal that border or the print needs to be float-mounted. Standard pairings help, and guidance on large picture frame dimensions is useful when a piece moves beyond ready-made stock sizes.
Standard Print-to-Frame Pairings
Each mat width adds twice its value to a dimension, once on each side.
Image size (in) | Mat border | Mat board (approx., in) | Standard frame (approx., in) |
|---|---|---|---|
8 x 10 | 1.5 in sides, 2 in bottom | 11 x 13.5 | 11 x 14 |
11 x 14 | 2.5 in sides | 16 x 19 | 16 x 20 |
16 x 20 | 2 in sides | 20 x 24 | 20 x 24 |
18 x 24 | 3 in sides | 24 x 30 | 24 x 30 |
24 x 36 | 3 in sides | 30 x 42 | 30 x 42 |
30 x 40 | 3 in sides | 36 x 46 | 36 x 46 |
Read the first row carefully. An 8 x 10 image plus 1.5 inches on each side gives 11 inches wide. Vertically, a 1.5-inch top and 2-inch bottom produce 13.5 inches, which fits a standard 11 x 14 frame with minor adjustment. The same arithmetic explains why an 11 x 14 with 2.5-inch mats becomes a 16 x 19 board for a 16 x 20 frame.
Standard pairings keep costs down and make replacement easy. Custom framing earns its price for irregular sheets, deckled edges, visible signatures, and oversized work. Treat every figure here as approximate and confirm the window, rebate, and tolerances with your framer before anyone cuts a mat.
The wall doesn't care what the image measures. It has to hold the outside frame, and that's the number you should tape out first.
Choosing Aspect Ratios Without Cropping Your Work
Aspect ratio is the proportion of width to height. It matters more than the size label because it decides which fine art print sizes exist for a given image without cropping. A size can scale up or down freely. A ratio can't change without removing image content or adding border space.
Ratios You'll Meet Most Often
1:1 square: Suits abstract and botanical work, grids, and square frames such as 12 x 12 or 20 x 20.
4:5: Matches 8 x 10 and 16 x 20, and it's a natural fit for portraits.
2:3: Comes from 35mm film and full-frame photography, producing 4 x 6, 16 x 24, and 24 x 36.
3:4: Covers 12 x 16 and 18 x 24, and works well for interiors and many phone-camera files.
5:7: Fits 5 x 7 and 10 x 14 frame stock.
1:1.414: The ISO proportion, which scales cleanly between A-series sheet sizes.
Notice that 11 x 14 isn't exactly 4:5. Scaling an 8 x 10 image to 11 x 14 loses a sliver at two edges. That rarely matters in a wide composition, but it can clip a signature or a subject placed near the border.
A Worked Cropping Example
Say your image measures 24 x 36 inches, a 2:3 proportion, and you want it in a 24 x 30 opening, a 4:5 proportion. Width becomes the limiting dimension. Keeping the full 36-inch height at 4:5 would require 28.8 inches of width, but the opening offers only 24 inches.
So the height has to fall to 30 inches. You lose 6 inches, about one-sixth of the image. That's not a trim. That's a new composition, and it may remove sky, foreground, or headroom the artist intended.
Before ordering, divide the long side by the short side for both the artwork and the frame. If the numbers don't match, pick one of three honest options: crop deliberately, use a mat with unequal borders, or select a frame that matches the work. I would never let a checkout page crop automatically without checking the preview edge by edge.
Resolution Needed for Each Print Size
Specify size together with source resolution and viewing distance. A paper dimension alone tells you nothing about whether the file can support it. For detailed photographic or digitally rendered work, use 300 pixels per inch at the intended output size as your production benchmark.
A 16 x 20 inch print at 300 ppi therefore needs 4800 x 6000 source pixels. Multiply each print dimension by 300 and you'll get the requirement for any size.
Print size (in) | Pixels needed at 300 ppi | Approx. megapixels | Viewing note |
|---|---|---|---|
8 x 10 | 2400 x 3000 | 7.2 | Often examined closely; check fine detail |
16 x 20 | 4800 x 6000 | 28.8 | Standard benchmark for detailed work |
24 x 36 | 7200 x 10800 | 77.8 | Viewed from farther away; lower ppi often acceptable |
30 x 40 | 9000 x 12000 | 108 | Large format; test at 100 percent scale |
Calculating Effective Resolution
Divide the source pixels by the print dimension, separately for width and height. A file with 4500 pixels on its long side printed at 30 inches yields 150 effective ppi on that side. Check both sides, because a cropped file can pass on one dimension and fail on the other.
Lower effective resolution can work well for large-format art viewed across a room. It fails sooner on small prints held at reading distance, where soft edges and sharpening halos are easy to see. Line work, text, and fine texture expose a weak file faster than soft painterly subjects do.
Proofing and Fixing a Short File
Print a section at 100% output scale and inspect fine lines, texture, gradients, and high-contrast edges. Compare it with the file on screen at the same scale. If the proof shows halos or mushy detail, upscaling won't invent information that wasn't captured, although careful file preparation helps, which is why preparing client photos for high-resolution printing is worth reviewing before you commit to a large edition.
Keep image and sheet separate here too. A print sold as 12 x 18 may sit on a larger sheet to provide a border for signing and handling, and resolution applies to the image area, not the border. If a file falls short, reduce the print size, change the crop to a ratio the file supports, or ask your printer about a lower-ppi large-format route intended for distant viewing.
Proof rule: Judge the test strip from the distance viewers will actually stand, then step in close once to check whether the detail still holds.
Viewing Distance and Hanging Height by Room
A larger print isn't automatically more impactful. The right size balances visual scale with circulation, sightlines, and the height at which people can comfortably read the work. Start with the room, then pick from the chart of fine art print sizes.
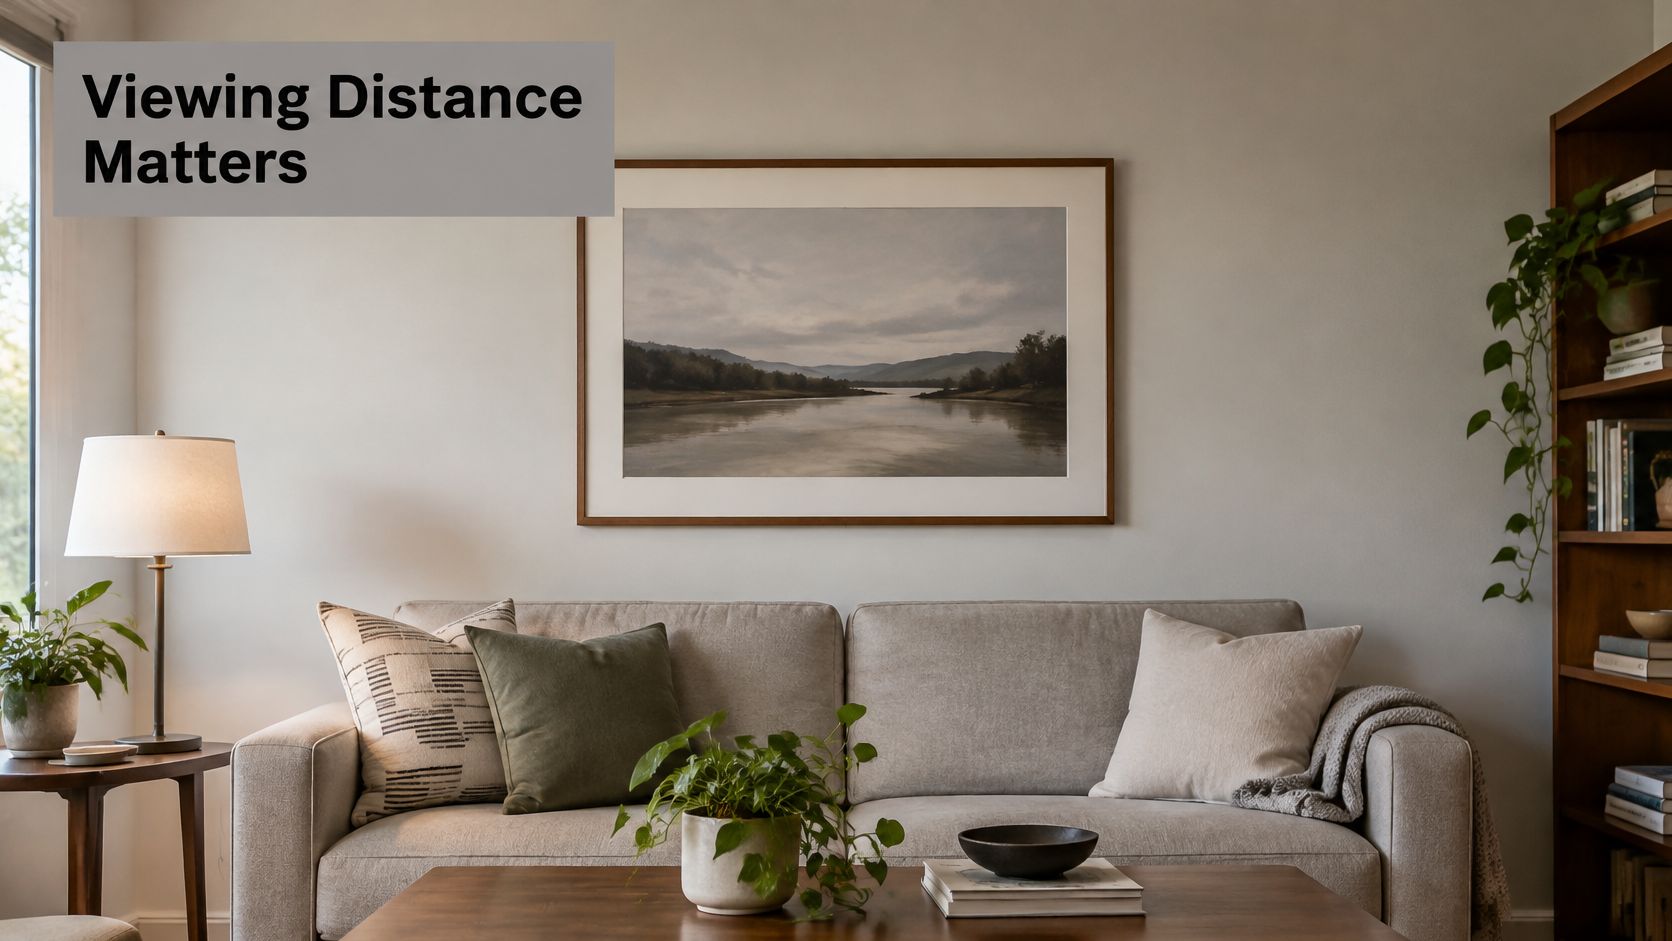
The common residential benchmark centers artwork about 57 to 60 inches (145 to 152 cm) from the floor. Accessible exhibition practice is lower, positioning artwork roughly 102–127 cm (40–50 inches) from the floor to the artwork's center and maintaining pathways of at least 1.5 metres (about 65 inches), per accessible exhibition and viewing guidance. That lower centerline serves wheelchair users, children, and visitors with low vision far better than a standing eye-level hang.
Setting | Centerline height | Watch for |
|---|---|---|
Standard residential wall | 57-60 in (145-152 cm) | Sofa or console below |
Accessible public space | 40-50 in (102-127 cm) | Reach and low-vision viewing |
Hallway or stair landing | 57-60 in (145-152 cm), following the sightline | Glare from glazing and lighting |
Conference room or office | 48-57 in (122-145 cm) for seated viewing | Seated viewing height and screen glare |
Distance, Glare, and Clearance
For detailed work, viewers tend to settle at roughly 1.5 times the longest dimension. A 24 x 36 piece invites standing back, while an 8 x 10 rewards stepping in. If a hallway forces viewers to stand close, a run of smaller prints often reads better than one oversized statement they can never see whole.
Check door swings, furniture edges, and the route people walk. In public or commercial spaces, don't let a deep frame or a leaning installation narrow the route below the 1.5-metre pathway reference. Watch glazing near windows and downlights too, because a perfectly sized piece can disappear behind a reflection at the exact angle people approach it.
This short walkthrough shows how centerline and spacing decisions play out on a real wall before hardware goes in:
For pieces above furniture, measure from the furniture, not just the floor. Practical guidance on hanging art above a sofa helps you keep the frame clear of heads and cushions while holding the grouping together visually. Labels deserve the same care: use high-contrast, non-glossy text at a minimum 16-point size so context stays readable.
Before drilling, mark the centerline, the outside frame corners, and the walking route with painter's tape. Live with the outline for a day. Several smaller prints with flexible spacing frequently outperform one oversized piece in circulation-heavy rooms.
Matting, Glazing and Framing Choices by Size
Three layers protect a framed print: the mat, the glazing, and the backing. Each changes the finished look, the weight, and how well the work survives. Treat framing as part of the preservation system, not decoration added afterward.
What Each Layer Does
The mat keeps the print off the glazing and gives the image breathing room. Use acid-free mat board for anything you intend to keep, because ordinary board can discolor paper where it touches. Attach the print with hinges or photo corners rather than adhesive across the sheet, so a future framer can remove it without damage.
Glazing filters light and shields the surface. UV-filtering glazing reduces ultraviolet exposure, though it doesn't make direct sunlight harmless. Glass is scratch resistant but heavy and reflective. Acrylic is lighter and safer for very large or high-traffic pieces, but it scratches more easily and can carry static near friable media. Before choosing, compare what's stocked locally among art framing supplies, since oversize acrylic and low-reflection glass often need ordering.
Backing board closes the package, supports the sheet, and carries the hanging hardware. On large works, that hardware choice matters as much as the moulding. A wide, glazed 30 x 40 needs substantial D-rings or a cleat and anchors matched to the wall construction, not a single picture hook.
Standard Versus Custom Framing
Standard frames make sense for 8 x 10, 11 x 14, and 16 x 20 images with conventional borders. They cost less, arrive quickly, and are easy to replace after a move. Custom framing is justified for deckled sheets, signed borders that must show, irregular ratios, and pieces whose finished size exceeds stock moulding lengths.
Unglazed work on canvas or board can suit bright rooms where reflections are a constant problem. You trade surface protection for visibility, so I would keep unglazed pieces away from kitchens, entryways, and anywhere hands brush past.
Questions to Ask Your Framer
Rebate depth: Will the frame hold mat, glazing, print, and backing without bowing?
Mat window: What's the exact opening size and cutting tolerance?
Board specification: Is the mat and backing board acid-free?
Attachment method: Who will hinge the print, and is the mount reversible?
Get the answers in writing on the work order. Those four lines prevent most disputes about fine art print sizes at pickup.
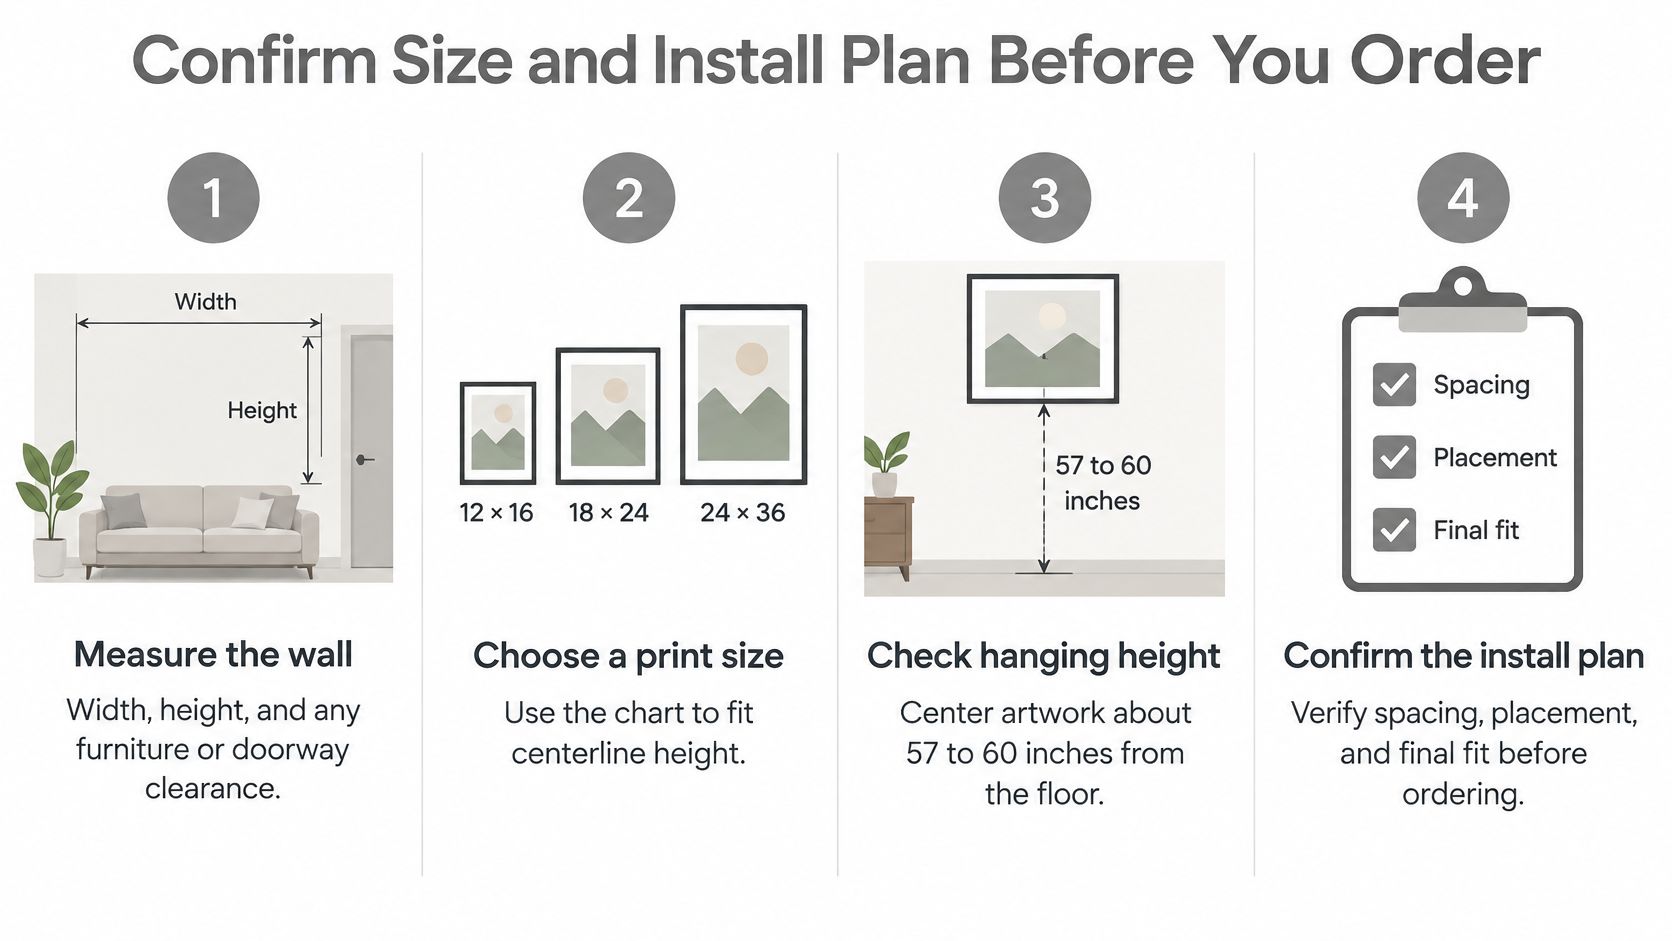
Confirm Size and Install Plan Before You Order
Run these six steps in order. Skipping ahead is how a correctly sized image becomes an incorrectly sized installation.
The Six-Step Check
Measure the wall: Record width, height, ceiling slope, outlets, vents, and the clearance around furniture and doorways.
Choose the print size: Pick from the standard chart using the room's centerline height and realistic viewing distance, not the bare wall width alone.
Confirm sheet and image dimensions: Ask the printer for both numbers, plus border width and orientation, then calculate the outside frame size from your mat pairing.
Check effective resolution: Divide source pixels by each print dimension and compare the result with the 300 ppi benchmark for close viewing.
Decide on mat, glazing, and frame: Tape the outside frame outline, centerline, and walking route on the wall before you finalize materials.
Order and document: Record final framed dimensions, orientation, weight, and hardware so the installer isn't guessing on arrival.
Documentation matters most on multi-piece projects. A grid that looks simple on a product page involves consistent sight sizes, equal gaps, and a shared centerline across every frame. Write the gap you want and the overall footprint of the whole grouping, because installers lay out groupings from the outside edges inward.
When to Bring in an Installer
Large, heavy, multi-piece, and high-placement projects benefit from a professional visit before you order, not after the frames arrive. An installer can verify layout, stud locations, anchor choices, and whether a ladder, scaffold, or hard-surface drilling changes the plan. Colorado Art Services offers a free estimate for its art hanging, display and installation services, and customers are asked to call for a quote or to learn more about how it can help with their project.
Come prepared with the details that determine the quote. Our contact form asks how many art pieces need installing, whether ladders or scaffolding are required, whether the install requires drilling into any hard surfaces, and the dimensions of the largest art piece. With those four answers and your taped wall outline, sizing stops being an estimate and becomes a plan that'll fit the first time.
If your sizing worksheet points to a large, heavy, or multi-piece installation, Colorado Art Services can verify layout, centerline height, and hardware before the frames arrive, then hang everything level and secure. Visit Colorado Art Services to request a free estimate, and bring your piece count, largest framed dimensions, and any ladder or hard-surface drilling needs.
Comments