


Picture Hanging Lights: A Complete Art Illumination Guide
LED picture hanging lights have replaced warm incandescent bulbs with cooler, more controllable illumination, and a museum demonstration recorded approximately 86% lower energy use than an equivalent halogen system. The right fixture can also improve color presentation, but the correct brightness depends on the artwork's material and cumulative exposure, not on the lamp's advertised output.
You've probably seen the problem: the painting is well chosen, the frame is attractive, and yet the piece looks flat beneath ordinary room lighting. Colors lose separation, texture disappears, and the artwork becomes background decoration instead of the visual anchor it should be. A picture light can change that in minutes, but only when it's aimed, dimmed, and specified for the work in front of it.
Modern picture hanging lights evolved from daylight dependence to incandescent, fluorescent, halogen, and finally LED systems. That progression changed more than appearance. It introduced practical questions about heat, energy consumption, color rendering, glare, maintenance, and the long-term exposure of paper, textiles, photographs, and painted surfaces.
How Controlled Lighting Reveals Artwork
A painting can look balanced in daylight and lose its presence after sunset. Ceiling light spreads through the room, yet often reaches the artwork from an unhelpful angle. The result may be flattened color, a bright reflection on the glazing, or a shadow along the frame's lower edge.
A properly installed picture hanging light establishes a clear visual hierarchy. It directs attention to the work, shows brush texture, and separates the frame from the wall without flooding the room. A warm LED above a scenic painting can create an intimate mood. A controlled neutral source may preserve the difference between cool shadows and warm highlights more accurately.
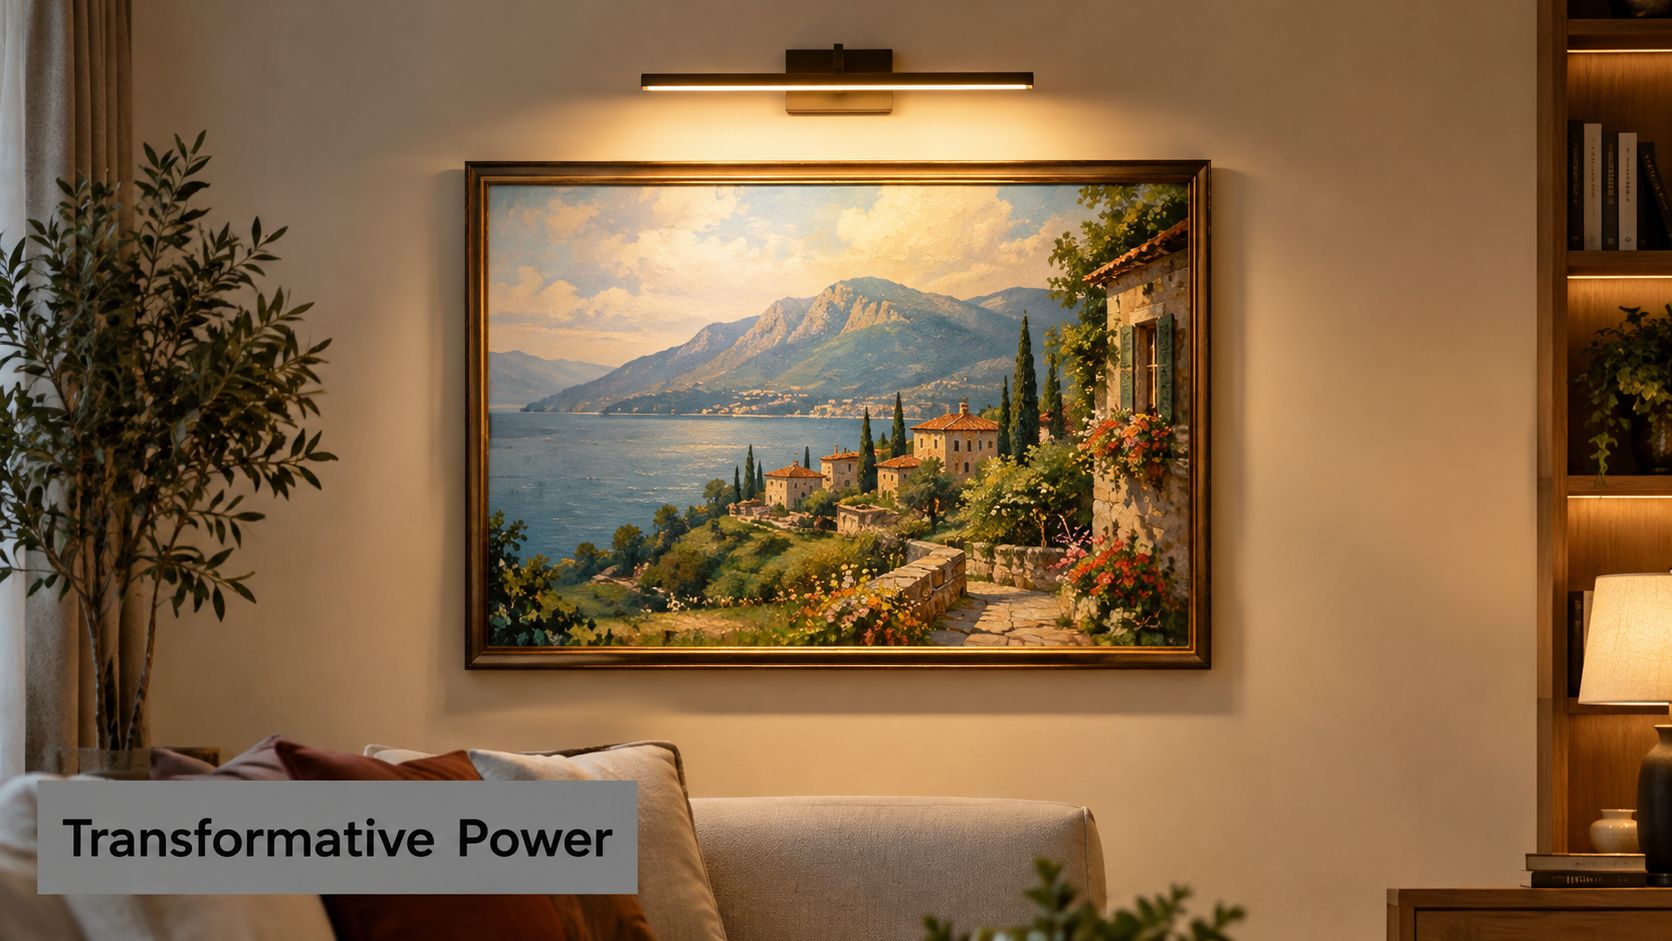
Accent lighting changes the room
The practical comparison is general illumination versus purposeful illumination. Ceiling fixtures support movement, reading, and everyday tasks. Picture lights give one object deliberate visual priority.
A framed work above a console may need a narrow, controlled beam. A large canvas may require wider asymmetric distribution so the lower corners receive light without producing a bright band across the top. Fixture size, beam spread, mounting height, and aiming angle should follow the artwork. The fitting should support the piece rather than compete with it.
Installer's rule: If visitors notice glare, a hotspot, or an exposed cable before the artwork, adjust the lighting.
Glazing changes the result as much as the lamp. Reflective glass can turn a well-chosen fixture into a mirror when the light sits too close to the wall or points toward the viewer. Start by shifting the fixture higher or angling it downward, then check the reflection from the main viewing positions. Cleaning and careful handling also matter, especially with framed pieces that have glass or delicate surfaces. Practical guidance on art glass care helps prevent surface contamination from weakening the display.
Design and conservation must work together
A visually pleasing setting is not automatically safe for the artwork. Paper, textiles, watercolors, and photographs generally tolerate visible-light exposure less well than many oil paintings. Lux level and exposure time therefore belong in the specification alongside color quality and appearance. Dimming and scheduling can preserve the intended effect while reducing the hours of illumination.
The safest setting is often less bright than showroom marketing suggests.
For multi-piece displays, coordinate lighting with the arrangement before mounting fixtures permanently. A considered professional layout design plan can account for sightlines, frame relationships, wall conditions, and each beam's likely position. This preparation prevents one work from receiving most of the light while another remains in shadow. It also makes it easier to balance visual emphasis with the cumulative exposure each piece receives.
Choosing the Right Power Source for Your Space
Power selection determines how clean the installation looks and how much maintenance it creates. The four common choices are hardwired, plug-in, battery-operated, and solar, but they aren't interchangeable in practice.
A hardwired picture light gives the cleanest result. The cable stays inside the wall, the switch can be integrated into the room's lighting controls, and the fixture feels like part of the architecture. That finish comes with electrical work, wall access, and less flexibility if the artwork moves. In a historic home with plaster walls, the disruption may outweigh the aesthetic gain.
Plug-in fixtures are easier to install and provide dependable power without opening the wall. The compromise is visible cable management. A cord can be routed neatly through a paintable raceway or concealed behind furniture, but it still needs a planned path. Plug-in models suit renters, temporary displays, and collectors who rotate artwork.
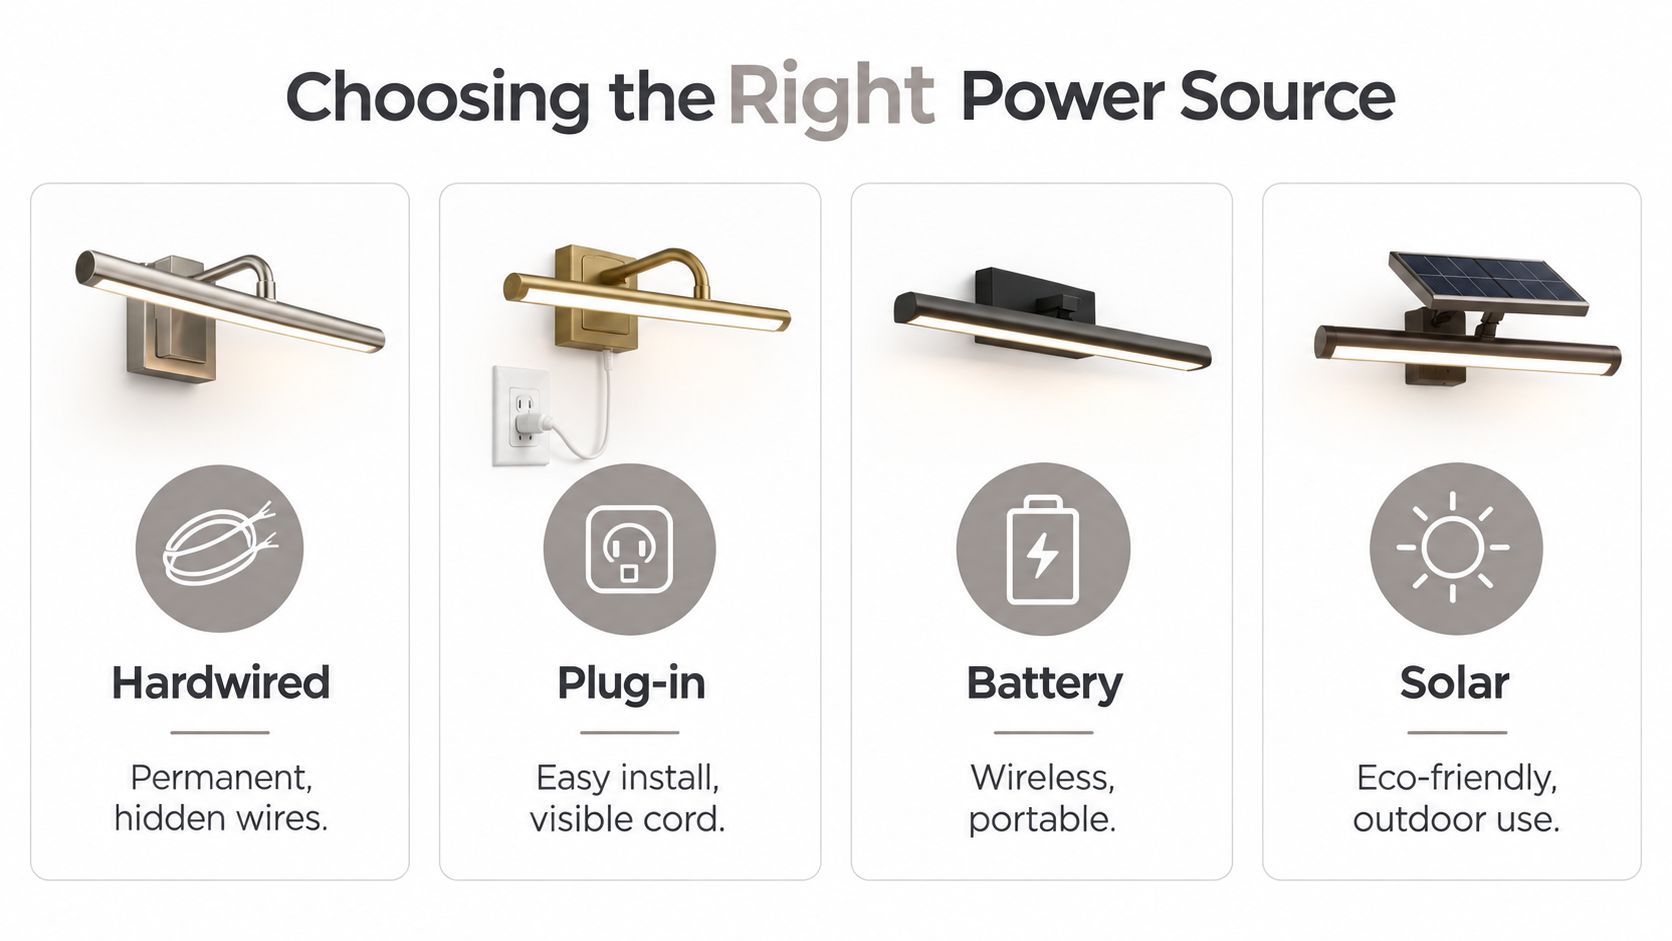
Battery-operated lights remove the cord entirely. They work well where wiring is impractical, including masonry walls, rental properties, and temporary corporate displays. Maintenance is the trade-off. Output can decline as batteries discharge, and the fixture needs regular access for replacement. For conservation-sensitive artwork, inconsistent output can also make it harder to maintain a stable light level.
Solar picture lights are a specialized option. They make sense where the fixture receives reliable daylight, usually for outdoor or semi-outdoor displays. Indoor placement often limits their usefulness because the panel may not receive enough direct light to maintain dependable operation.
Power Type | Installation | Maintenance | Best For |
|---|---|---|---|
Hardwired | Requires electrical planning and concealed wiring | Low once installed | Permanent residential, gallery, and office displays |
Plug-in | Fast installation with cable routing | Low, with cord inspection | Renters, flexible layouts, and temporary displays |
Battery | Wireless mounting with accessible battery compartment | Battery replacement and output checks | Difficult-to-wire walls and movable artwork |
Solar | Requires suitable daylight exposure and panel placement | Panel cleaning and charge monitoring | Outdoor or strongly daylit locations |
Choose the power source after deciding whether the artwork is permanent, whether the wall can be opened, and whether the fixture must disappear visually. A clean hardwired installation isn't worth damaging a historic wall for a display that will change next season. Conversely, a battery unit may look convenient above a major painting but create avoidable maintenance if the fixture is mounted high in a lobby.
Understanding Illuminance and Art Conservation
Lux measures the light arriving at the artwork's surface. It's more useful for conservation than wattage, lumen claims, or the impression that a fixture looks bright from across the room.
Highly light-sensitive works, including paper, textiles, photographs, watercolors, and fugitive dyes, are commonly limited to approximately 30 to 50 lux. Moderately sensitive works such as oil paintings commonly fall within approximately 100 to 200 lux, according to museum-lighting guidance summarized in the International Journal of Low-Carbon Technologies. These aren't decorative preferences. They reflect how different materials respond to visible light over time.
Light damage depends on both intensity and duration. A work exposed to a modest level for long periods can receive a substantial cumulative dose, while a dimmed fixture used only during occupied hours reduces exposure without making the artwork unreadable. That's why a dimmer, timer, occupancy sensor, or display schedule can be as important as the fixture itself.
Match the target to the medium
A watercolor shouldn't be lit like an oil painting just because both pieces hang in the same room. Paper fibers and fugitive colorants can fade under exposure that appears visually comfortable to the viewer. A collector who wants a brighter presentation should first ask whether the medium can tolerate it.
A practical decision path looks like this:
Identify the medium: Determine whether the work is paper-based, textile-based, photographic, painted, metallic, ceramic, or mixed media.
Set a conservative target: Begin near the lower end of the applicable illuminance range.
Check the surface: Measure lux where the artwork receives light, not at the lamp or on the surrounding wall.
Reduce operating time: Use dimming, scheduling, or occupancy controls when the work doesn't need continuous illumination.
Inspect uniformity: Look for hotspots, dark corners, and uneven bands across the image.
Conservation principle: The best picture light may be the one that runs less often, not the one that produces the highest output.
Oil paintings often have greater tolerance than watercolors or photographs, but that doesn't justify maximum brightness. Excessive intensity can exaggerate varnish glare, flatten subtle tonal transitions, and create unnecessary heat near the frame. Metal and ceramic objects may tolerate higher levels than sensitive works on paper, yet they still benefit from controlled beams and comfortable viewing conditions.
A visible-light meter can help verify the result, but it doesn't measure ultraviolet radiation. UV assessment requires a separate meter, so a lux reading alone doesn't establish complete conservation safety. For a serious collection or a corporate display with valuable works, a gallery lighting design plan should account for material sensitivity, beam distribution, control settings, and display duration together.
Mastering Placement and Beam Control
Good placement begins with the artwork, not the fixture. The light should cover the image evenly, avoid a hard top-edge band, and stay outside the viewer's direct line of sight. A fixture mounted directly over the frame and aimed straight down often produces a hotspot near the top and leaves the bottom underlit.
Start by holding the picture light above the frame while someone views the work from normal standing and seating positions. Move the fixture forward or backward until the beam reaches the lower portion of the artwork without reflecting directly into the viewer's eyes. Mark the position with a laser level, then test the actual fixture before drilling final holes.
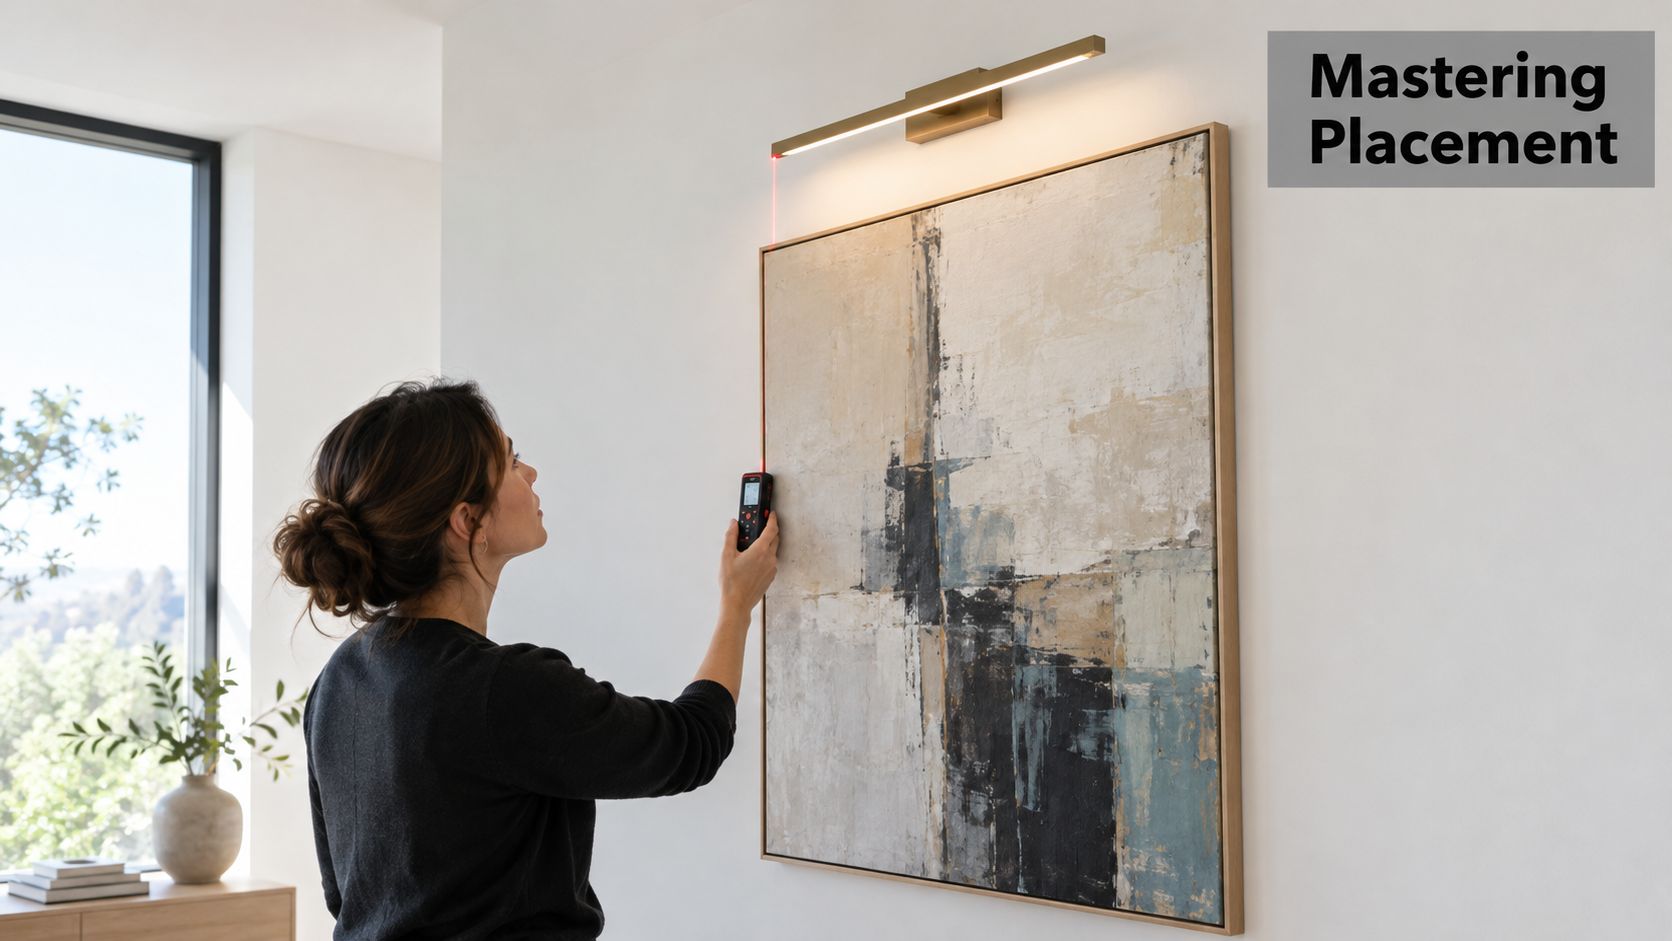
Use the beam to fit the format
A narrow beam can work for a small print or a tightly framed object, but it becomes unforgiving on a wide canvas. You'll see bright concentration in the center and rapid falloff at the edges. A wider or asymmetric optic distributes light more effectively across a large horizontal work.
Glass and varnish require special attention. The angle of incidence determines where reflected light goes. If the fixture and viewer sit on opposing reflection paths, glare appears immediately. Adjusting the fixture's tilt, moving it slightly forward, or changing the beam spread often solves the problem without increasing brightness.
Measure the finished installation with a lux meter at several points on the artwork. Check the center, upper area, lower area, and side regions. The goal is reasonably even coverage, not a perfect mathematical match, and the brightest point shouldn't overwhelm the rest of the image.
For complex walls, heavy frames, or installations above furniture, coordinate the lighting and mounting together. Guidance on art installation lighting is useful when the fixture position depends on the artwork's final level, frame depth, wall construction, or nearby architectural elements.
A short visual demonstration can help clarify the alignment process, but don't copy a mounting height blindly. Every frame, wall, optic, and viewing position changes the result.
Before finalizing, dim the fixture and view the work from the room's main sightlines. Some drivers flicker or shift performance at very low output, and a setting that looks attractive from beside the frame may glare from across the room. Test at night as well as during daylight, because window reflections can conceal problems until the room's ambient light changes.
Selecting High-Quality LED Fixtures
LED picture lights are generally the practical choice for artwork because the source emits no infrared radiation in the beam and can produce little temperature increase at the artwork when operated at museum-level intensities. That advantage doesn't mean every LED fixture is suitable. Cheap units may have unstable dimming, poor red reproduction, visible flicker, or an optic that throws light where it shouldn't go.
Start with color rendering. CRI above 90 is a sensible specification for artwork, but the headline value doesn't tell the whole story. The Canadian Conservation Institute recommends an R9 value of at least 90 when accurate saturated-red reproduction matters, because a fixture can post a strong general CRI while rendering reds weakly. That matters in portraits, textiles, exterior scenes, and paintings with warm architectural or flesh tones. The recommendation is detailed in the institute's guidance on LED lighting for museums.
Read beyond color temperature
A correlated color temperature around 2700 to 3500 K often produces the warm, gallery-like appearance many homeowners want. Color temperature is only the visual warmth of the source, though. It doesn't confirm color accuracy, UV performance, beam quality, dimming stability, or glare control.
A reliable specification should include:
High color rendering: Look for CRI above 90 and R9 near or above 90 where reds are important.
Low UV output: Avoid unnecessary ultraviolet exposure, especially near sensitive works.
Stable dimming: Test the fixture through its operating range rather than assuming the dimmer will behave smoothly.
Controlled optics: Choose a narrow, wide, or asymmetric distribution that suits the artwork's proportions.
Appropriate warmth: Select the color temperature for the room and artwork, not just the warmest available setting.
Efficiency has improved substantially in museum-grade LED systems. Earlier systems were reported around 60 to 90 lumens per watt, while newer systems reached approximately 120 to 160 lumens per watt, with some products exceeding 180 lumens per watt, according to the conservation and lighting review linked above. Efficiency matters, but it shouldn't override the quality of the beam or the safety of the work.
For a hardwired installation, an electrician can handle the circuit and controls. For residential projects involving multiple fixtures, hidden wiring, or coordination with artwork placement, residential lighting services by Lighthouse Energy provide a useful point of comparison when evaluating installation support. The key is to specify the artwork and viewing conditions before selecting the hardware.
Debunking Myths About Heat and Energy Use
The old assumption that art lighting must be hot, wasteful, and expensive comes from older halogen and incandescent systems. Modern LEDs changed the calculation, but the fixture still needs ventilation, suitable drivers, and correct dimming. “LED” alone isn't a complete quality specification.
A U.S. Department of Energy museum demonstration compared 54 LED track heads with an estimated halogen system producing the same lighting effect. The LED installation used 1,403 kilowatt-hours annually, compared with 9,851 kilowatt-hours for halogen, an approximately 86% reduction in energy use, while evaluators found the LED appearance equivalent or preferable. The Department of Energy demonstration report shows why energy, heat, lamp replacement, and operating cost now belong in the fixture decision.
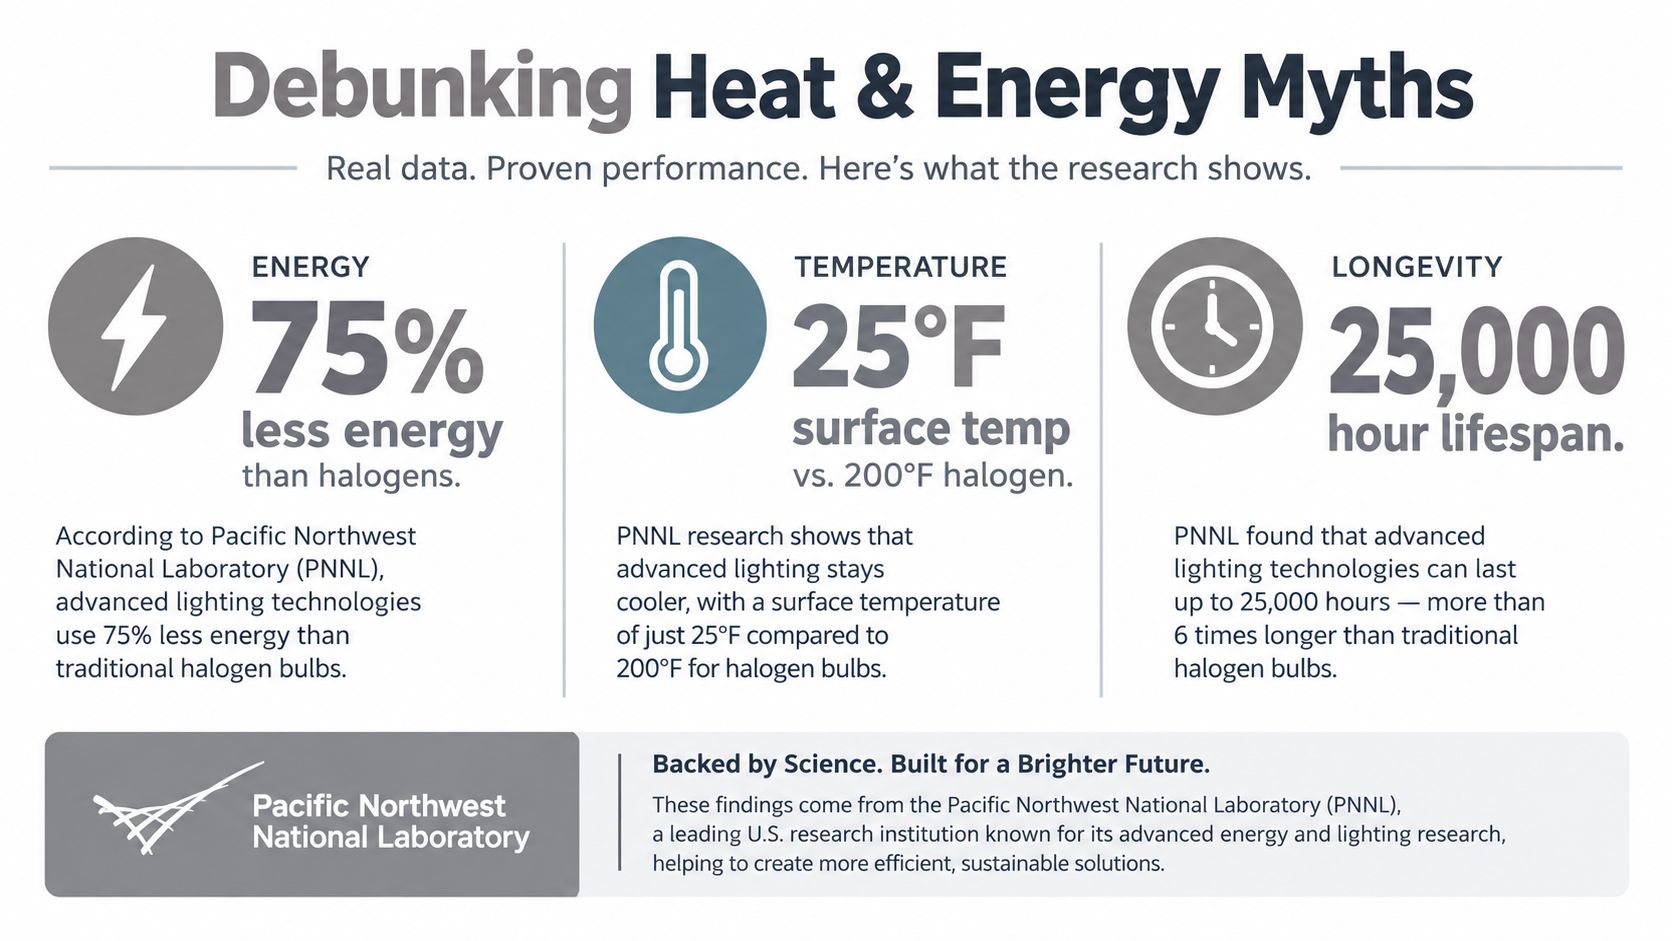
A separate Pacific Northwest National Laboratory demonstration measured 34 LED display lights against 60-watt PAR38 halogen lamps. The LEDs used 920 kilowatt-hours per year, compared with 5,410 kilowatt-hours for the halogen lamps, an 83% reduction in electricity use. The LED retrofit recovered its higher initial cost during the third year, as reported in the lighting review cited earlier.
That doesn't make every retrofit automatically worthwhile. A single low-use fixture may not justify complex rewiring, while a gallery, office, or residence with many continuously operated displays has more opportunity to benefit. Controls can reduce unnecessary operating hours further. Facilities teams considering how to streamline operations with smart lighting should connect scheduling and occupancy strategies to the sensitivity of the displayed work.
Maintenance, Safety, and Professional Installation
Keep lenses and reflectors clean so dust doesn't soften the beam or create uneven patches. Inspect cords, plugs, dimmers, and hardwired connections for damage, and replace batteries before wireless fixtures begin losing output. Recheck aiming after cleaning or moving furniture, especially when the light sits close to reflective glass.
Heavy fixtures and high-placement installations deserve secure anchors and safe access equipment. Don't improvise from a chair or mount a fixture into uncertain plaster without confirming the wall structure. For valuable collections, the installer should verify the artwork mounting, fixture attachment, glare from normal viewpoints, and lux at the surface.
The practical standard is simple: identify the material, choose a conservative light level, control exposure time, aim for even coverage, and maintain the hardware. A picture light is part of the artwork's display environment, not a disposable accessory.
Colorado Art Services offers residential and commercial art installation, layout planning, heavy-piece mounting, high-placement work, and lighting coordination across the Denver Metro area and Front Range. Visit Colorado Art Services to discuss a display that protects the artwork, controls glare, and places each fixture and frame with precision.
Comments