


Hanging Pictures on Slanted Walls Without Guesswork
“Just use a level and a stronger hook” is poor advice for hanging pictures on slanted walls. A frame can look straight while its lower edge swings away from the surface and its upper fixing carries a load it wasn't designed to resist. Start with what could fail, then measure the frame and wall before choosing the hardware.
Why Slanted Walls Need a Different Plan
A picture suspended from a centered wire may look fine when you finish, then drift, rotate, or pull away from the wall. On an inward-sloping surface, the frame won't necessarily settle against the wall as it would on a vertical partition. Its weight acts through the suspension points, while its unsupported edges remain free to move.
That makes the wall assembly part of the hanging system. A strong screw in weak or damaged board doesn't create a strong installation. The Canadian Conservation Institute's design guidance recommends planning hanging arrangements in advance and identifies 3/4-inch, or 19-millimeter, plywood behind drywall as useful secure backing for gallery installations.
Practical rule: Identify what carries the load before deciding what hides behind the frame.
Weight isn't the only measurement
A deep shadow box and a shallow print can weigh the same but place different demands on their upper attachments. When the center of gravity sits farther from the wall, the fasteners must resist more turning force. A decorative frame's corner joints and rear fittings also need to withstand that restraint.
Keep these failure modes separate:
Sliding: The frame moves along the wall surface.
Pull-out: An attachment withdraws from the wall.
Rotation: The frame tips or twists around its suspension point.
Frame failure: The hanger remains attached, but the frame or its joints give way.
The viewing problem is separate again. A secure picture can still reflect a skylight, appear distorted from a chair, or project into someone's walking route. Mechanical stability and comfortable viewing both need deliberate checks.
Measure the Wall and Set the Sightline
Measure the area the frame will occupy, not the convenient open stretch beside the baseboard. Rooflines, dormers, and uneven corners can narrow that area considerably.
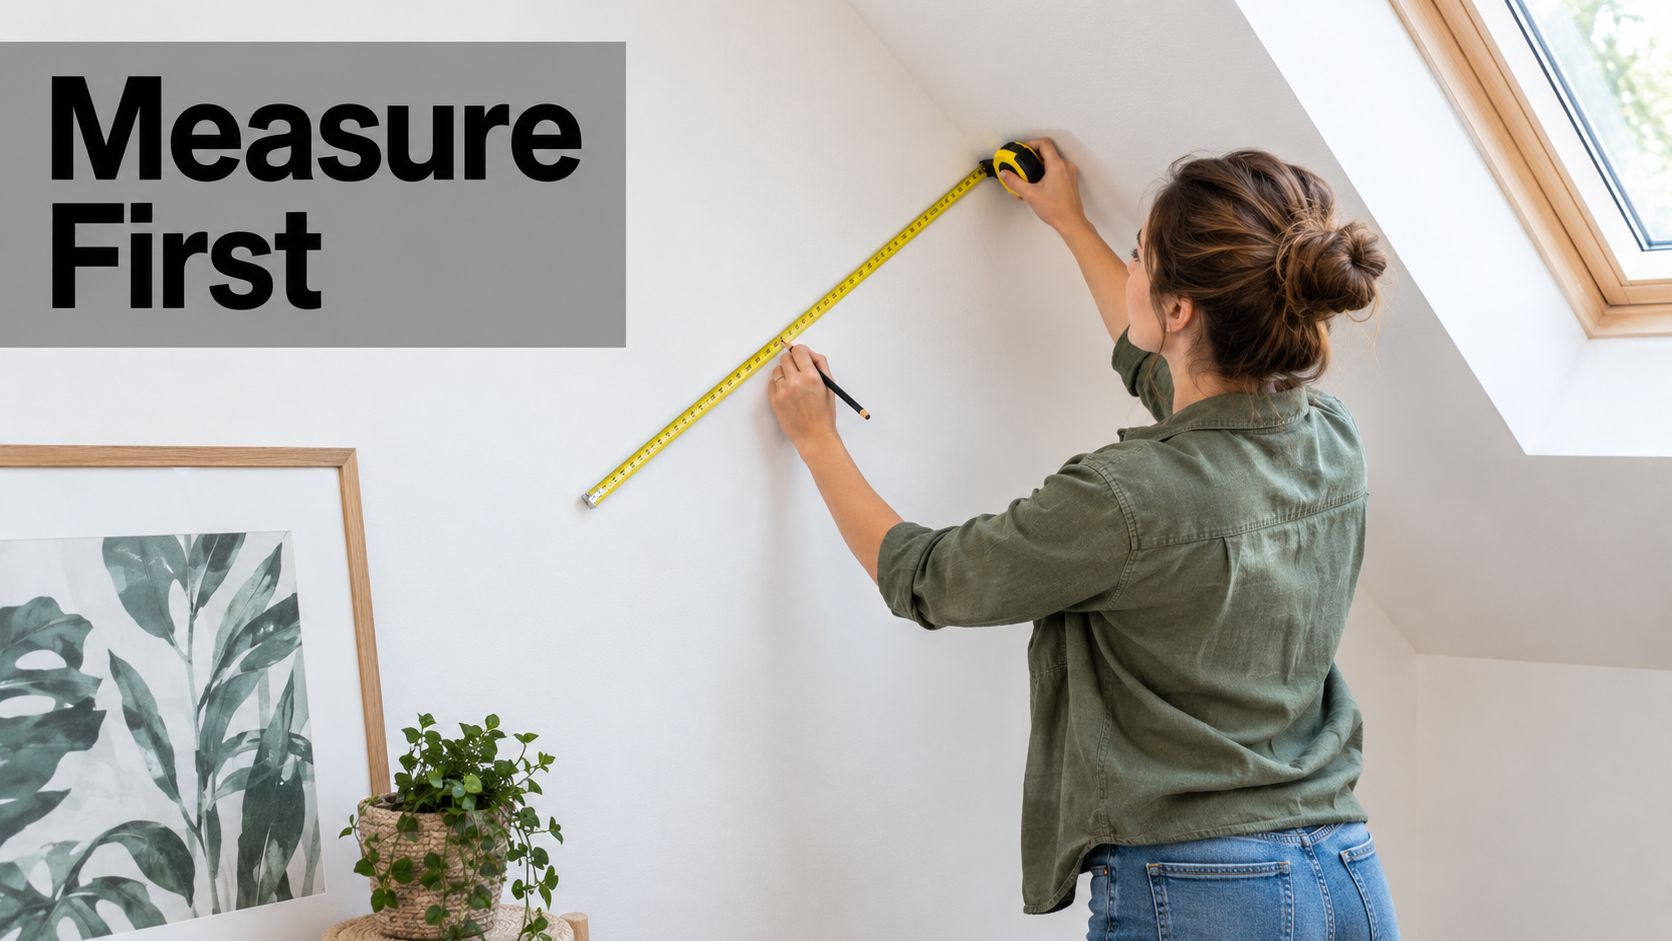
Map the available envelope. Record widths across the proposed top, middle, and bottom of the arrangement, plus heights across the wall. Get In Art's measuring instructions recommend at least three width and three height readings, using the largest measurement, and adding 5 cm per side for its ordering process. For framed art, retain every reading: the largest describes the overall envelope, but the narrowest clearance determines whether the frame fits.
Record the wall angle. Place a digital inclinometer against a straightedge spanning the mounting area. Check both the upper and lower contact zones, noting whether your instrument reports inclination from horizontal or vertical so the recorded angle remains meaningful.
Set the viewing center. Mark a provisional center based on the people who'll use the room. Check from a standing position, the main chair, and any wheelchair-accessible approach rather than treating a universal hanging height as mandatory. Our eye-level art hanging guide provides useful context for that decision.
Make a full-size template. Trace the frame's outside dimensions onto paper and mark its center and mounting locations. Tape it in place, then check door swings, furniture clearance, and the approach from the doorway.
Resolve the wall finish first
If wallpapering is part of the project, finish that work before transferring final mounting marks. Tony Painting's wallpapering advice for Dublin homeowners is a useful companion when coordinating wall preparation with artwork placement. Don't treat wallpaper or fresh paint as structural backing.
Finish with a marked centerline, a recorded angle, and a template that fits throughout its footprint. Photograph the template before removing it.
Choose Level or Slope-Parallel Placement
Is there a flat section of wall below the slope? If there is, start with the horizontal reference established by that section and nearby furniture. If there isn't, decide whether the artwork should remain visually upright or echo the roofline.
This comparison illustrates the architectural choices, not a requirement to rotate every picture.
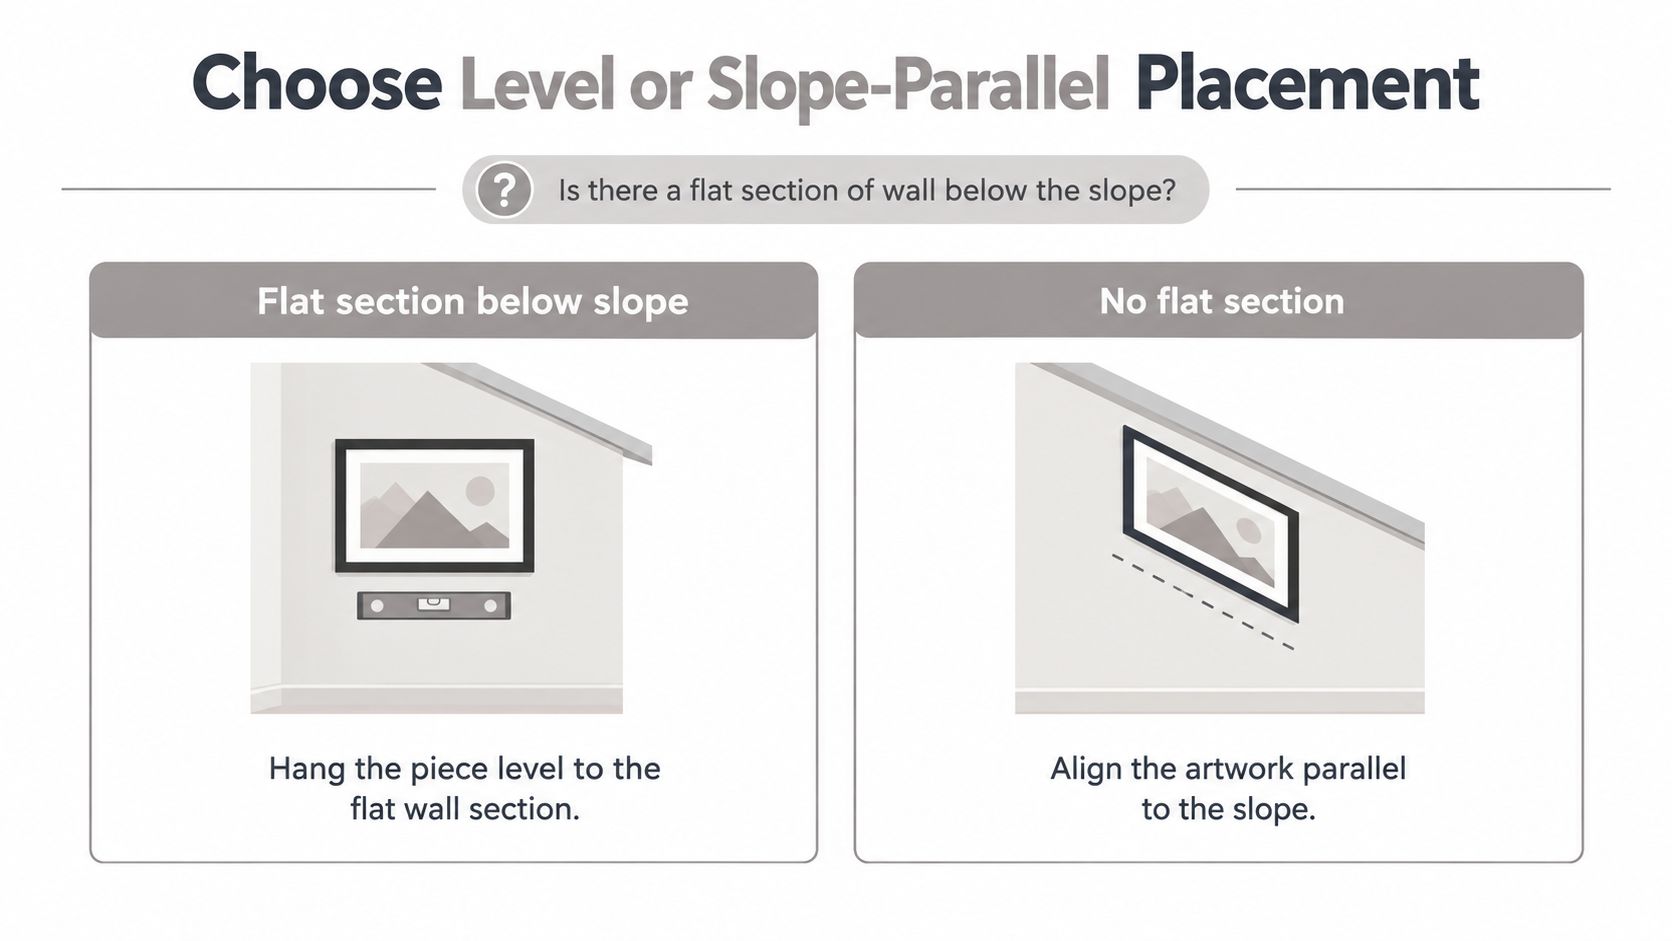
For a single vertical or horizontal image, I'd usually keep it upright and center it within the usable area. For a group, stepping the frame centers along the roofline often looks more coherent than rotating the images themselves. Following the slope and tilting the artwork are different decisions.
Placement rule by situation
Situation | Recommended placement | Reference value | Note |
|---|---|---|---|
Flat wall section below the slope | Hang level with the flat section | Measured primary viewing height | Measure usable width at hanging height |
Single piece, no flat section | Center on the sloped area, level within the frame | Viewer's comfortable center sightline | Confirm from the main sightline |
Group on a slope | Follow the roofline or slope with equal gaps | Identical measured gaps | Use a template to check spacing |
Above a sofa | Keep the frame level | Clearance above the occupied sofa back | Adjust for seated eye height |
Stairwell or landing | Follow the stair pitch | Measured stair pitch | Check from the lowest step |
Separate alignment from viewing tilt
Use a bubble or laser level to establish true horizontal, then assess the composition from the main approach. Don't compensate for an irregular ceiling until you know whether it's the frame or the architecture that looks off.
The Old House Living guide to hanging pictures describes the longstanding practice of tilting high-mounted pictures toward viewers while hanging lower works flatter. On a slope, any intentional tilt needs supporting hardware, not a loosened wire.
Use the video as an additional visual reference while evaluating your layout.
Mark your chosen orientation on the template. Confirm it from seated and standing sightlines, with the room's lights switched on, before drilling.
Hardware That Holds on an Angle
The expensive mistake is treating an anchor's ultimate capacity as its safe working load. Ultimate capacity describes failure under test conditions, not an allowance for an angled, projecting frame in an unknown wall.
The TOGGLER SnapSkru technical bulletin gives the following approximate ultimate pull-out and shear values for its tested drywall assemblies and recommends limiting static loads to 25% of ultimate capacity.
Drywall anchor capacity by board thickness
Board thickness | Ultimate pull-out | Ultimate shear | Working load in tension (25%) |
|---|---|---|---|
3/8 in | 57 lb | 70 lb | 14 lb |
1/2 in | 79 lb | 81 lb | 20 lb |
5/8 in | 135 lb | 127 lb | 34 lb |
These are product-specific laboratory values, not capacities for every drywall anchor. They also aren't a ready-made weight allowance for a sloped installation. Projection, vibration, damaged gypsum, installation error, and unequal loading can require further reductions.
Match the fixing to the failure mode
Weigh the complete framed piece, including glazing and attached hardware. Measure its depth and the distance its mass projects from the mounting surface. For an irregular sculpture or deep display box, don't assume the center of gravity lies at the frame's geometric center.
To prevent sliding: Use positive mechanical engagement rather than friction alone.
To prevent tipping: Provide vertically separated restraints or a cleat system with a compatible locking restraint.
To prevent pull-out: Transfer the load into studs, rafters, or approved structural backing wherever possible.
To protect the frame: Attach fittings to sound frame members, not thin backing board or weakened joints.
A conventional French cleat isn't automatically suitable for a slope. Its mating parts must remain fully engaged, and the installation must prevent the frame from lifting or pivoting off them.
Choose for the actual substrate
For hollow-wall installations, verify board thickness and use the specified drill diameter, screw, and engagement. Our anchor selection guide can help distinguish substrate choices, but the particular fixing's instructions still control.
Adding anchors doesn't automatically multiply capacity. Unless the assembly distributes the load predictably, one fixing may carry much more than its neighbors.
Don't substitute adhesive strips, fishing line, or an ordinary open hook for positive restraint on heavy, valuable, high-mounted, or overhead work. Plaster and masonry need fixings designed for their actual construction, not drywall anchors selected by appearance. If the measured load exceeds a suitable working limit, or the loading direction isn't covered by the hardware documentation, use structural backing or hire an installer.
How to Mount a Picture on a Slope Step by Step
Prepare the complete mounting assembly before lifting the artwork. Keep the piece protected away from drilling dust, and use a helper when you can't hold it securely while engaging the fittings.
Prepare the wall and rail
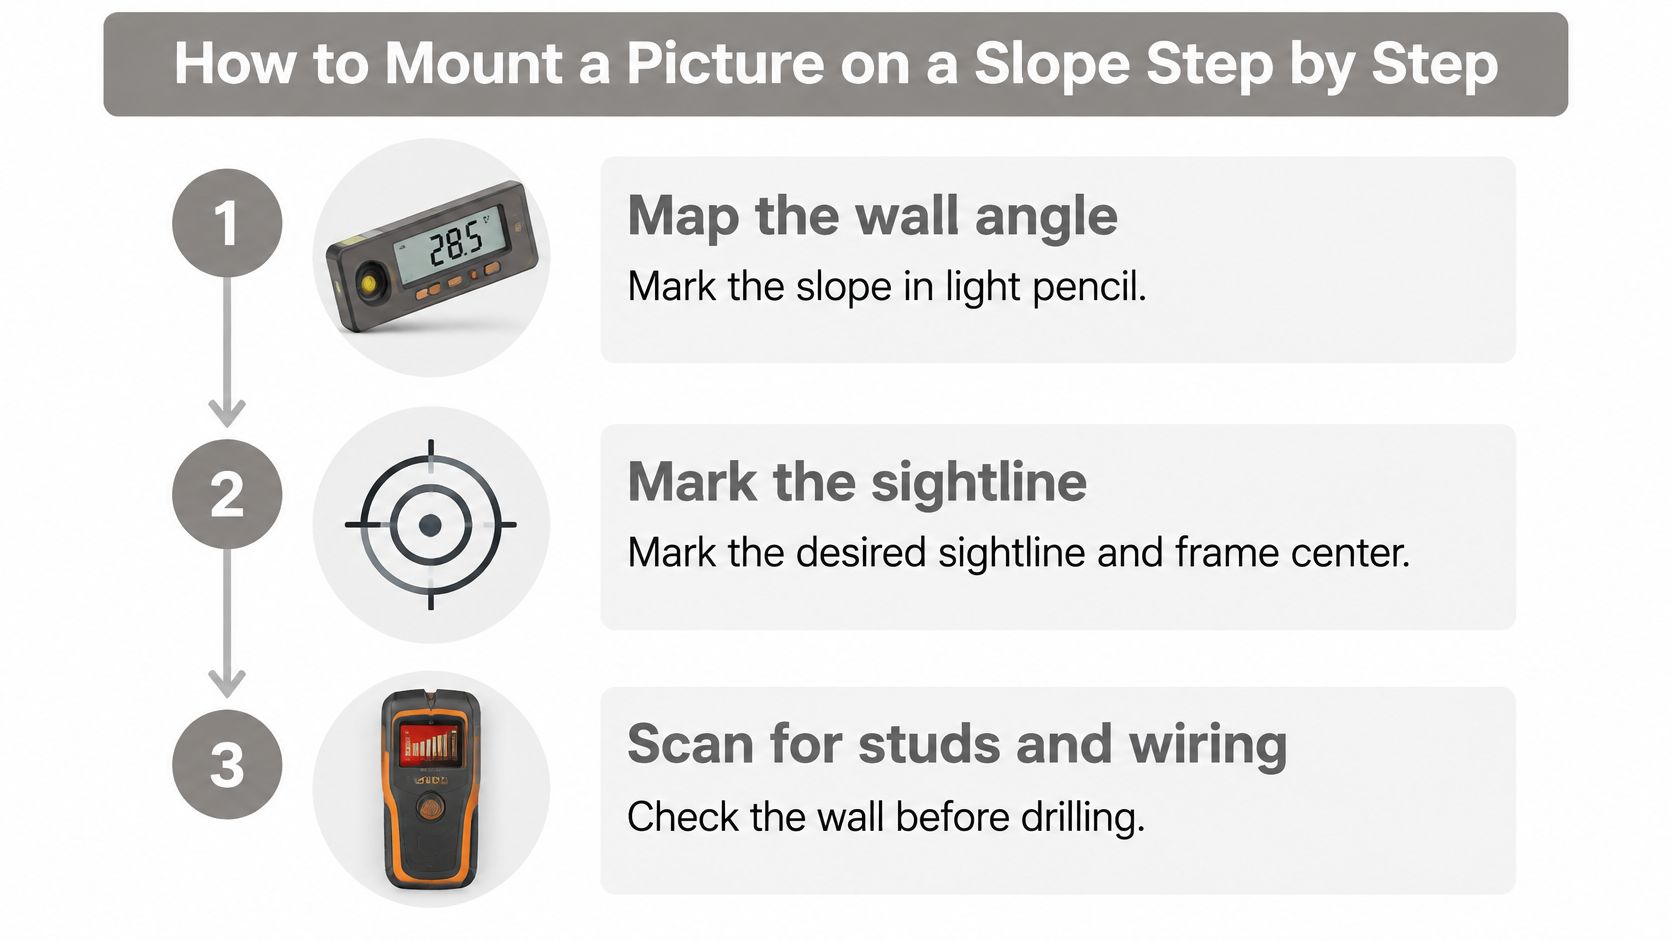
Map the mounting plane. Use the inclinometer and straightedge to confirm the angle where the rail will bear. Make light pencil reference marks outside the drill locations so you can check alignment during assembly.
Transfer the sightline and frame center. Use the approved paper template to mark the frame's position, then transfer the actual fitting offsets. Measure from the hardware's engaged bearing surfaces, not merely from the frame's outside edge.
Locate structure and services. Scan for framing, wiring, and plumbing before drilling, and corroborate detector readings where possible. A stud finder isn't permission to drill through an area with uncertain services or concealed construction.
Fit the mounting rail or cleat. Use a system suitable for the measured slope and intended load direction. Shim or machine its bearing surface so it contacts continuously instead of bridging between isolated corners, and place firm support at fastening locations.
Engage and restrain the frame
Install the specified fasteners. Keep them perpendicular to the structural substrate where the system permits, and verify the required engagement in sound material. The TOGGLER solid-wall anchor manual emphasizes that capacity changes with substrate strength, screw size, engagement, hole diameter, and load distance from the wall, so a published capacity isn't a guarantee for an improvised assembly.
Engage the frame at separated attachment locations. Confirm that each fitting has seated fully before releasing your support. A single central hook leaves too much freedom for a sloped installation unless a purpose-designed system supplies the missing restraint elsewhere.
Install the anti-tip restraint. Secure the upper frame or rear rail with compatible locking hardware, adding lower restraint where the frame could swing away. Don't assume an edge resting against the wall prevents movement, and don't drive restraint screws into decorative moulding that can't carry them.
Check seating under controlled pressure. With the frame supported, apply gentle hand pressure at its upper edge to identify rocking or incomplete engagement, not to conduct a makeshift proof-load test. Recheck orientation and fastener seating after the assembly has settled, without tightening screws so aggressively that you crush the substrate.
Stop condition: If the rail shifts, gypsum crushes, or a fitting won't seat, remove the artwork. Don't conceal an uncertain connection behind the frame.
A finished installation has no unintended rocking, exposed release path, or unsupported pivot. Record the final position only after checking both the hardware engagement and the viewing alignment.
Fix Crooked, Sliding and Glaring Pictures
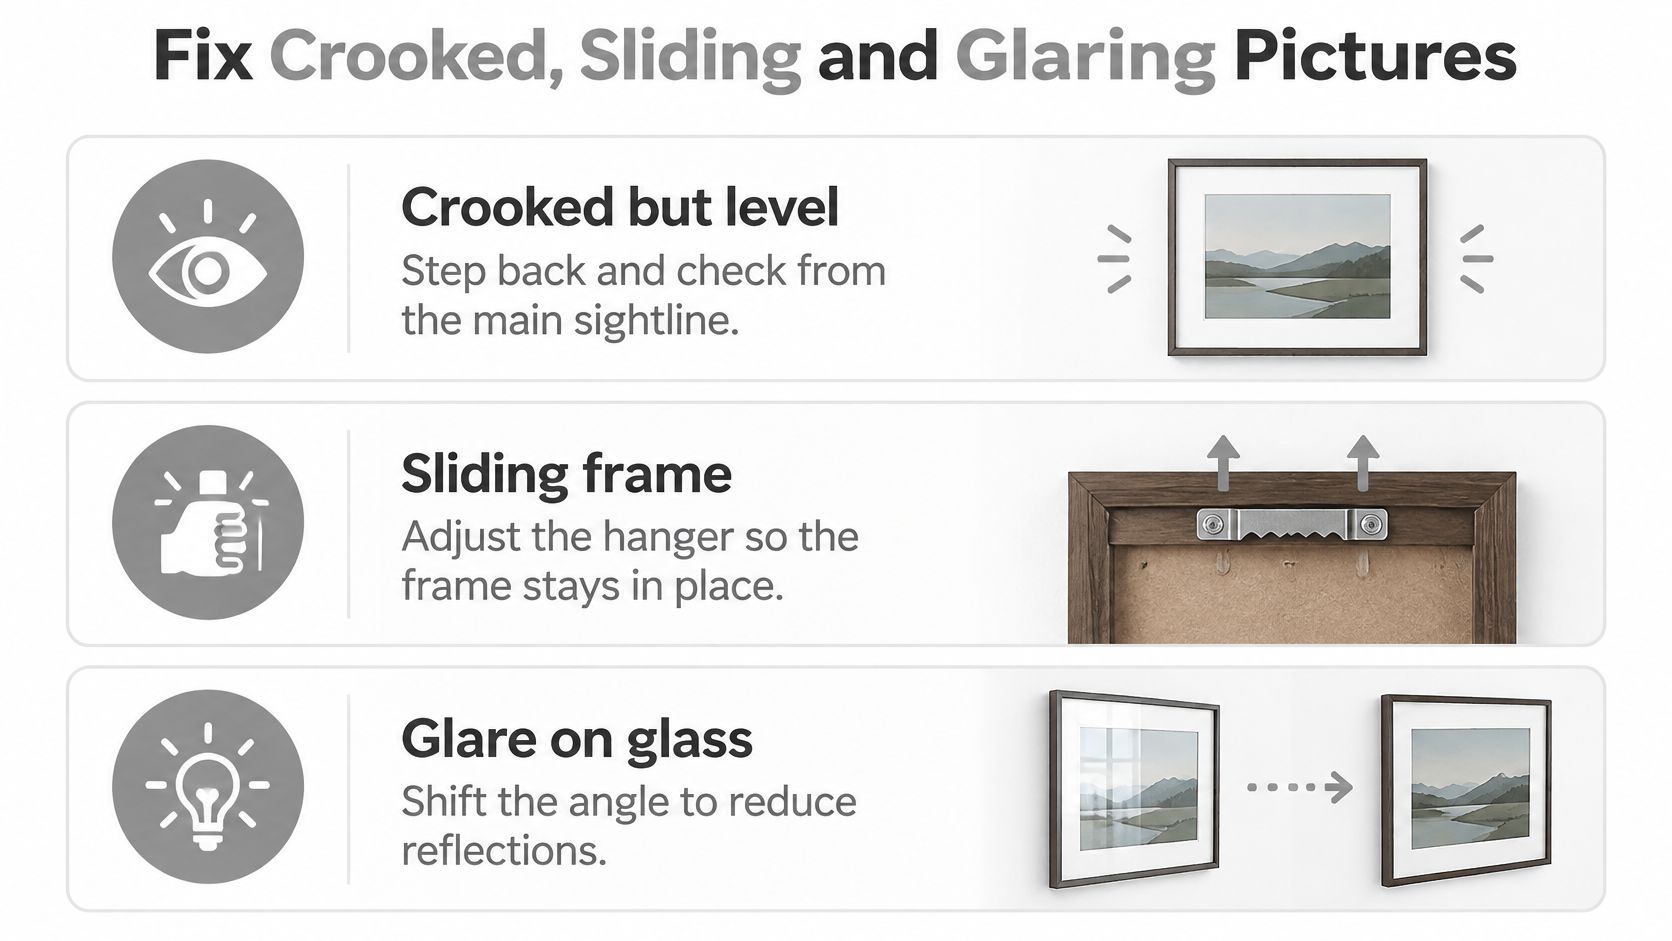
A picture that looks crooked but reads level needs a visual diagnosis before a hardware change. Compare its edges with the furniture and doorway rather than the nearest roofline. A small optical adjustment can help, but only within the mounting system's permitted adjustment.
Treat movement as a fault
A sliding frame isn't a styling issue. Support it, take it down, and inspect for elongated holes, loosened screws, crushed board, or a hanger that has slipped on the frame. Replace the failed connection rather than adding decorative pads to disguise movement.
An upper edge pulling away can indicate incomplete engagement, inadequate restraint, or too much force. Check the frame-side hardware as carefully as the wall fixing. A sound anchor won't help if its D-ring screw is withdrawing from split wood.
Symptom | Concrete corrective action |
|---|---|
Hook loosens in plaster | Identify the backing and replace it with a substrate-rated fixing |
Frame twists around its hanger | Replace the free-pivoting arrangement with restrained attachments |
Rail stays fixed but frame moves | Inspect mating fittings and frame joints |
Movement returns after adjustment | Remove the piece and reassess the complete load path |
Correct reflections without loosening the hang
For skylight glare, test a different position before relocating the hardware. For adjustable spotlights, change the lamp's aim first. Anti-reflective glazing may help, but discuss the glazing choice with a framer rather than assuming every matte product preserves the image equally well.
Don't loosen a restraint to experiment with tilt while the artwork hangs unsupported.
Keep a short installation record:
Position: Photograph the finished hang and record its height and angle.
Fixings: Note the anchor model, screw size, substrate, and attachment spacing.
Inspection: Record any movement or wall damage so later checks have a reliable baseline.
Decide Whether to Hang It Yourself or Hire a Pro
DIY is reasonable when the piece is light, the frame is sound, the framing is identifiable, and the mounting system is explicitly suitable for the slope. You should also be able to reach every fixing safely and verify its engagement without balancing the artwork overhead.
Hire help when the piece is heavy or valuable, the location is high, or the wall construction remains uncertain. Plaster, masonry, complex grids, insured collections, and artwork above beds or busy circulation routes deserve a more cautious decision. Our DIY versus professional installation guide offers a useful way to assess that boundary.
Prepare a useful installation brief
Before contacting an installer, gather:
Artwork details: Piece count, frame construction, and the dimensions and weight of the largest work.
Access requirements: Whether the location requires ladders or scaffolding.
Wall information: Surface material, known backing, and any drilling into hard surfaces.
Placement evidence: Photographs showing the slope, nearby furniture, lighting, and access route.
If wallpaper is also being replaced, coordinate the work before installation. Alex Trend Painters' guidance on avoiding wasted rolls and torn seams is useful for planning that separate finishing task.
We have over 15 years of experience in picture hanging and art handling throughout the greater Denver metropolitan area. Our contact form asks about piece count, ladders or scaffolding, hard-surface drilling, and the largest piece's dimensions. Have those answers ready, along with its measured weight, so the installation can be assessed rather than guessed.
Colorado Art Services offers art placement, picture hanging, and heavy-piece and high-placement installation for situations where an angled wall needs more than a standard hook. Visit Colorado Art Services to request a free estimate, and include photographs of the slope, your artwork dimensions, and the wall information you've gathered.
Comments