


Mirror Hanging Accessories: Choosing by Weight and Wall
A mirror can look deceptively light when you're holding it against the wall, especially if the glass is thin. But the wrong fixing can pull out of the wall even when its packaging lists a generous capacity. Choose mirror hanging accessories by the mirror's full weight, the material the fastener grips, and how safely the system carries the load.
Hardware at a Glance by Mirror Weight
A 4-by-6-foot mirror holds 24 square feet of glass. Quarter-inch plate glass runs about 3.3 pounds per square foot, so that sheet alone weighs roughly 78 pounds before the frame, backing and fittings go on. Sight judgment understates that figure almost every time. A mirror installation guide publishes glass-weight figures and recommends choosing mounting hardware with a documented margin rather than treating the advertised rating as the working limit.
Use this table as a starting point. The hardware column is typical for each weight band. The anchorage column is what decides whether the choice holds on your wall, because the accessory's rating means nothing if the fastener pulls out of the substrate behind it.
Mirror weight | Typical hardware | Anchorage | Safety margin |
|---|---|---|---|
Under 15 lb (about 7 kg) | D-rings with braided wire, wall hooks | Stud or rated drywall anchor | Hardware rated at least 2× mirror weight |
15 to 50 lb (7 to 23 kg) | D-ring pair, mirror plates | Rated toggle or molly bolts, or direct stud attachment | At least 2× actual weight |
Over 50 lb (over 23 kg) | French cleat or Z-bar, interlocking rails | Two studs or solid masonry | At least 2×; 4:1 for large commercial installs |
Large 1/4-inch glass over about 20 sq ft | French cleat plus anti-tip clips | Studs or engineered masonry anchors | Verify pull-out in the actual wall |
Past the lightest band, a generic drywall anchor is the weak link in the whole system. The guide to drywall load capacity is a useful companion for checking what the wall connection itself can carry before you commit to a hanging plan.
Weigh the complete mirror
If you can get the mirror on a scale safely, use that number. It already includes everything the wall has to hold.
If you cannot weigh it, estimate the glass first, then add the frame and backing. Glass weight rises with thickness: standard plate runs about 1.6 pounds per square foot at 1/8 inch and roughly 3.3 pounds per square foot at 1/4 inch. Both figures cover glass only. A finished mirror always weighs more.
Measure the glass height and width, convert the area to square feet, and multiply by the figure for your thickness. Add the frame, backing and attached hardware, then read the matching row above. That total, not the mirror's appearance and not the accessory's packaging, is what your hardware and wall connection need to carry.
How Accessories Share the Load
One wall hook is like a single fence post holding a rail: the force gathers at one fixing. A French cleat is more like a shelf resting on a ledge along its length. The rail spreads the load across a wider stretch of wall, although its screws still need to grip sound framing or appropriate masonry.
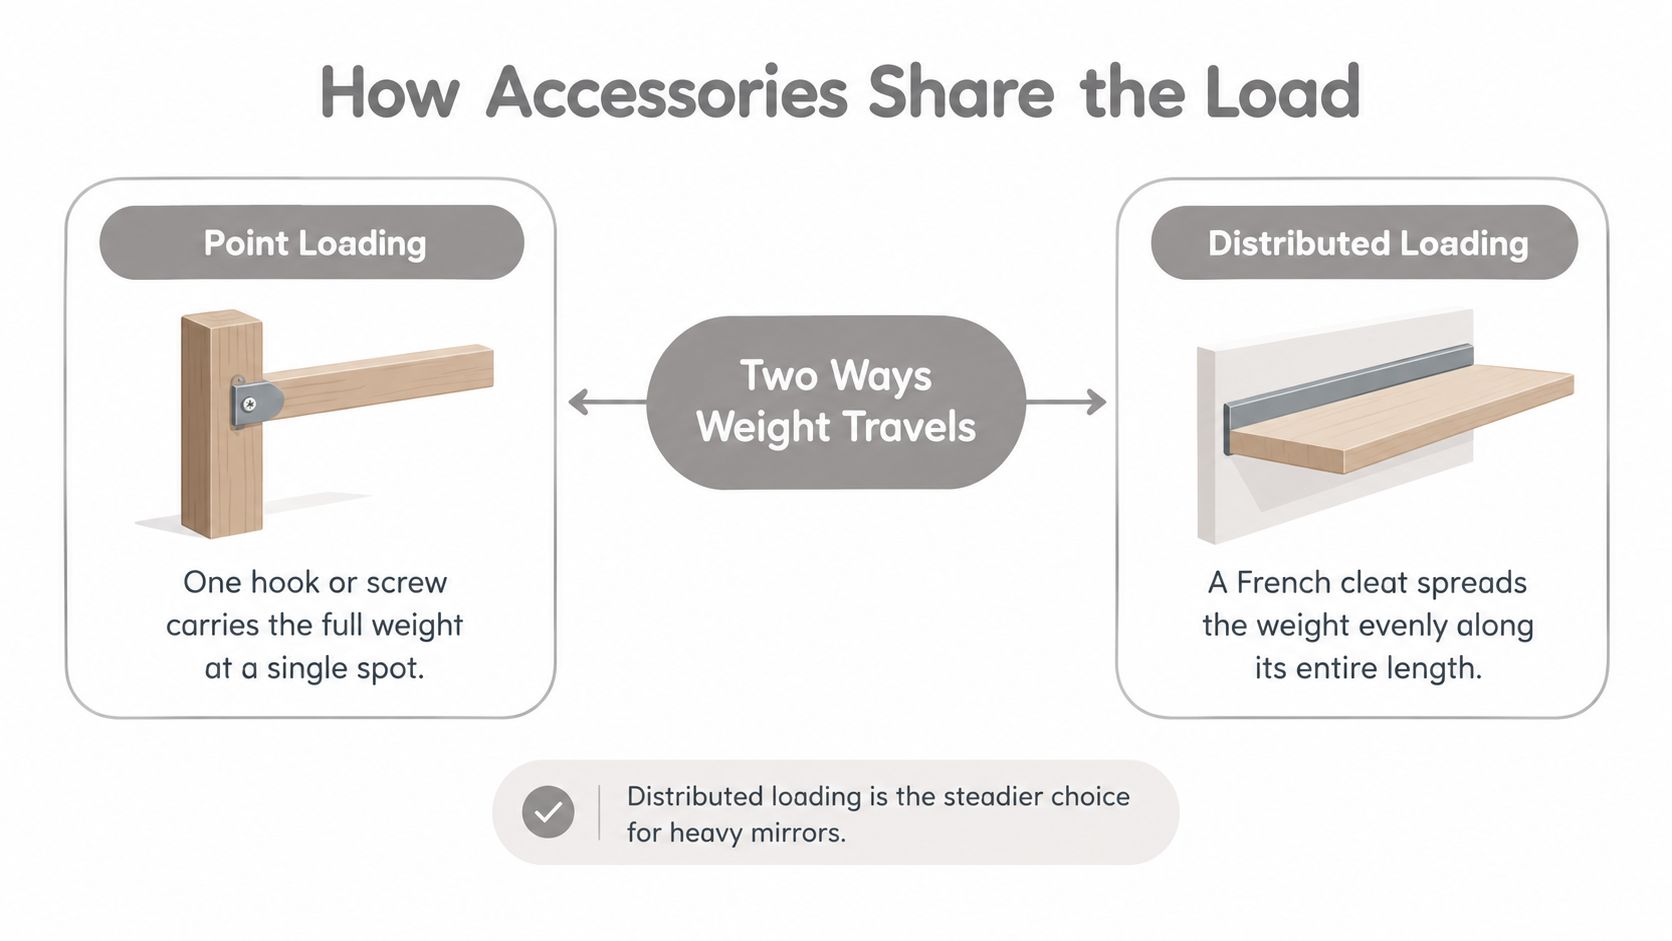
The accessory changes how the mirror's weight reaches the wall. It doesn't make a weak wall connection strong.
Accessory | Load path | Published capacity | Main limit |
|---|---|---|---|
D-ring pair with braided wire | Two points | D-ring systems commonly specified up to about 10 kg for single framed pieces; a pair may handle about 12–15 kg with M4 screws set roughly 25 mm into solid wood or MDF | Load concentrated at two fixings |
Wall hook | One point | No universal capacity; use the rating for the specific hook and fixing | Whole load on one fixing |
Mirror plate | Point at the back of the mirror | Heavy-duty plates advertised around 50 kg (110 lb) | Effective capacity depends on wall and anchor |
French cleat, 600 mm aluminum | Distributed along the rail | About 30–40 kg working range | Rail thickness, fasteners, studs, and backing |
Z-clip or Z-bar | Distributed along the bar | No single rating applies across products | Needs studs or engineered anchorage |
Adhesive mount | Bonded to the surface | No fixed anchor capacity to rely on | Capacity can't be verified like a mechanical anchor |
The mirror-hardware specification guide describes D-ring systems for lighter framed mirrors and a 600-millimeter aluminum cleat with a published working range of about 30–40 kilograms. Those figures illustrate how the systems differ, not a guarantee for every product or wall.
What each fitting does well
Sawtooth hangers and D-rings: Sawtooth fittings are convenient on light frames, but they concentrate force and offer little support against rotation. A D-ring pair spreads the hanging point across two fixings; it still needs suitable screws and secure attachment to the frame.
Wall hooks: Hooks are quick to position and easy to remove. Their weakness is that one fixing carries the load, so the hook's rating and wall anchor must both suit the mirror.
Mirror plates: Plates fasten to the rear of a framed mirror and can provide a strong mechanical connection. Their advertised strength is useful only if the wall-side anchors are equally appropriate.
French cleats: Interlocking rails give a wide bearing surface and help keep a heavy mirror level. They take more planning and need sound wall attachment.
Z-clips and Z-bars: These interlocking profiles offer a similar distributed load path. Check the particular profile and wall-side fastening rather than assuming all bars have the same rating.
Adhesive mounts: They avoid visible hardware, but the bond depends on surface condition and installation. They're a poor substitute for mechanical retention where weight, moisture, or impact risk matters.
Classify the load path before comparing capacities: point hardware concentrates force; a cleat or bar distributes it. In either case, the wall connection sets the practical limit.
Matching Anchors to Your Wall Type
An anchor's advertised rating tells only part of the story. The wall connection determines how much of that capacity is usable, so identify the substrate first and leave a safety margin between the mirror's actual weight and the weakest fixing.
Wall type | Accessory family | Load guidance | Main hazard |
|---|---|---|---|
1/2-inch drywall, no stud | Hollow-wall toggle or hollow-wall anchor | Ordinary fasteners: about 5–10 lb each; specialized toggles: about 70–100+ lb reported; manufacturer hollow-wall ratings: about 50–265 lb | Oversized holes or wrong grip range |
Drywall over wood stud | Screws into stud with D-ring or cleat | Stud-driven screws carry most of the load | Missing the stud center |
Plaster and lath | Pilot-drilled toggle or screw into lath | No single rating applies; match the fixing to the assembly | Brittle plaster cracks and crumbles |
Concrete or brick | Masonry anchor matched to base material | Follow the anchor manufacturer's rating for the specific masonry | Using drywall-type anchors in masonry |
Ceramic tile over backer board | Anchor into backer behind tile | No universal rating; account for the backer and fixing | Tile cracking and moisture |
Metal stud | Screws or toggles rated for steel | Use the rating for the steel stud and fastener combination | Thin-gauge stud pulling out |
For 1/2-inch drywall, one heavy-mirror drywall guide reports ordinary fasteners at about 5–10 pounds per fastener, specialized toggles at about 70–100+ pounds per anchor, and manufacturer hollow-wall ratings at 50–265 pounds, depending on anchor size, drywall thickness, and grip range. Those figures are reported ratings, not a promise that a particular wall will safely hold that load.
Confirm the substrate, then protect the margin
A wood stud gives the screw a direct structural path, but the fastener has to reach the stud's center. A screw that catches only the edge can feel tight while carrying far less load. Where no stud is available, purpose-designed toggles or hollow-wall anchors can suit appropriate mirrors. An oversized hole, wrong grip range, overtightened screw, damaged board, or off-center load can sharply reduce their holding ability.
Wall assemblies vary across Front Range properties. Older homes may have plaster and lath, bathrooms often have tile over backer board, and commercial interiors may use masonry or metal studs. Drill a small pilot carefully in plaster to reduce cracking. Pass through tile without hammer action, then anchor into the material behind it. Use masonry anchors in concrete or brick and fasteners rated for steel in metal studs.
If the mirror will hang near framed pieces, how to hang artwork evenly offers practical placement context. For the mirror itself, use a stud finder and a knock test to locate likely framing, then confirm an uncertain surface with a small test hole in a discreet spot. A test hole can reveal what sits behind the finish, but it does not prove pull-out strength.
Choose the wall-side fixing for the confirmed substrate before considering a more discreet hanger. For a heavy or public-facing installation, document the substrate, fixing type, spacing, and mirror mass, and consider a professional pull-out check. This anchor selection guide can help narrow down which fixing family suits the wall.
Tools and Adhesives Worth Having on Hand
Many hanging failures start with a skipped tool, not the wrong style of hook. A level, a correctly sized drill bit, and a clear idea of what lies behind the finish help prevent bad holes and misplaced anchors.
Tool or product | Job | Suits | Skip when |
|---|---|---|---|
Stud finder | Locate framing before drilling | Drywall over framing | Plaster or uneven walls may give misleading readings |
Level (24-inch or torpedo) | Keep the hanging line true | Every mirror | Never skip it |
Pilot bit and drill | Start holes without cracking | Plaster, tile, and brittle surfaces | Solid masonry needs a hammer drill and masonry bit |
Toggle or hollow-wall anchor kit | Spread load behind drywall | 15–50 lb mirrors without a stud | Mirrors over 50 lb without studs |
Mirror plates with matching screws | Fix the plate to the mirror back | Framed mirrors on sound walls | The mirror back can't take the screw |
Hanging kit | Bundled hangers and fixings | Light to medium mirrors within its rating | Any mirror heavier than the kit rating |
Mirror mastic or double-sided mounting tape | Hold a light piece without fixings | Light, reversible jobs on sound walls | Heavy, public, damp, or impact-prone spots |
A 2025 McCoy's listing priced the National Hardware Professional Mirror Hanging Kit at $20.76 and described it as an 87-piece kit with a 20-to-50-pound capacity. A bundled kit can cover a suitable framed mirror if its fittings match the wall and the mirror falls within the kit's stated range. It doesn't make the right choice for a heavier mirror, an incompatible substrate, or an installation needing a distributed rail.
Make the holes suit the surface
A stud finder is useful on ordinary drywall, but don't trust it blindly on uneven or layered walls. Mark the intended fixing points, check the hanging line with a level, and choose a pilot bit for the actual surface. On tile or plaster, start carefully; on masonry, use a masonry bit and appropriate drilling method.
If you're preparing artwork for the same room, this resource on framing canvas paintings covers the frame side of the job. For a mirror, use screws specified for the plate or cleat, and make sure each fixing reaches the intended wall material.
Adhesives can hold a light mirror on a sound, suitable surface, but they can't be verified like a fixed anchor. Keep mastic and mounting tape for light, reversible jobs, not heavy mirrors or locations exposed to moisture, impact, or public traffic.
Safety Margins, Redundancy and Corrosion
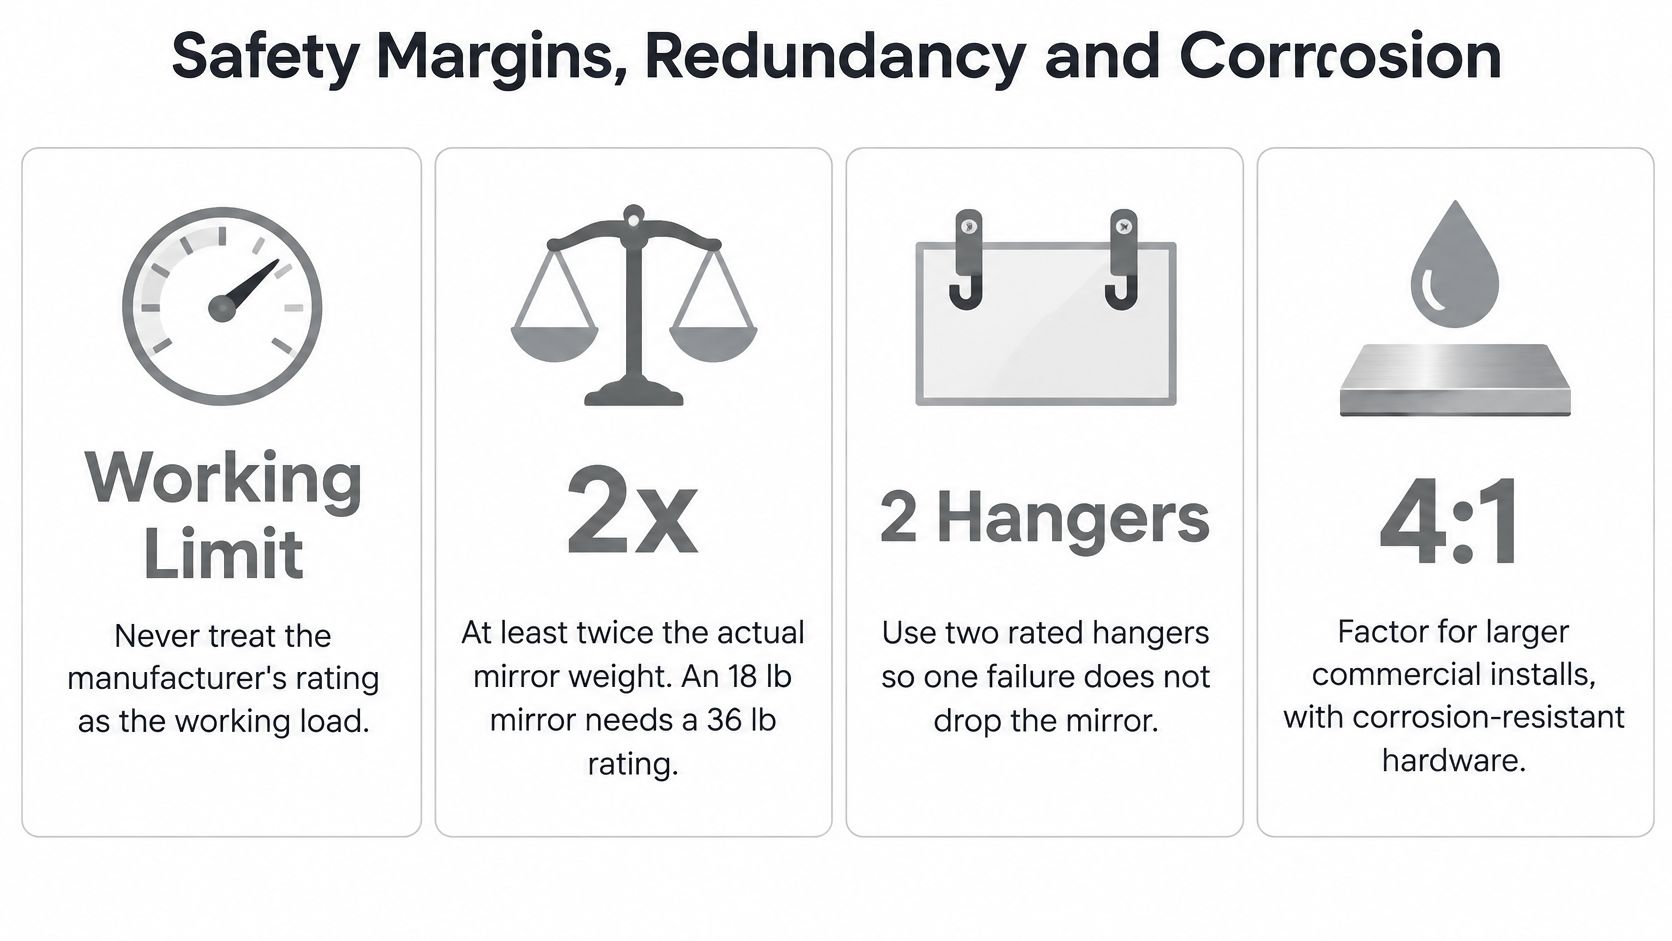
Never treat a manufacturer's rating as the working load. A package rating describes a product under stated conditions; the wall, fastener orientation, installation quality, and the way the mirror loads the hardware all affect the installed system.
A guide to heavy-duty mirror plates notes that heavy-duty plates are commonly advertised around 50 kg (110 lb), while their effective capacity depends strongly on wall construction and anchor selection. The same principle applies to cleats and other mechanical fittings: the hardware can be sturdy while the wall-side connection remains the weak link.
Use these margins as selection rules, not as substitutes for checking the actual wall:
At least 2× the mirror's actual weight: Choose hardware with a documented rating at least twice the complete assembly weight.
4:1 for larger commercial installs: Larger installations may call for a more conservative factor and documented anchorage.
Two independent lower restraints: Where the mirror's shape allows, lower clips help prevent forward rotation, particularly for tall, shallow, or high-mounted pieces.
Control movement, not just downward force
A mirror can hang without slipping and still be unsafe if it can tip forward after an accidental bump. A French cleat or interlocking plate can spread vertical shear across a longer span, but its wall-side member still needs structural screws into studs or suitable masonry anchors. Lower restraints or anti-tip clips add a separate check against rotation; they don't compensate for weak primary fixings.
On hollow walls, toggle or sleeve anchors spread force behind the panel. Plastic expansion anchors are for lighter loads and aren't equivalent substitutes for a purpose-designed toggle. Match the anchor to the wall and use the manufacturer's installation instructions.
Bathrooms add another failure mode: corrosion. Rust reduces the amount of metal carrying the load, so choose stainless or corrosion-resistant fasteners in damp locations. Check that the fastener and accessory suit the wall thickness, anchor orientation, and installation method.
Adhesive-only and clip-only trade-offs
Pros: Adhesive-only mounting avoids drilling and can be easy to remove. Clip-only systems can also keep fittings visually discreet.
Cons: Neither appearance nor convenience verifies holding capacity. Adhesive bonds may be compromised by moisture or impact, and clips are only as secure as their fixings and the substrate.
Check every rating against the actual wall thickness, anchor orientation, installation method, and the manufacturer's working-load instructions before hanging the mirror.
Worked Examples from Small to Large Mirrors
The same accessory can be sensible on one wall and a poor choice on another. These examples show how the mirror's assembled weight and the wall material shape the decision.
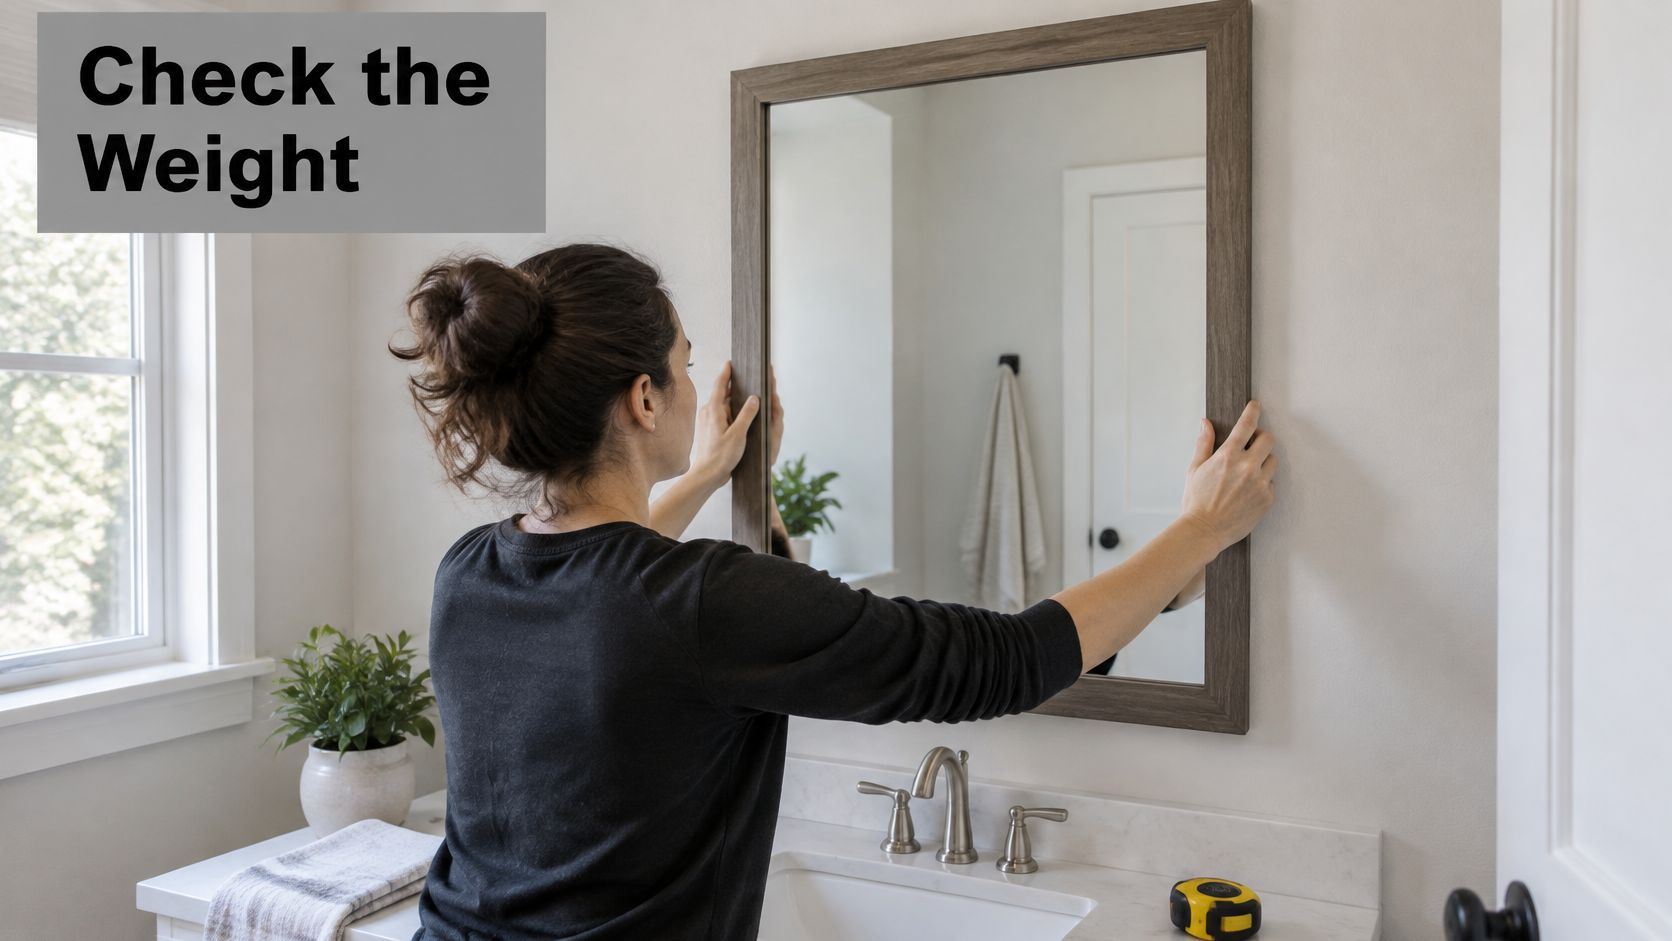
A framed bathroom mirror
A 24-by-30-inch mirror has about 5 square feet of glass. At 1/4-inch thickness, that's about 13 pounds of glass; with a frame, assume a total around 18 pounds for this example. That puts it in the middle weight band, so use a pair of properly rated toggles in suitable drywall or fasten directly into studs. In a humid bathroom, choose stainless or corrosion-resistant screws.
The selection also needs a 2× rating margin: for an 18-pound mirror, the hardware rating should reach at least 36 pounds. The deciding factor isn't that the mirror looks manageable; it's whether the combined fixing and wall connection meet the required margin.
A large hallway mirror
A 4-by-6-foot framed mirror with 1/4-inch glass weighs about 62 pounds in glass alone. Add the frame and backing, and an example finished weight might reach 80 pounds. A French cleat fixed into two studs gives the mirror a distributed support line; anti-tip clips at the base help limit forward movement.
Choose a cleat whose documented working range is comfortably above the complete mirror weight, and confirm that the wall-side screws engage both studs. The decision that changes this job is using the wall structure to support the rail rather than relying on two isolated fixings in drywall.
A heavy mirror on drywall without a stud
Suppose an office mirror weighs 40 pounds and there's no stud at the intended location. Ordinary fasteners reported at 5–10 pounds each aren't suitable for carrying that load. The anchors' combined working load must exceed 80 pounds to meet a 2× margin, and each anchor must be suitable for the wall and installed at the correct grip range.
A set of purpose-designed toggles may be an option if the drywall is sound and the anchor maker's instructions support the proposed installation. Space the fixings across the mirror's mounting points, avoid oversized holes, and don't count an anchor's isolated published rating as proof that the whole wall system will hold. The deciding factor is verified anchorage in the actual drywall assembly.
When to Stop DIY and Call a Professional
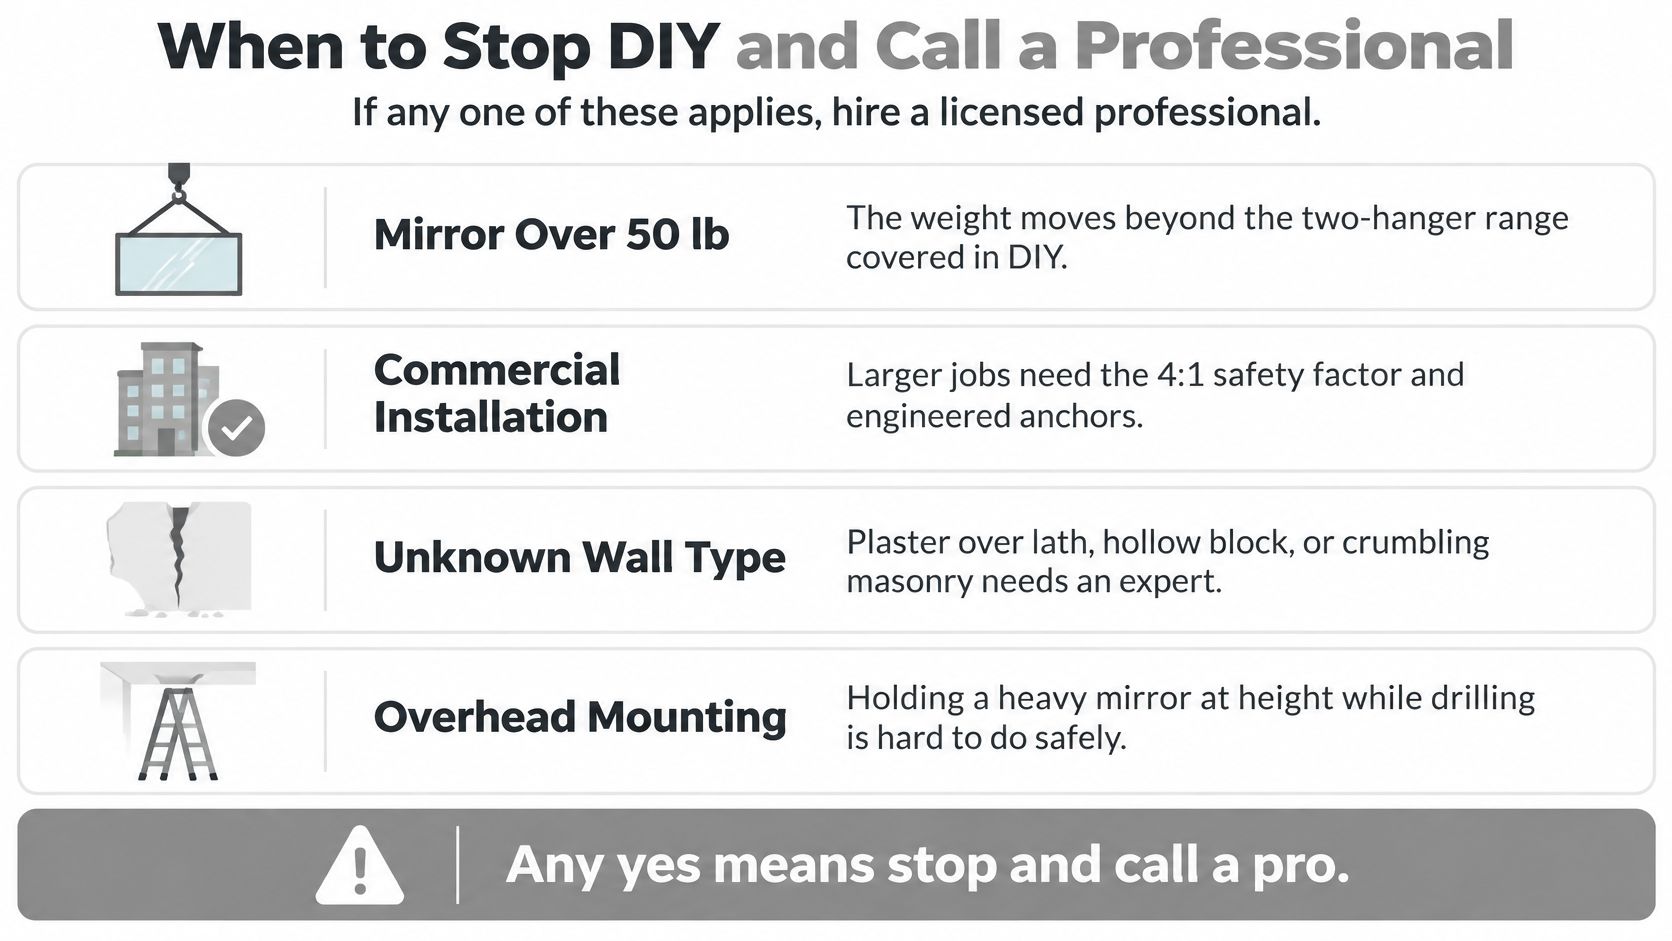
Move the job out of DIY if the mirror is public, commercial, frameless, illuminated, or mounted high near a door, walking route, or wet area. Code treatment depends on the adopted code edition and the local authority having jurisdiction, while the site's traffic, impact risk, wall, and concealed wiring can all affect the installation. Galleries, gyms, hospitality spaces, and multifamily buildings may also need documented redundancy.
Stop if you can't confidently identify the wall assembly, including plaster and lath, tile over backer board, or metal studs. A test hole can reveal the materials, but it won't establish pull-out resistance. A mirror over 50 pounds without two studs or solid masonry is another clear reason to get professional help and check the actual substrate.
For another perspective on deciding when a household installation needs help, see this guide to handyman services in St. Charles. Colorado Art Services has over 15 years of experience in picture hanging and art handling throughout the greater Denver metropolitan area, and offers a free estimate for its art hanging, display, and installation services. Its DIY versus professional installation guide can help you decide whether the mirror's location and wall are appropriate for a do-it-yourself approach.
Colorado Art Services offers residential and commercial mirror hanging, heavy-piece mounting, and high-placement installation across the Denver Metro area and Front Range. If you're unsure which accessory fits your mirror and wall, visit Colorado Art Services to request a free estimate before buying hardware.
Comments