


How to Mount Artwork Safely: A Step-by-Step Guide
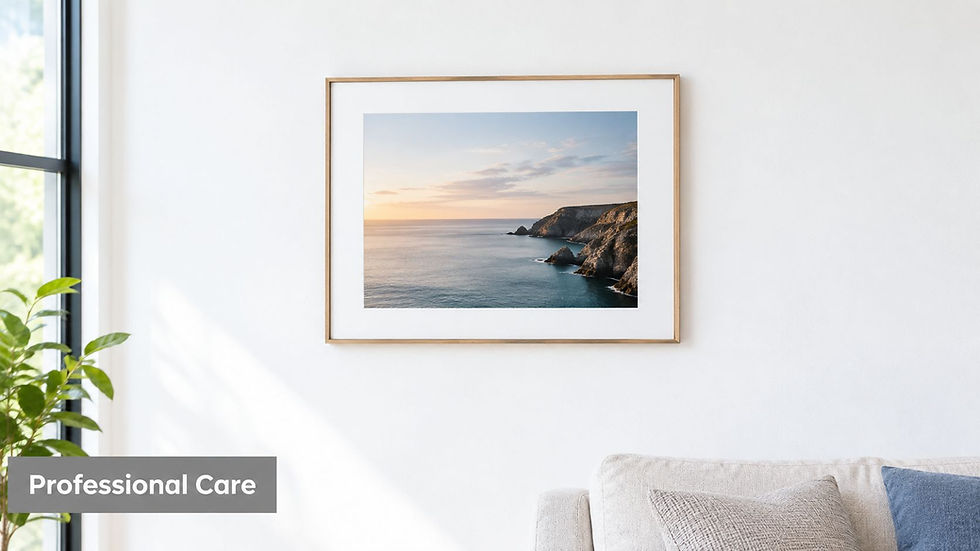
Mounting artwork safely is about more than getting a frame level. The right placement, hardware, and installation method can protect both your artwork and your walls while giving the room a polished, professional look.
A good starting point is to place the center of the artwork about 58 inches from the floor and use hardware rated to support at least 25–50% more than the artwork weighs. From there, the correct mounting method depends on the wall surface and the size of the piece.
Plan the Height and Layout
Before drilling, step back and look at the wall in relation to nearby furniture, doors, and other artwork.
For a single piece, the 58-inch centerline is a reliable gallery-style reference. To calculate the wall fixing height, use:
Artwork height ÷ 2 + 58 inches − hanging drop = wall fixing height
The hanging drop is the distance between the top of the frame and the point where the wire or hanger will rest on the wall hardware.
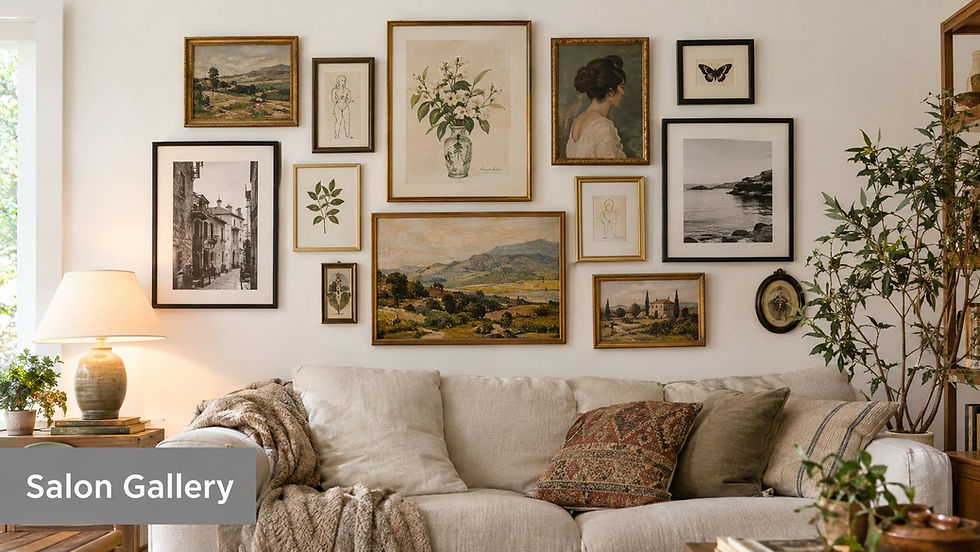
For gallery walls, paper or cardboard templates can help you test spacing and alignment before making holes. Arrange the templates with removable tape, then view the layout from different positions in the room.
Choose Hardware for the Wall Type
The wall surface is a major part of the hanging system, so the same hardware should not be used for every installation.
Drywall: Use a wall stud whenever possible for heavier artwork. If the mounting point falls between studs, use a properly rated hollow-wall anchor or toggle-style fastener.
Plaster: Drill carefully and avoid weakened or crumbling areas. Wood lath or framing behind the plaster may provide a stronger mounting point.
Brick or concrete: Use masonry-rated screws, plugs, or anchors with the correct drill bit.
Wood framing: A screw installed into a sound stud provides strong structural support.
The hardware attached to the frame matters too. Lightweight pieces may work with a simple hanger, while larger pieces often benefit from D-rings, picture wire, cleats, or rail systems that spread the load across a wider area.
Build in Extra Weight Capacity
Do not choose hardware that is rated for exactly the same weight as the artwork.
A safer approach is to use hardware rated for 25–50% more than the piece weighs. For example, a 20-pound artwork should generally use a hanging system rated for around 25–30 pounds or more.
The extra capacity helps account for vibration, accidental bumps, normal movement, and changes in the wall or hardware over time.
Think of the entire mounting system as one load path:
The frame hardware must be secure.
The wire or connector must be properly attached.
The wall fastener must match the wall surface.
The overall system should have extra weight capacity.
Step-by-Step Hanging Process
Before you begin, gather a tape measure, pencil, level, stud finder, drill, anchors, screws, and the appropriate frame hardware. Inspect the back of the artwork for loose hardware, damaged moulding, or stretched wire.
1. Mark the mounting point
Use your measurements to mark exactly where the fastener should go. If you're using two mounting points, carefully transfer both positions to the wall.
2. Locate the wall structure
Use a stud finder when appropriate and confirm the type of wall you're working with.
3. Drill carefully
Use the correct drill bit and make a controlled pilot hole. Avoid enlarging the hole unnecessarily.
4. Install the anchor or screw
Make sure the fastener sits securely. If an anchor spins, collapses, or feels loose, stop and reassess rather than forcing it into place.
5. Hang and level the artwork
Lift the artwork carefully, make sure the wire or hanger is seated properly, and use a spirit level across the top of the frame.
Check Lighting and Final Placement
Once the piece is mounted, view it from the main areas of the room.
Look for glare from windows or lights, check that the artwork works visually with nearby furniture, and confirm that the frame sits securely without rocking or tilting.
The 58-inch centerline is a good starting point, but furniture and room layout may call for small adjustments.
Quick Artwork Mounting Checklist
Before calling the installation complete:
Measure the artwork's height, width, weight, and hanging points.
Start with a 58-inch centerline.
Identify the wall type before selecting hardware.
Use hardware rated above the artwork's weight.
Confirm that D-rings, wire, cleats, and screws are secure.
Level the artwork.
Check glare, sightlines, and furniture placement.
Recheck the installation after the artwork has been hanging for a while.
When to Call a Professional
Heavy artwork, large mirrors, valuable pieces, fragile frames, and multi-piece installations may require a more careful assessment.
Colorado Art Services can evaluate the wall, determine mounting points, select appropriate hardware, and professionally install artwork, mirrors, and framed pieces for residential and commercial spaces.
A properly installed piece should not only look great—it should stay secure for years to come.

Comments